Part 5: Basic Assembly Within the Filofax Binder
*The following Filofax and pages set-up was designed to specifically address memory, organization, and time perception problems associated with particular disabilities. Any feedback, questions, or suggestions are welcome. I hope this set-up information and associated descriptions are helpful for people.
Tools Used:
Ruler.
Pencil or pen.
An old X-Acto guillotine style paper cutter that we’ve had for at least 10 years.
6-hole punch. Amazon has the best variety of these available unless you choose to buy directly from Filofax. Mine is Open Brand Adjustable 6-Hole Punch. Filofax punches have an edge guide for the top edge of the paper that the Open brand does not but the Open brand was much cheaper. So to solve the problem I taped a paperclip to the hole punch in the position where I wanted the top edge of my paper to line up.
Corner Rounder (seriously optional). I round my corners for two reasons. The first is because my skin is quite thin and extremely prone to paper cuts so if I round the corners, I eliminate a lot of tiny little irritating cuts. The second is reason is that I just find the rounded corners aesthetically pleasing. My corner rounder is the Crop-A-Dile. I’ve been pretty impressed with it compared to others I’ve used in the past for making invitations and cards and such. This one is pretty heavy-duty compared with most and has two different sizes in one tool. I got mine at the local craft place but Amazon sells them as well. It looks like something you’d use to trim the claws of a Yeti but definitely gets the job done.

Card Stock (optional): I make my own index tabs to separate sections and use card stock for that purpose. Filofax binders come with 6 index tabs already in them but I prefer to make my own.
Process:
Most people cut their pages out with a craft knife or rotary blade and a ruler. Because I have some old injuries, this wasn’t the best option for me. So I dug out an old X-Acto guillotine-style paper cutter that we had in our garage and brought that in for the task. I tell you this because Fish has cut lines on her pages. However, if you’re using a guillotine cutter, you’ll whack off your cut lines pretty early on and the cut lines won’t extend to the edge of the cutter where you need to line stuff up anyway. My solution was to just extend those cut lines to the edge of the paper with a ruler and pencil. I cut the pages along the vertical and horizontal cut lines. These appear as short solid lines on the pages. Then I folded along the dashed fold lines. I lined the cut pages up with my handy-dandy modified 6-hole punch and afterward rounded the edges with my Yeti nail-trimming tool.
I stacked all of my pages in piles by yearly, monthly, weekly fold, weekly other, daily, and project. For project pages, I just printed page 1 of the monthly sheets. Most projects that need tracking will probably take several weeks so these pages should (I say should because I haven’t tested them out yet) allow me to break a project down into tasks and schedule those tasks against deadlines and dependencies. We’ll see. 🙂
I measured in mm the size of index tabs I needed, created them in Print Shop, and cut those out. There are a number of Etsy shops that sell custom tabs and you could also use the 1-6 tabs that come with a basic Filofax setup but I just prefer to make my own.
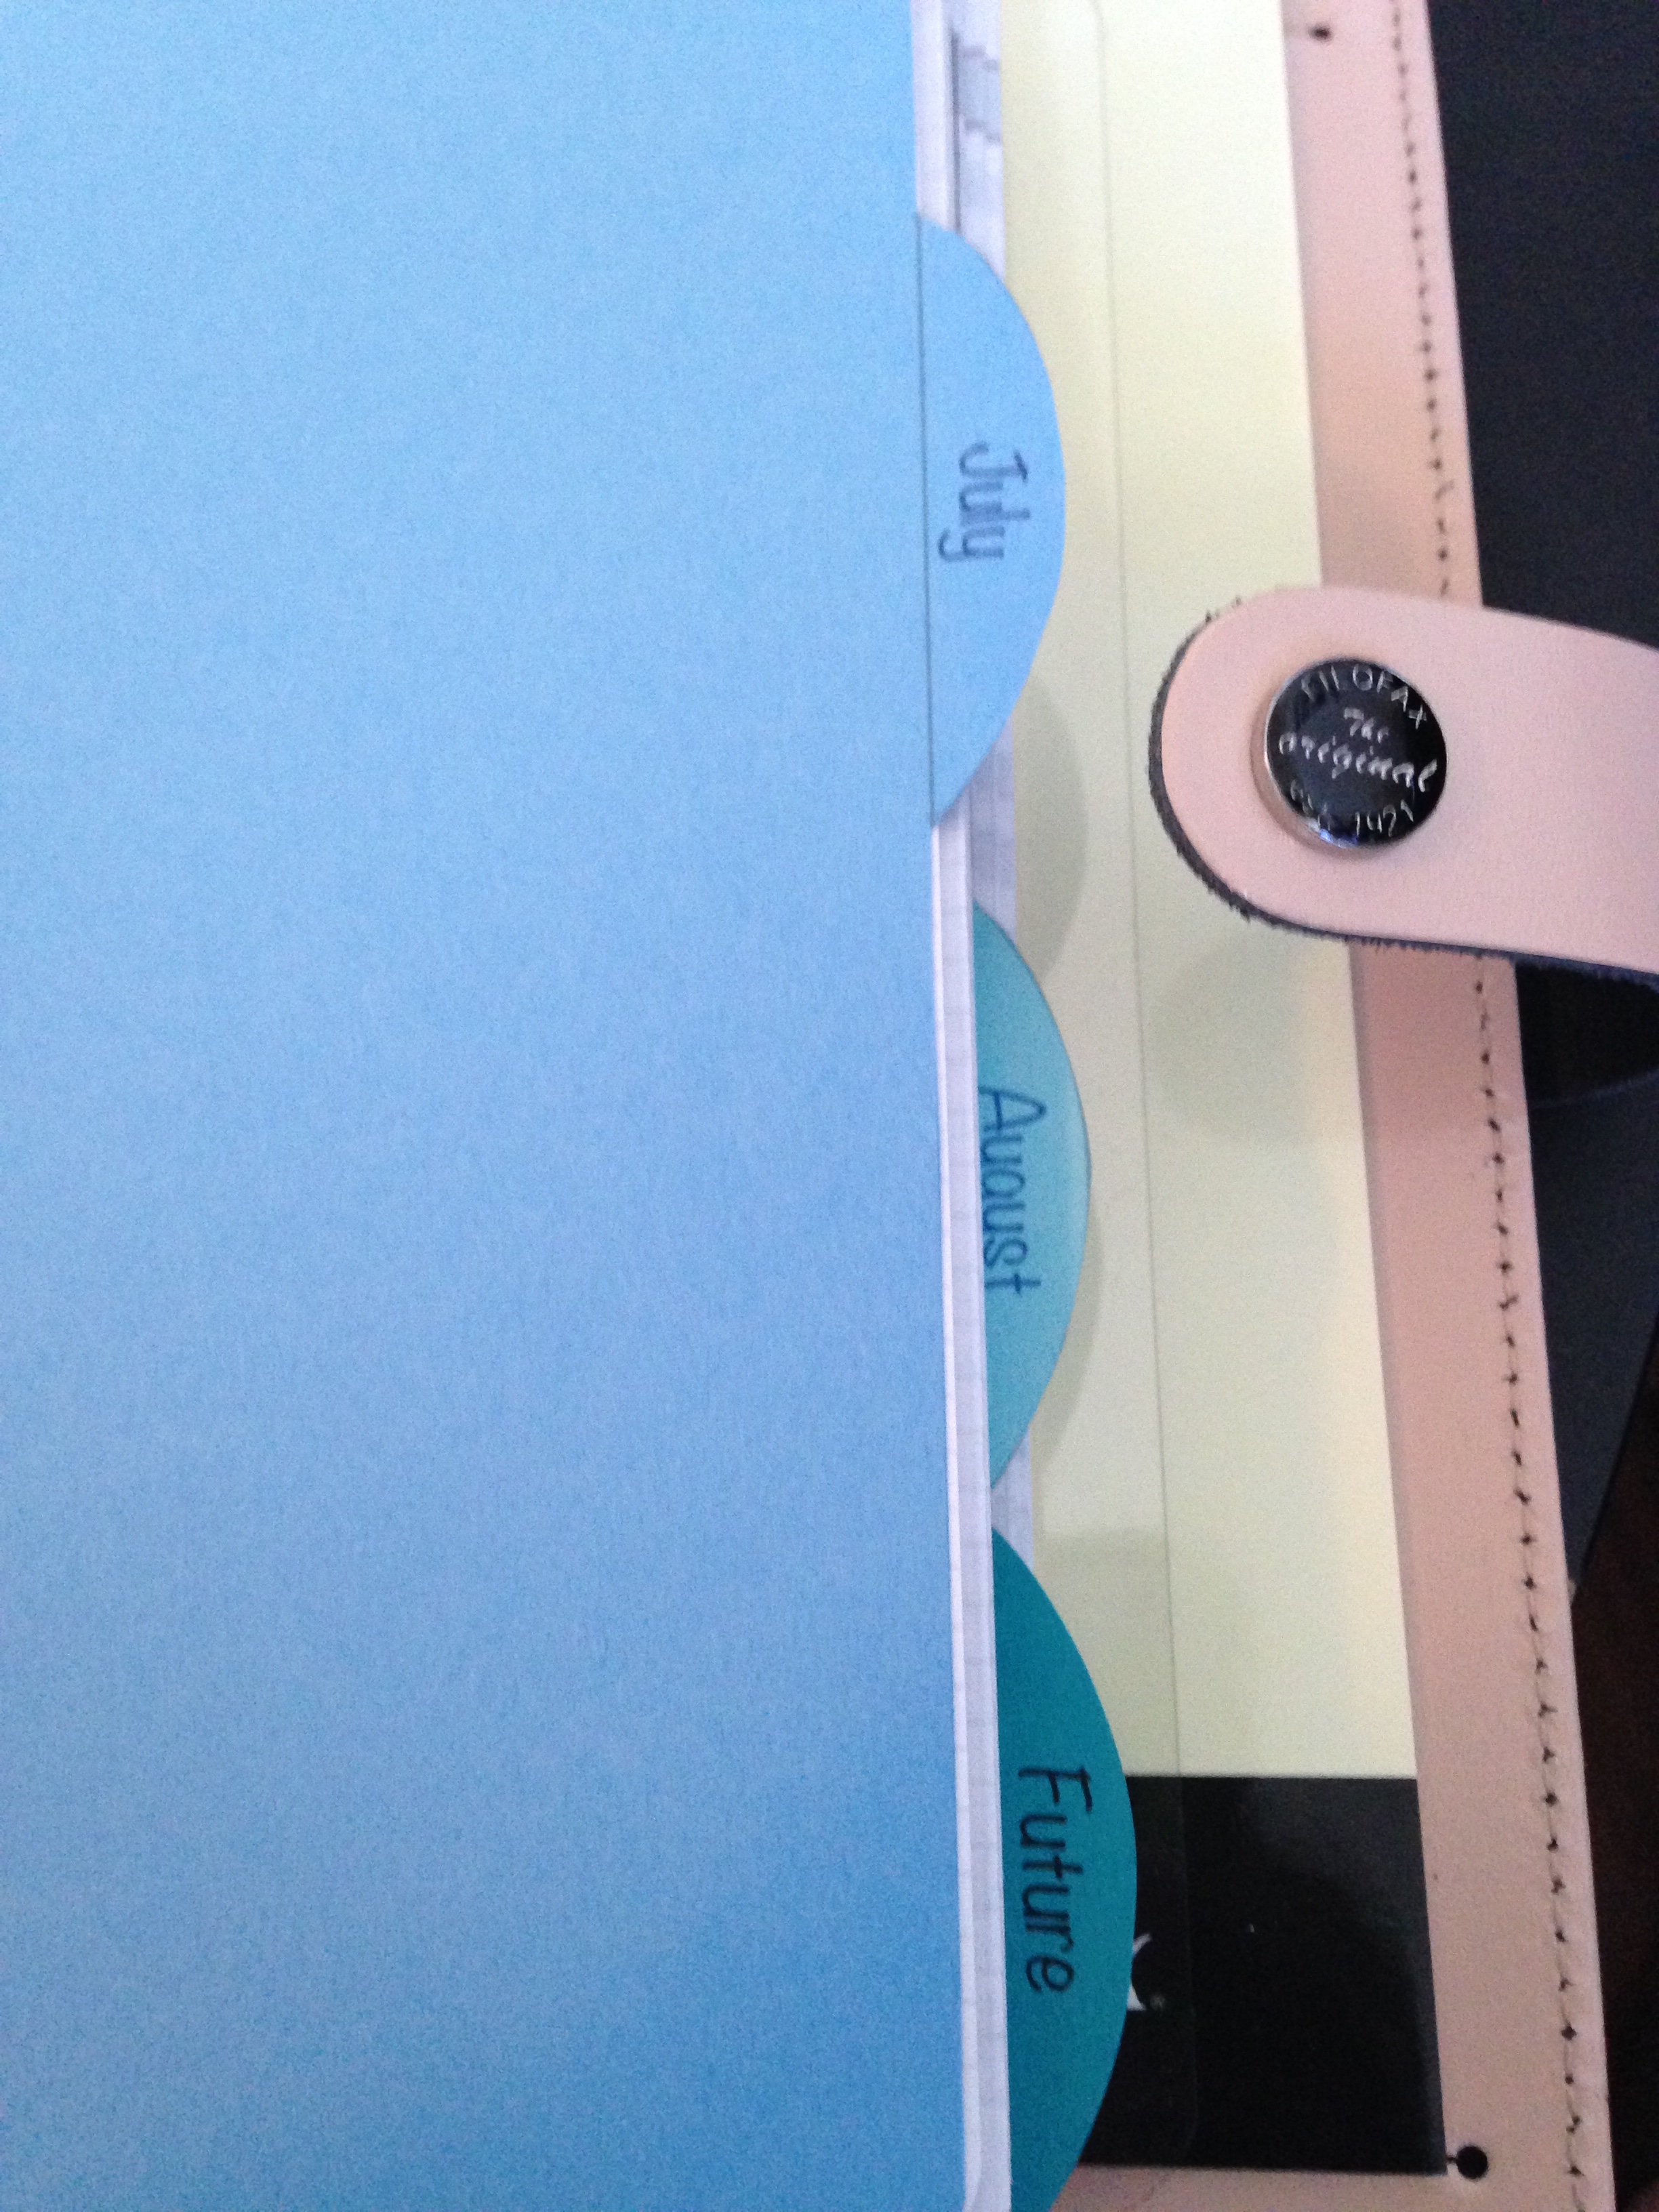
I have tabs for June (almost over), July, August, Future, and one for each major area in my life that I absolutely have to sort out separately. In my old binder, I used to have a section for each person (husband, daughter) and pet. In this setup, I’ll be tracking their major events (health, birthdays, stuff I want to scrapbook later) using color coding (more on that later).
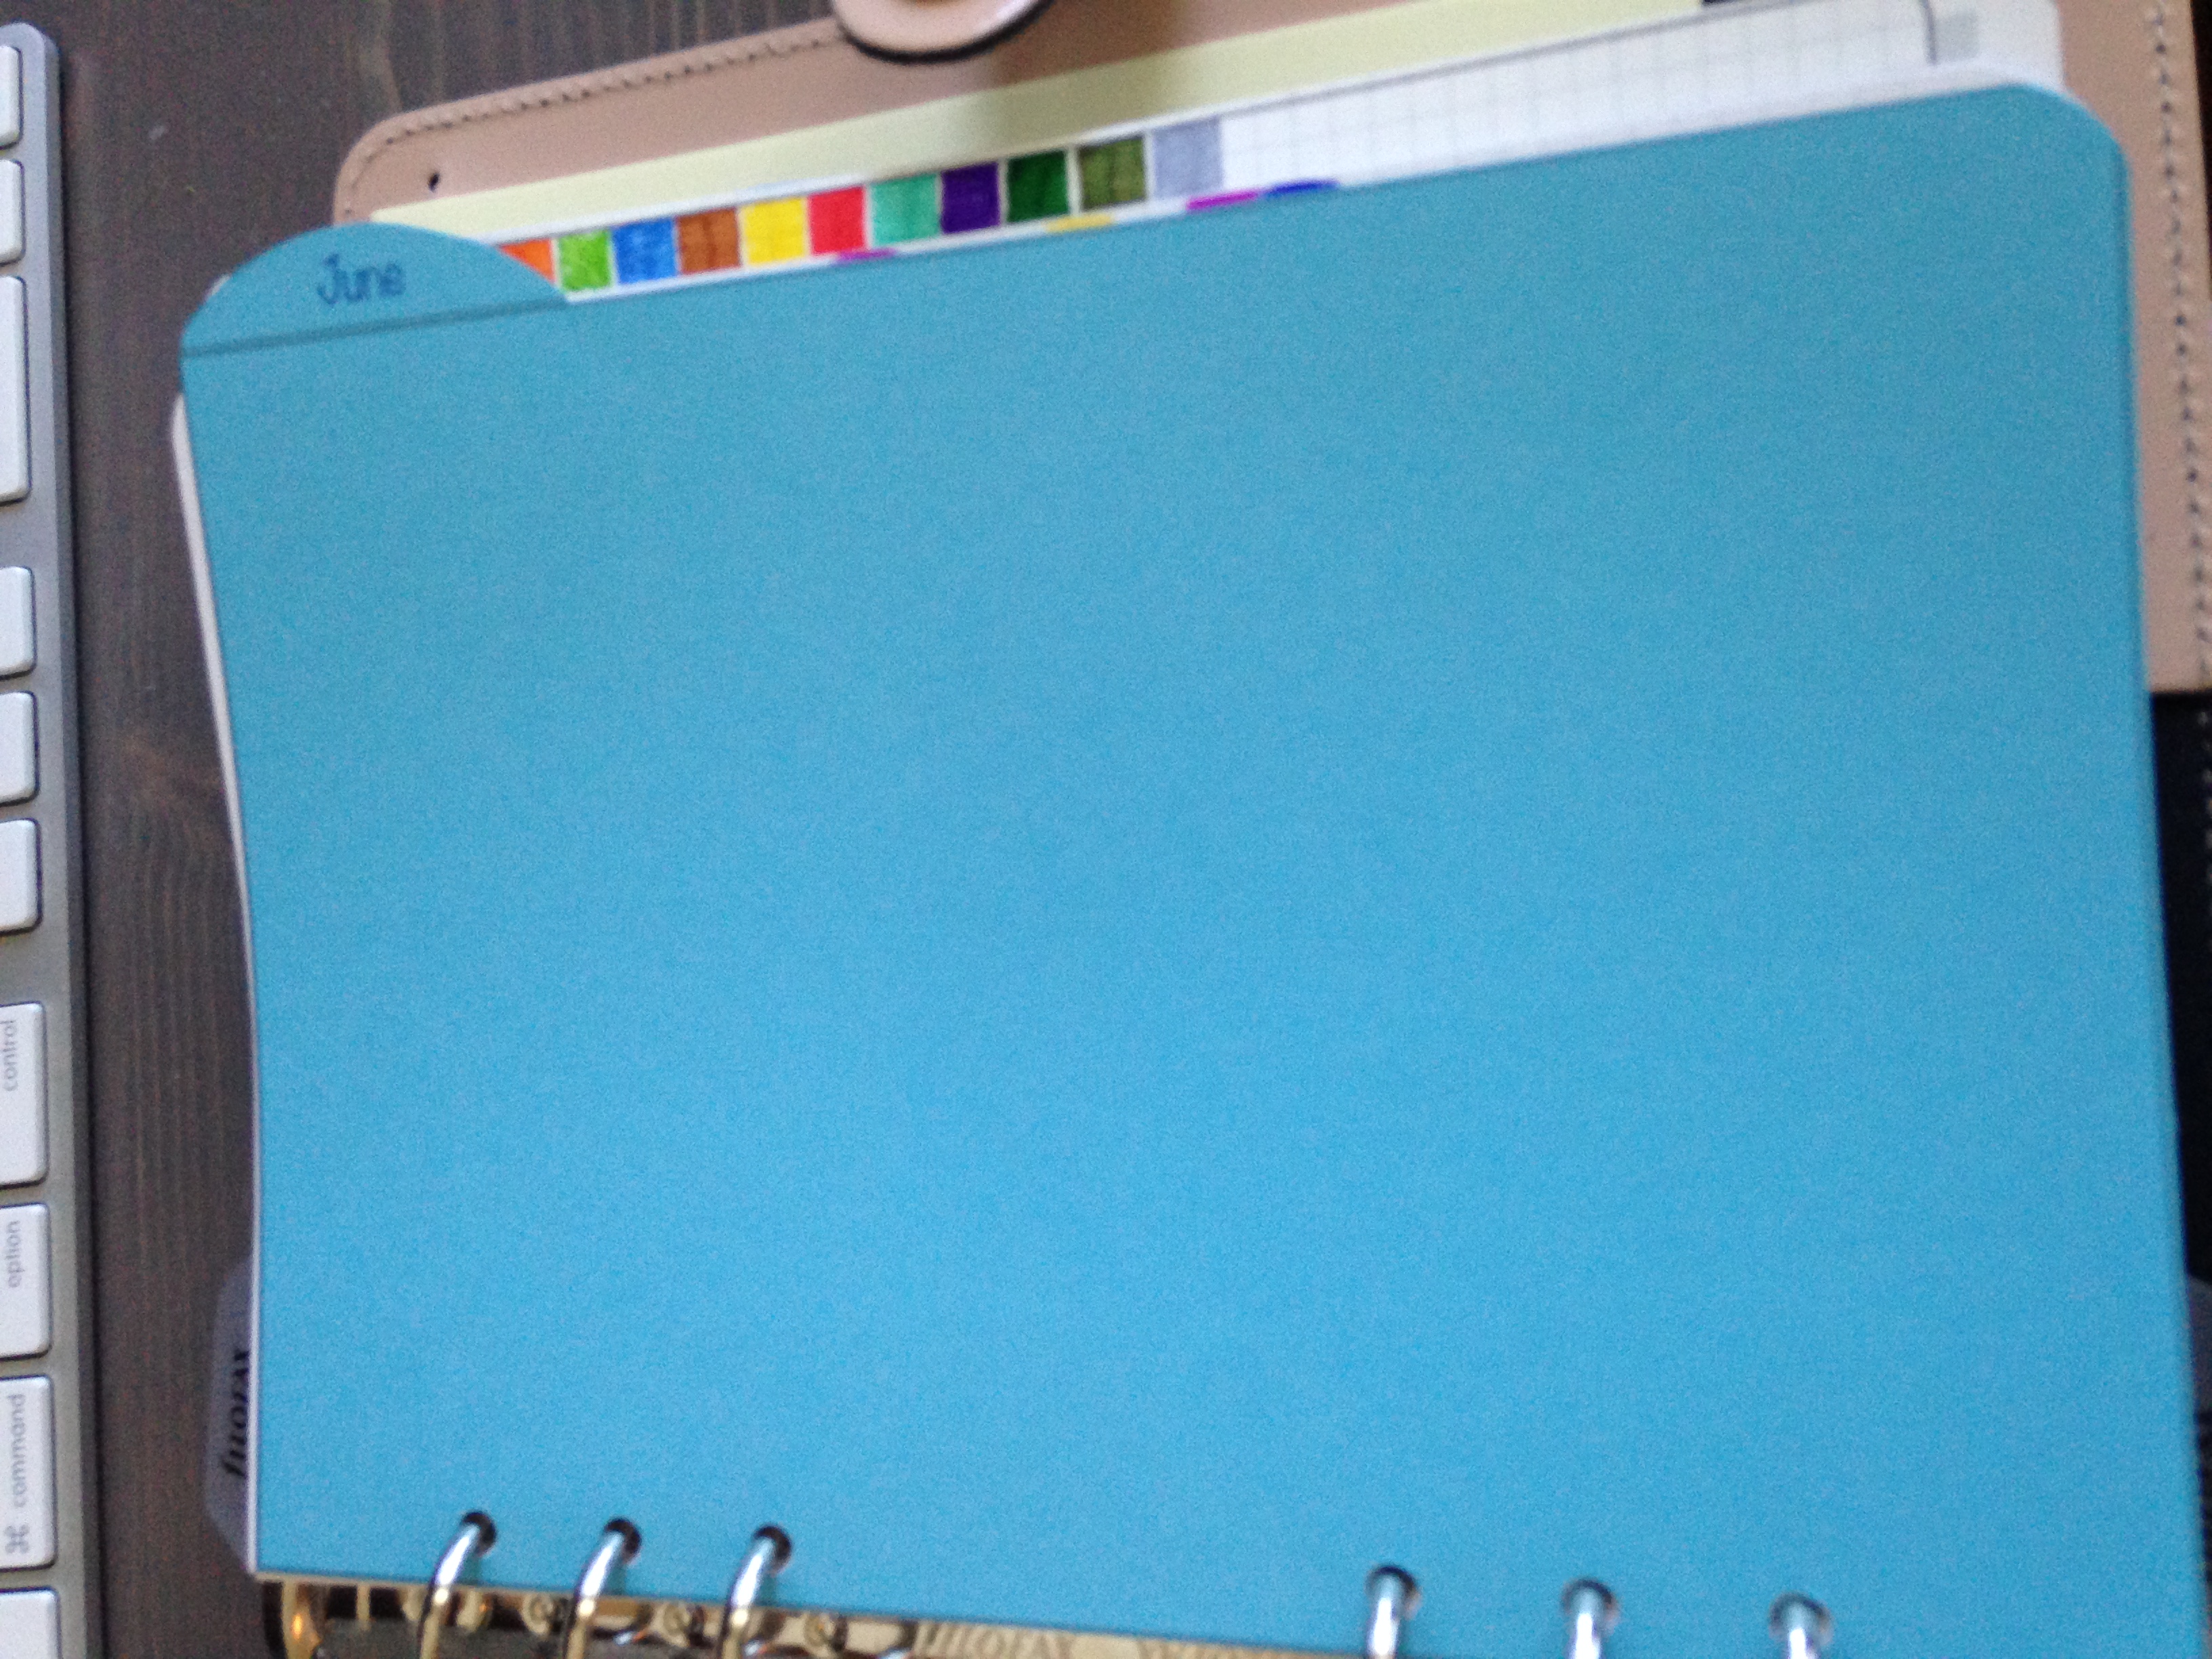
Here’s a quick and dirty look at my tabs.
Calendar tabs go horizontally for me, areas of focus vertically.
Final Assembly:
Inside front cover: I have a pen and pencil for general writing. I also have some ADA cards in the card slot for my service dog. I haven’t had to use these often but it does happen so it’s good to have them around, especially if I’m traveling or going to a store or building where they don’t already know me and my service dog.
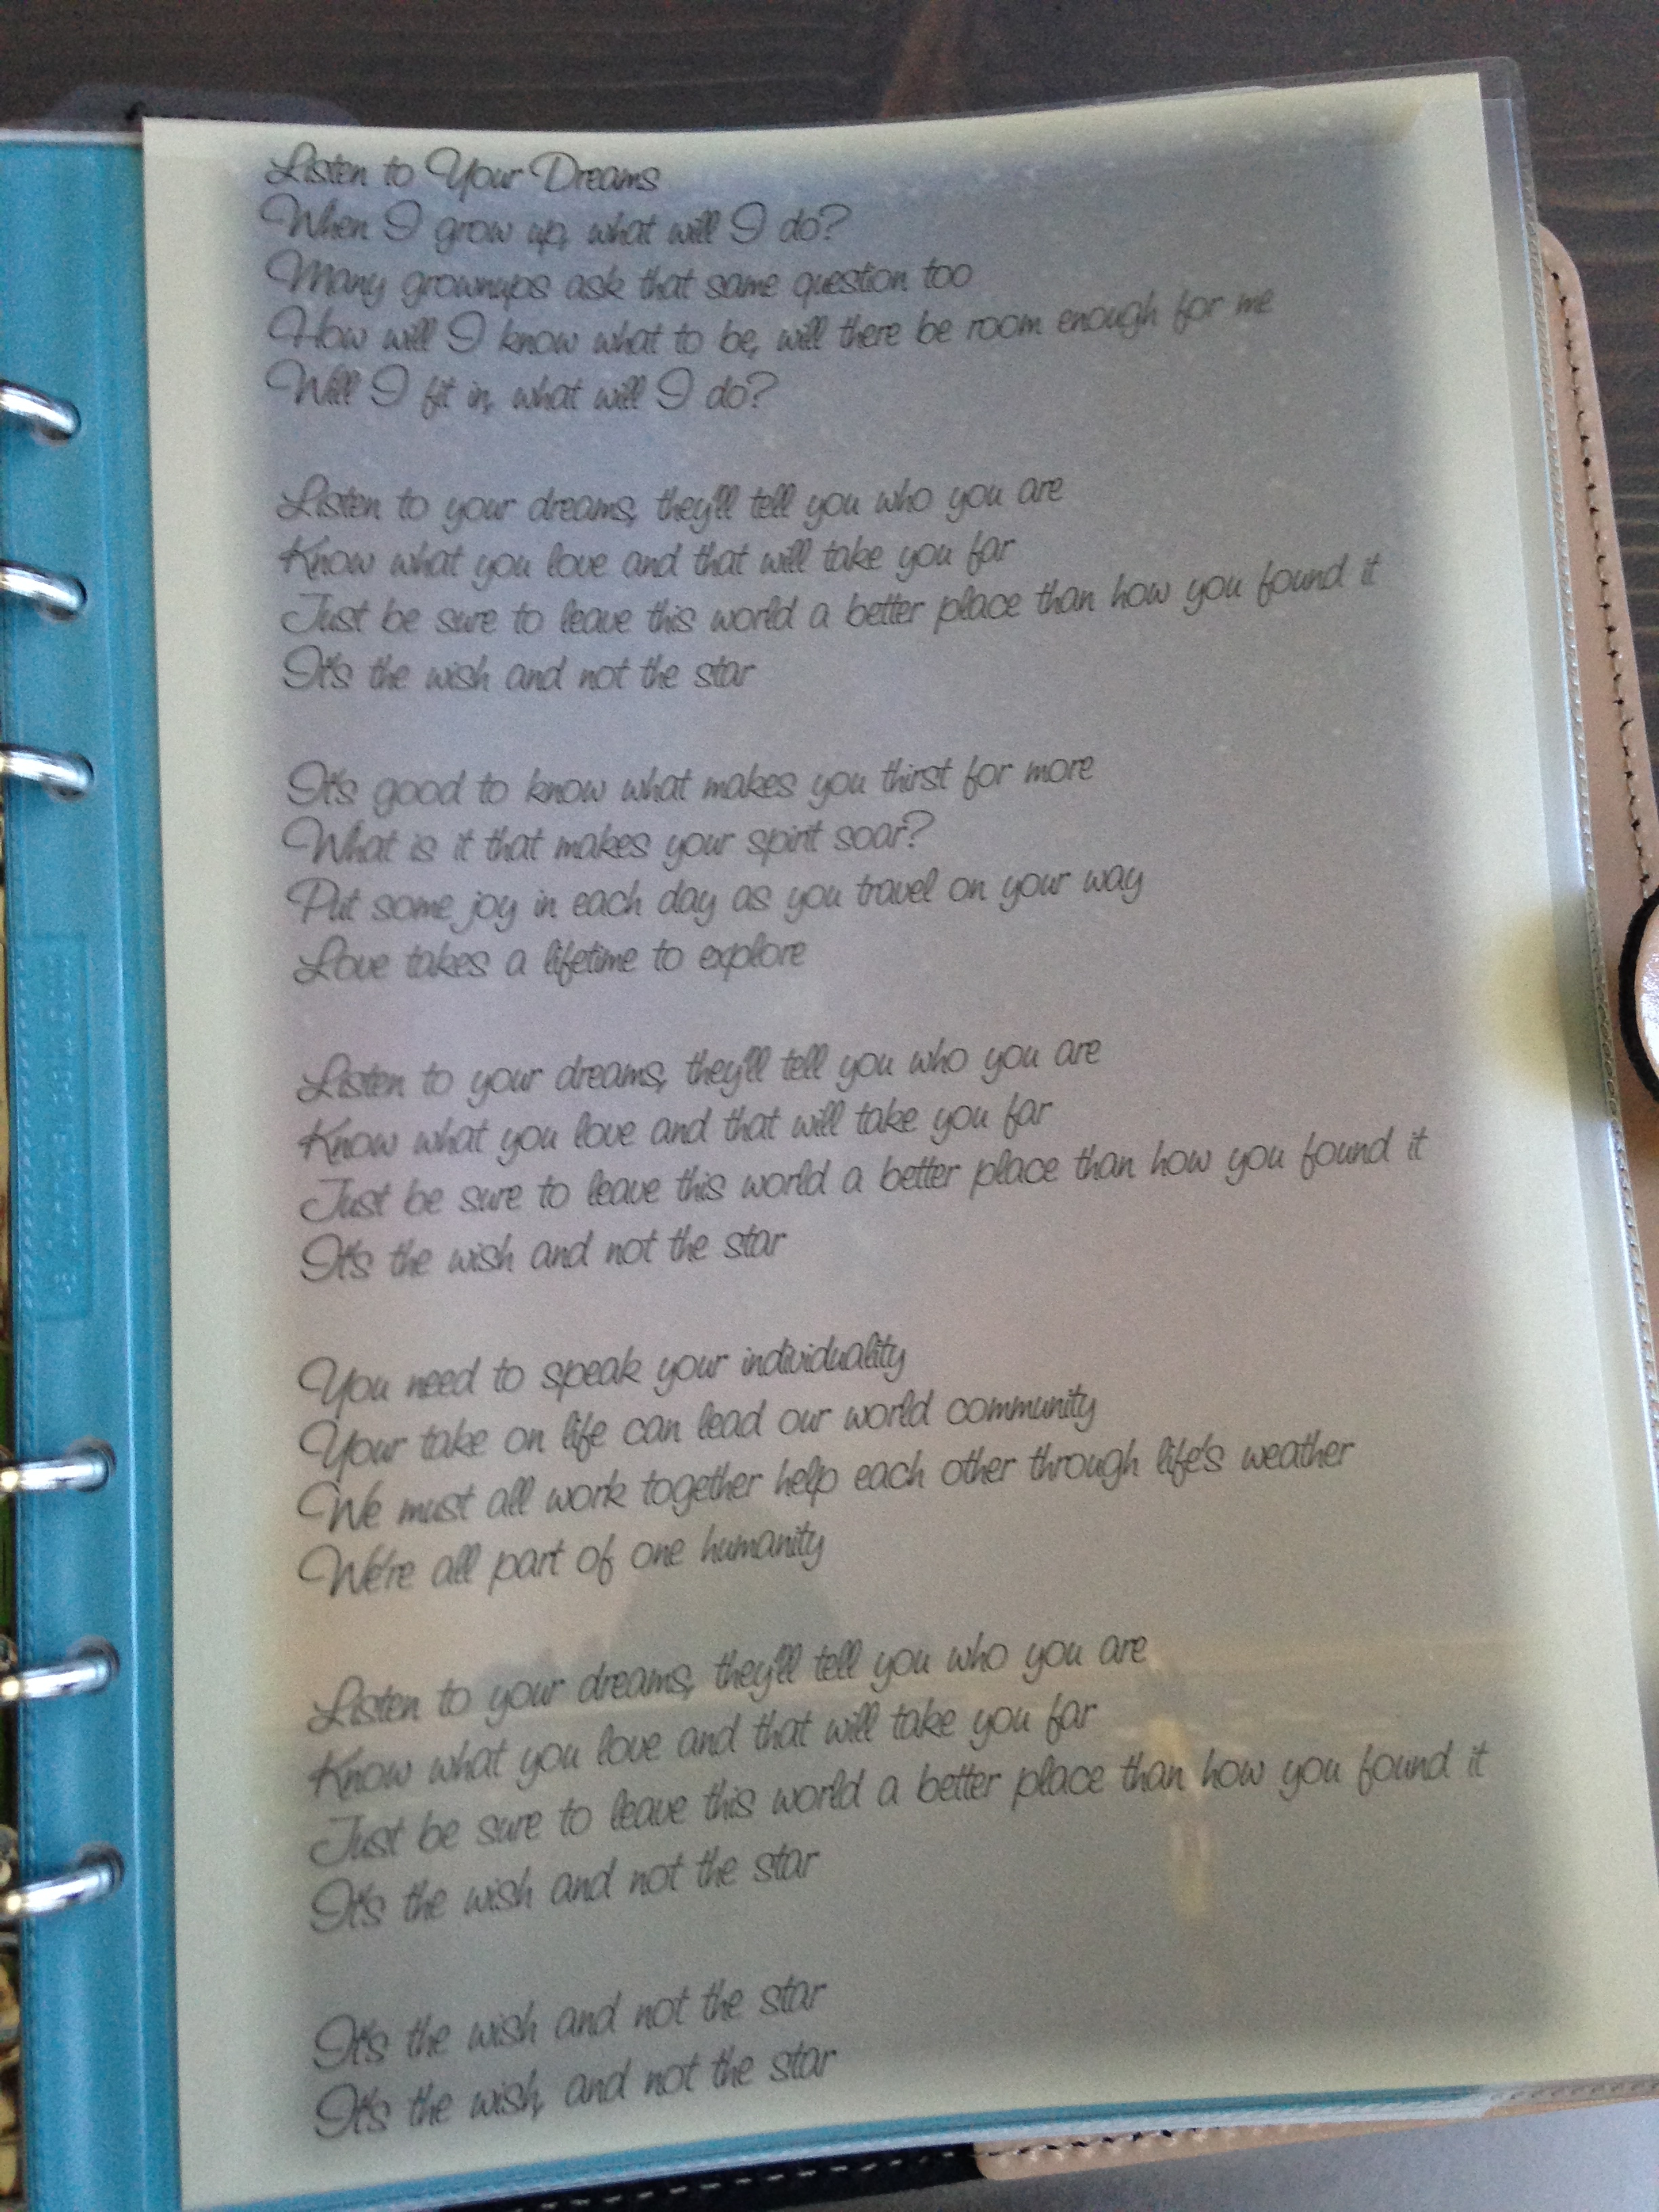
Filofax binders come with this cool document envelopes. They aren’t too stiff and are non-reflective. I slid a little motivational doohickey. The photo is of my favorite place outside of home, Cannon Beach in Oregon. Printed on top of that are some lyrics from a wonderful song by Susan Reed. These lyrics really spoke to me when she sang them at the Intermountain Suzuki String Institute this summer. You can find out more about her here, she’s amazing. Susan Reed
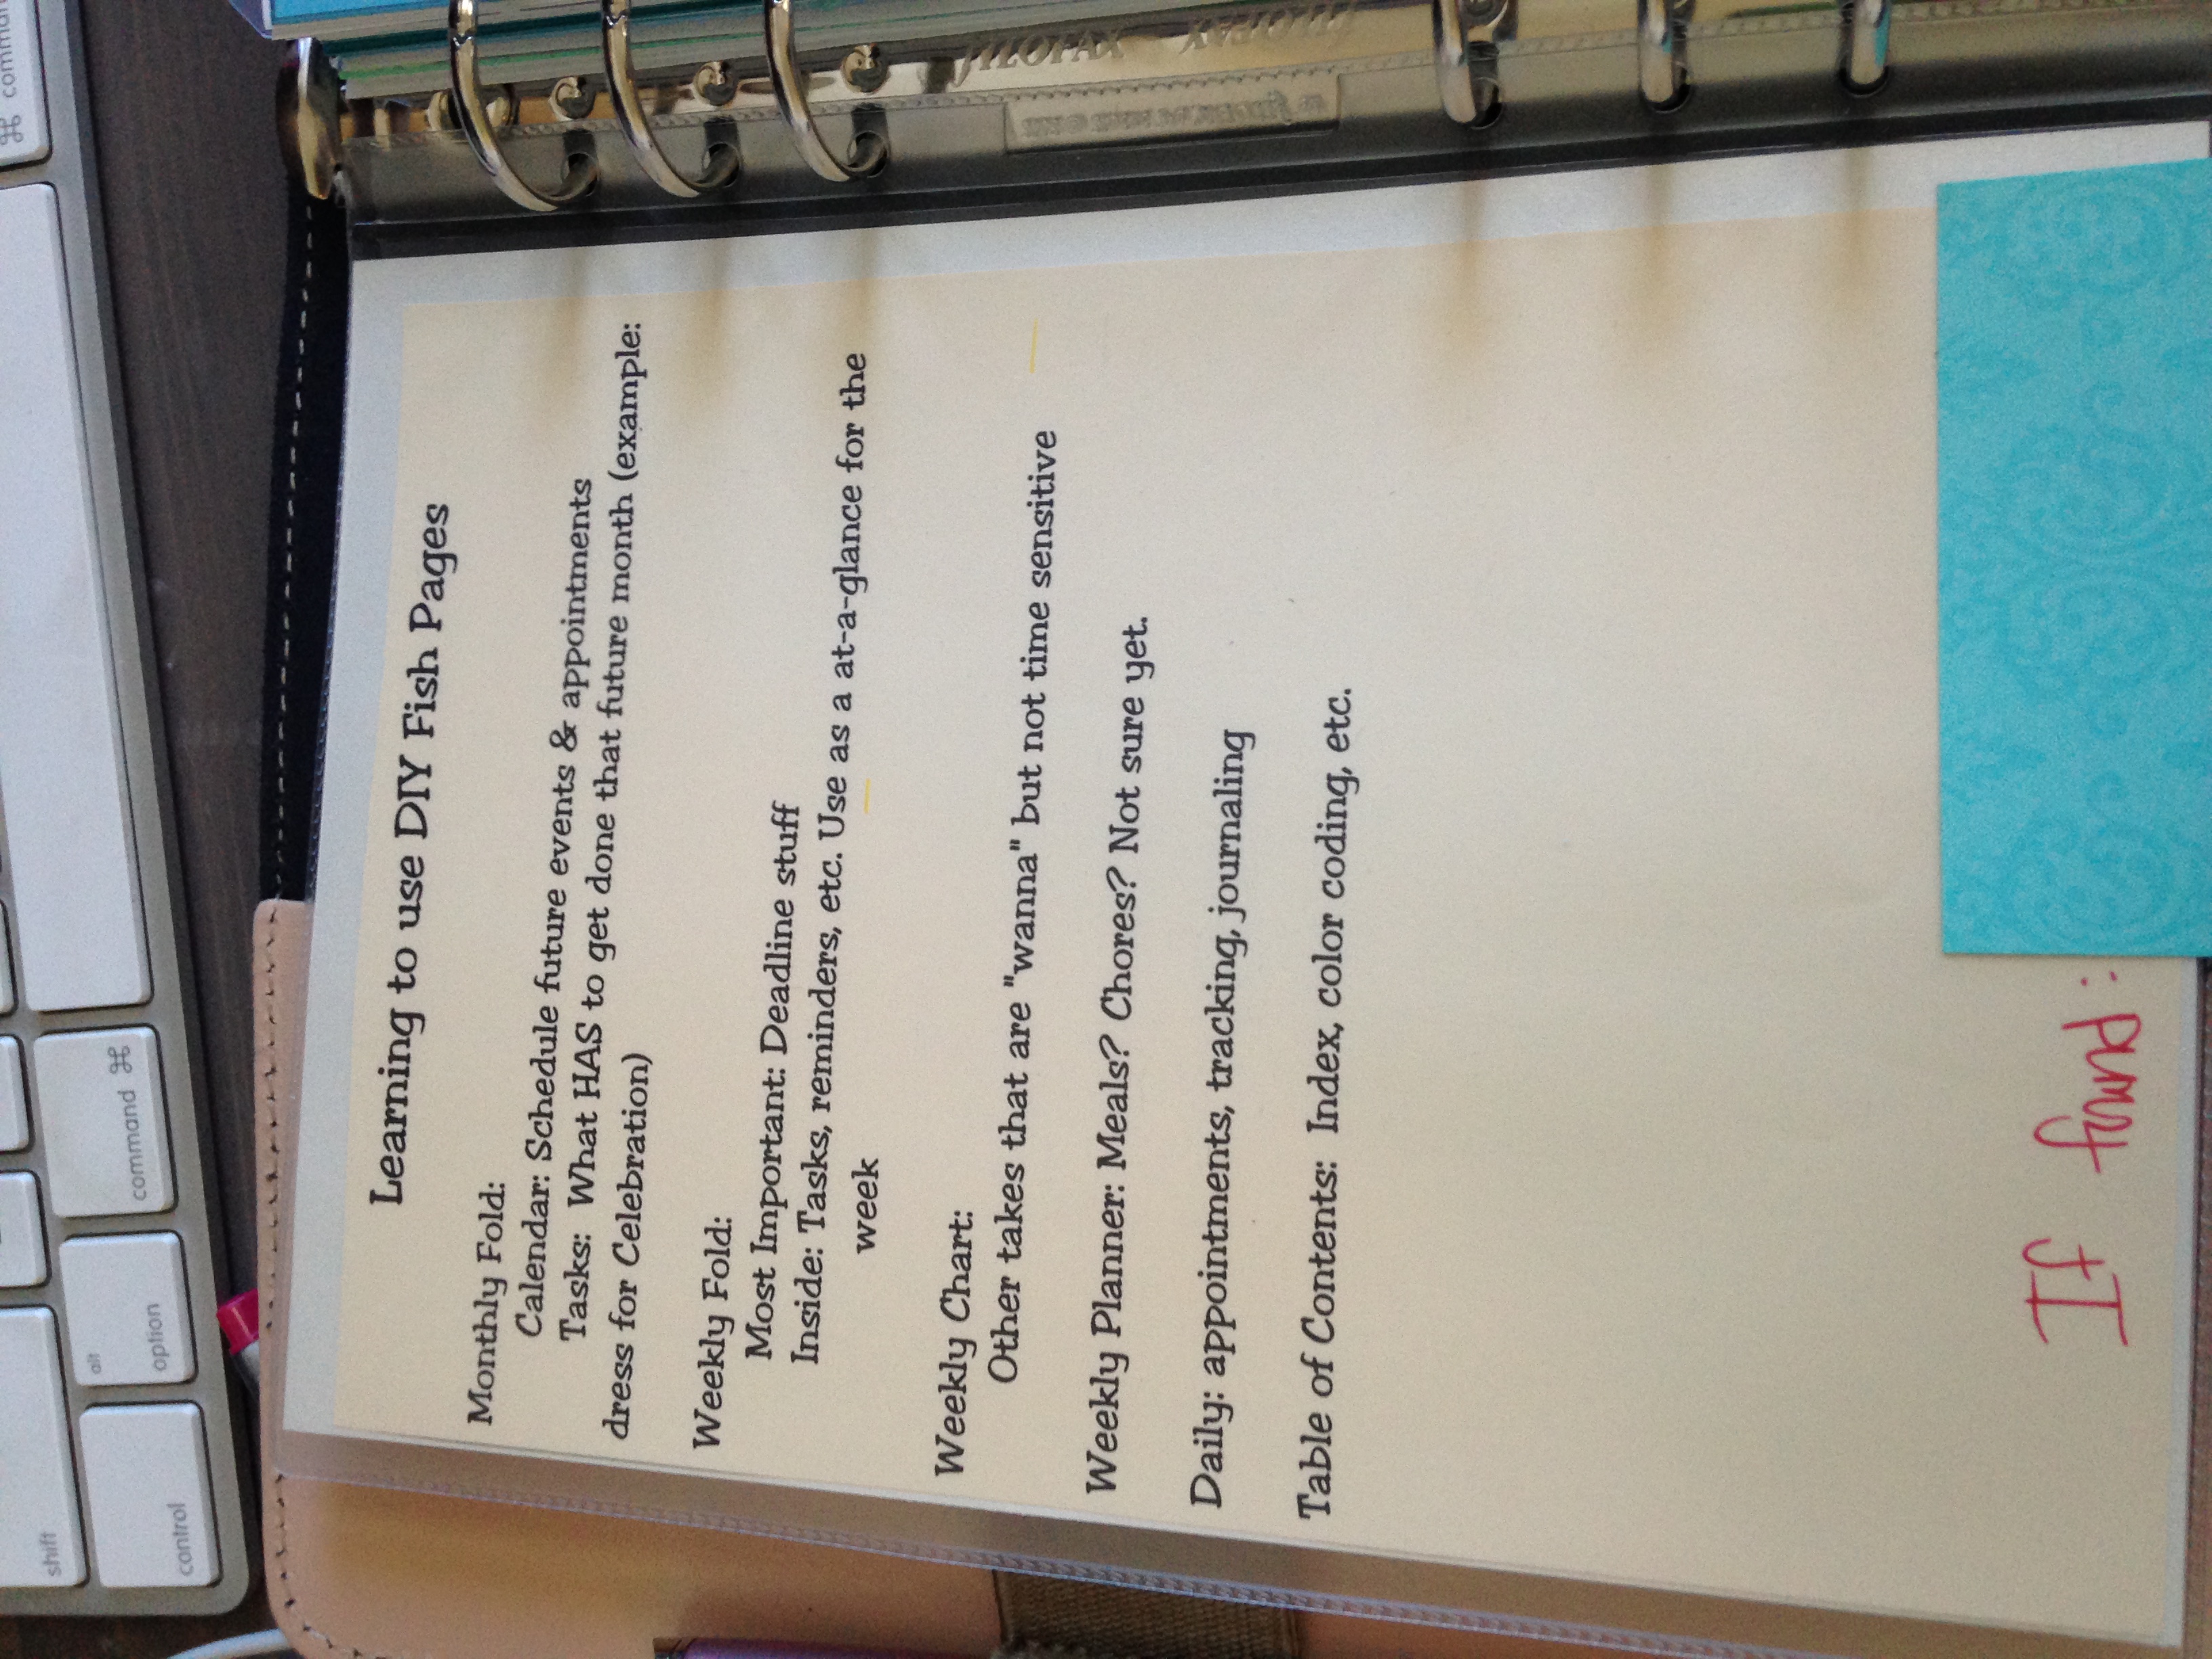
Since I’m new to these DIY Fish pages, I added a little reminder list for myself on how I’m planning to use the pages. I’ll eventually be able to get rid of the little paper but for the next month or so, it will probably be handy. I also added a phone number in case I leave my Filofax someplace accidentally.
Next is my June tab, even though the month is almost over. 🙂
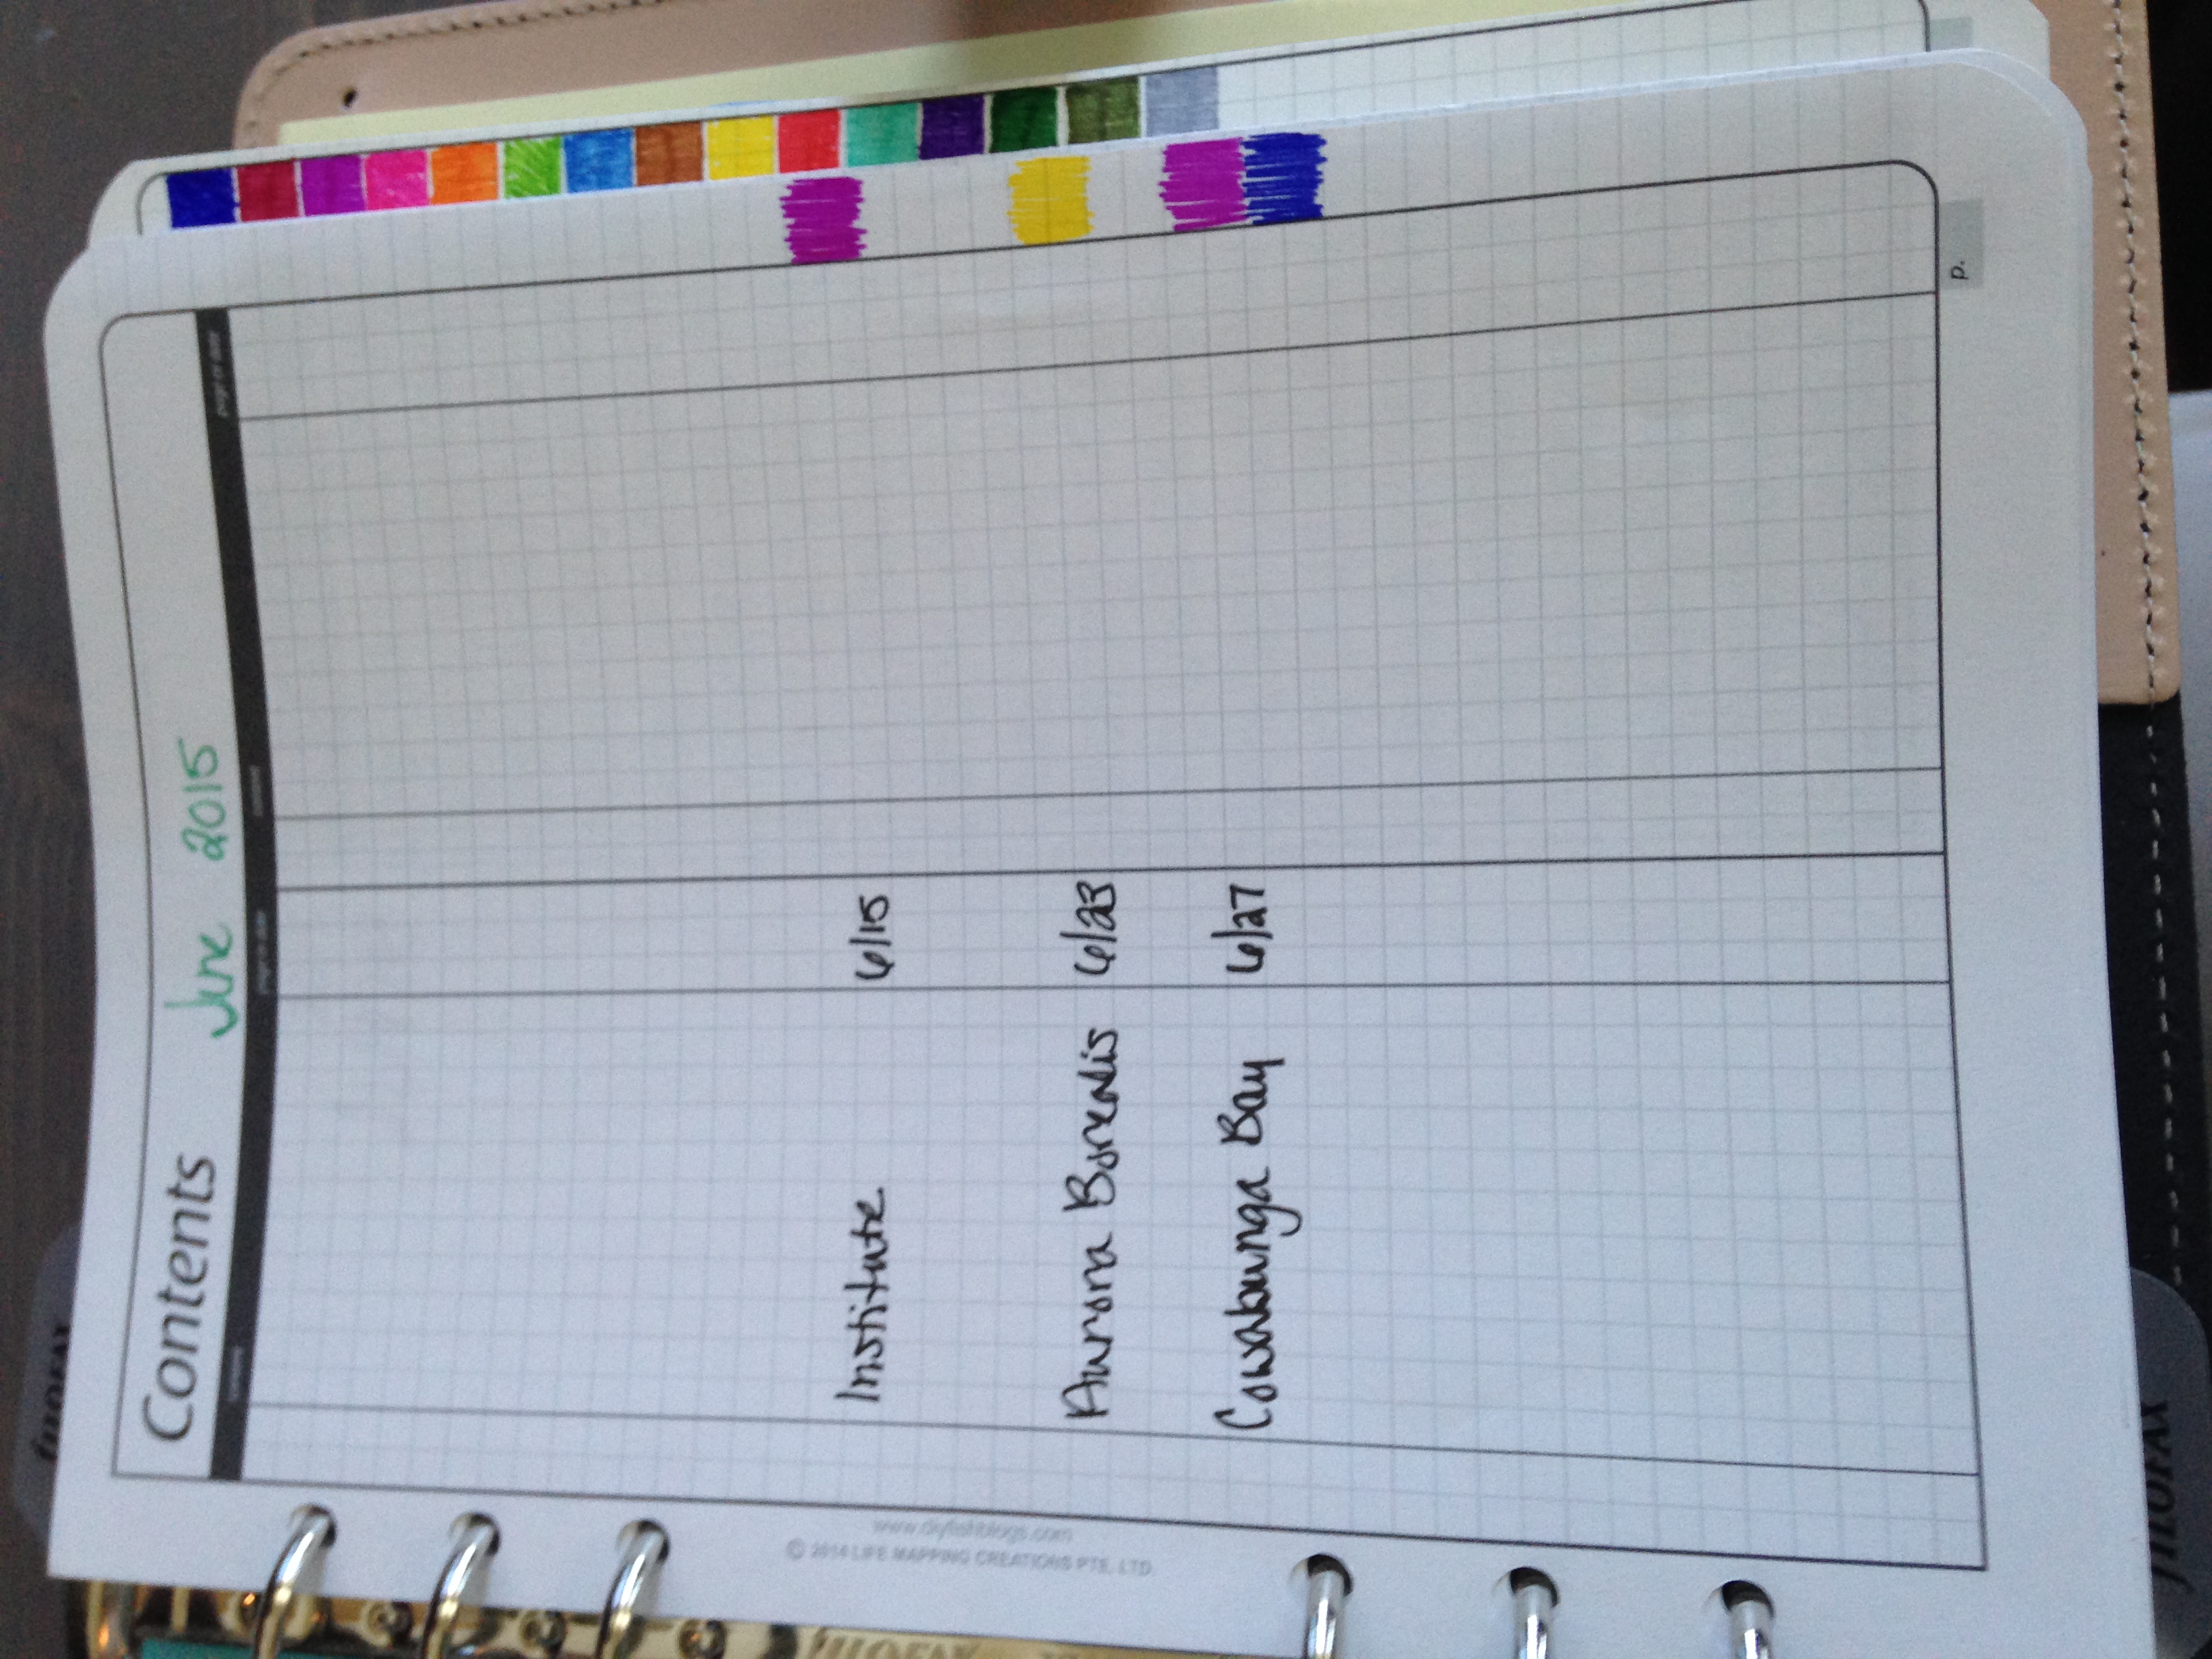
Behind that is my June contents page. On the side border I’ve color coded a few things I want to be searchable later on. More on color coding later. It’s a fabulous idea that DIY Fish came up with and I have a feeling it will save my mental health bacon in the future.
After that is my folded monthly chart/calendar for June. I have mine at the beginning of the month. I have read on Fish’s blog that some people choose to print this item as two separate pages and put the calendar in the front of the month and the monthly task chart at the back of the month for ease of scheduling tasks for heavy projects. Saves them from flipping pages back and forth. I’ll be keeping this in mind as I use these pages for the first time in July.
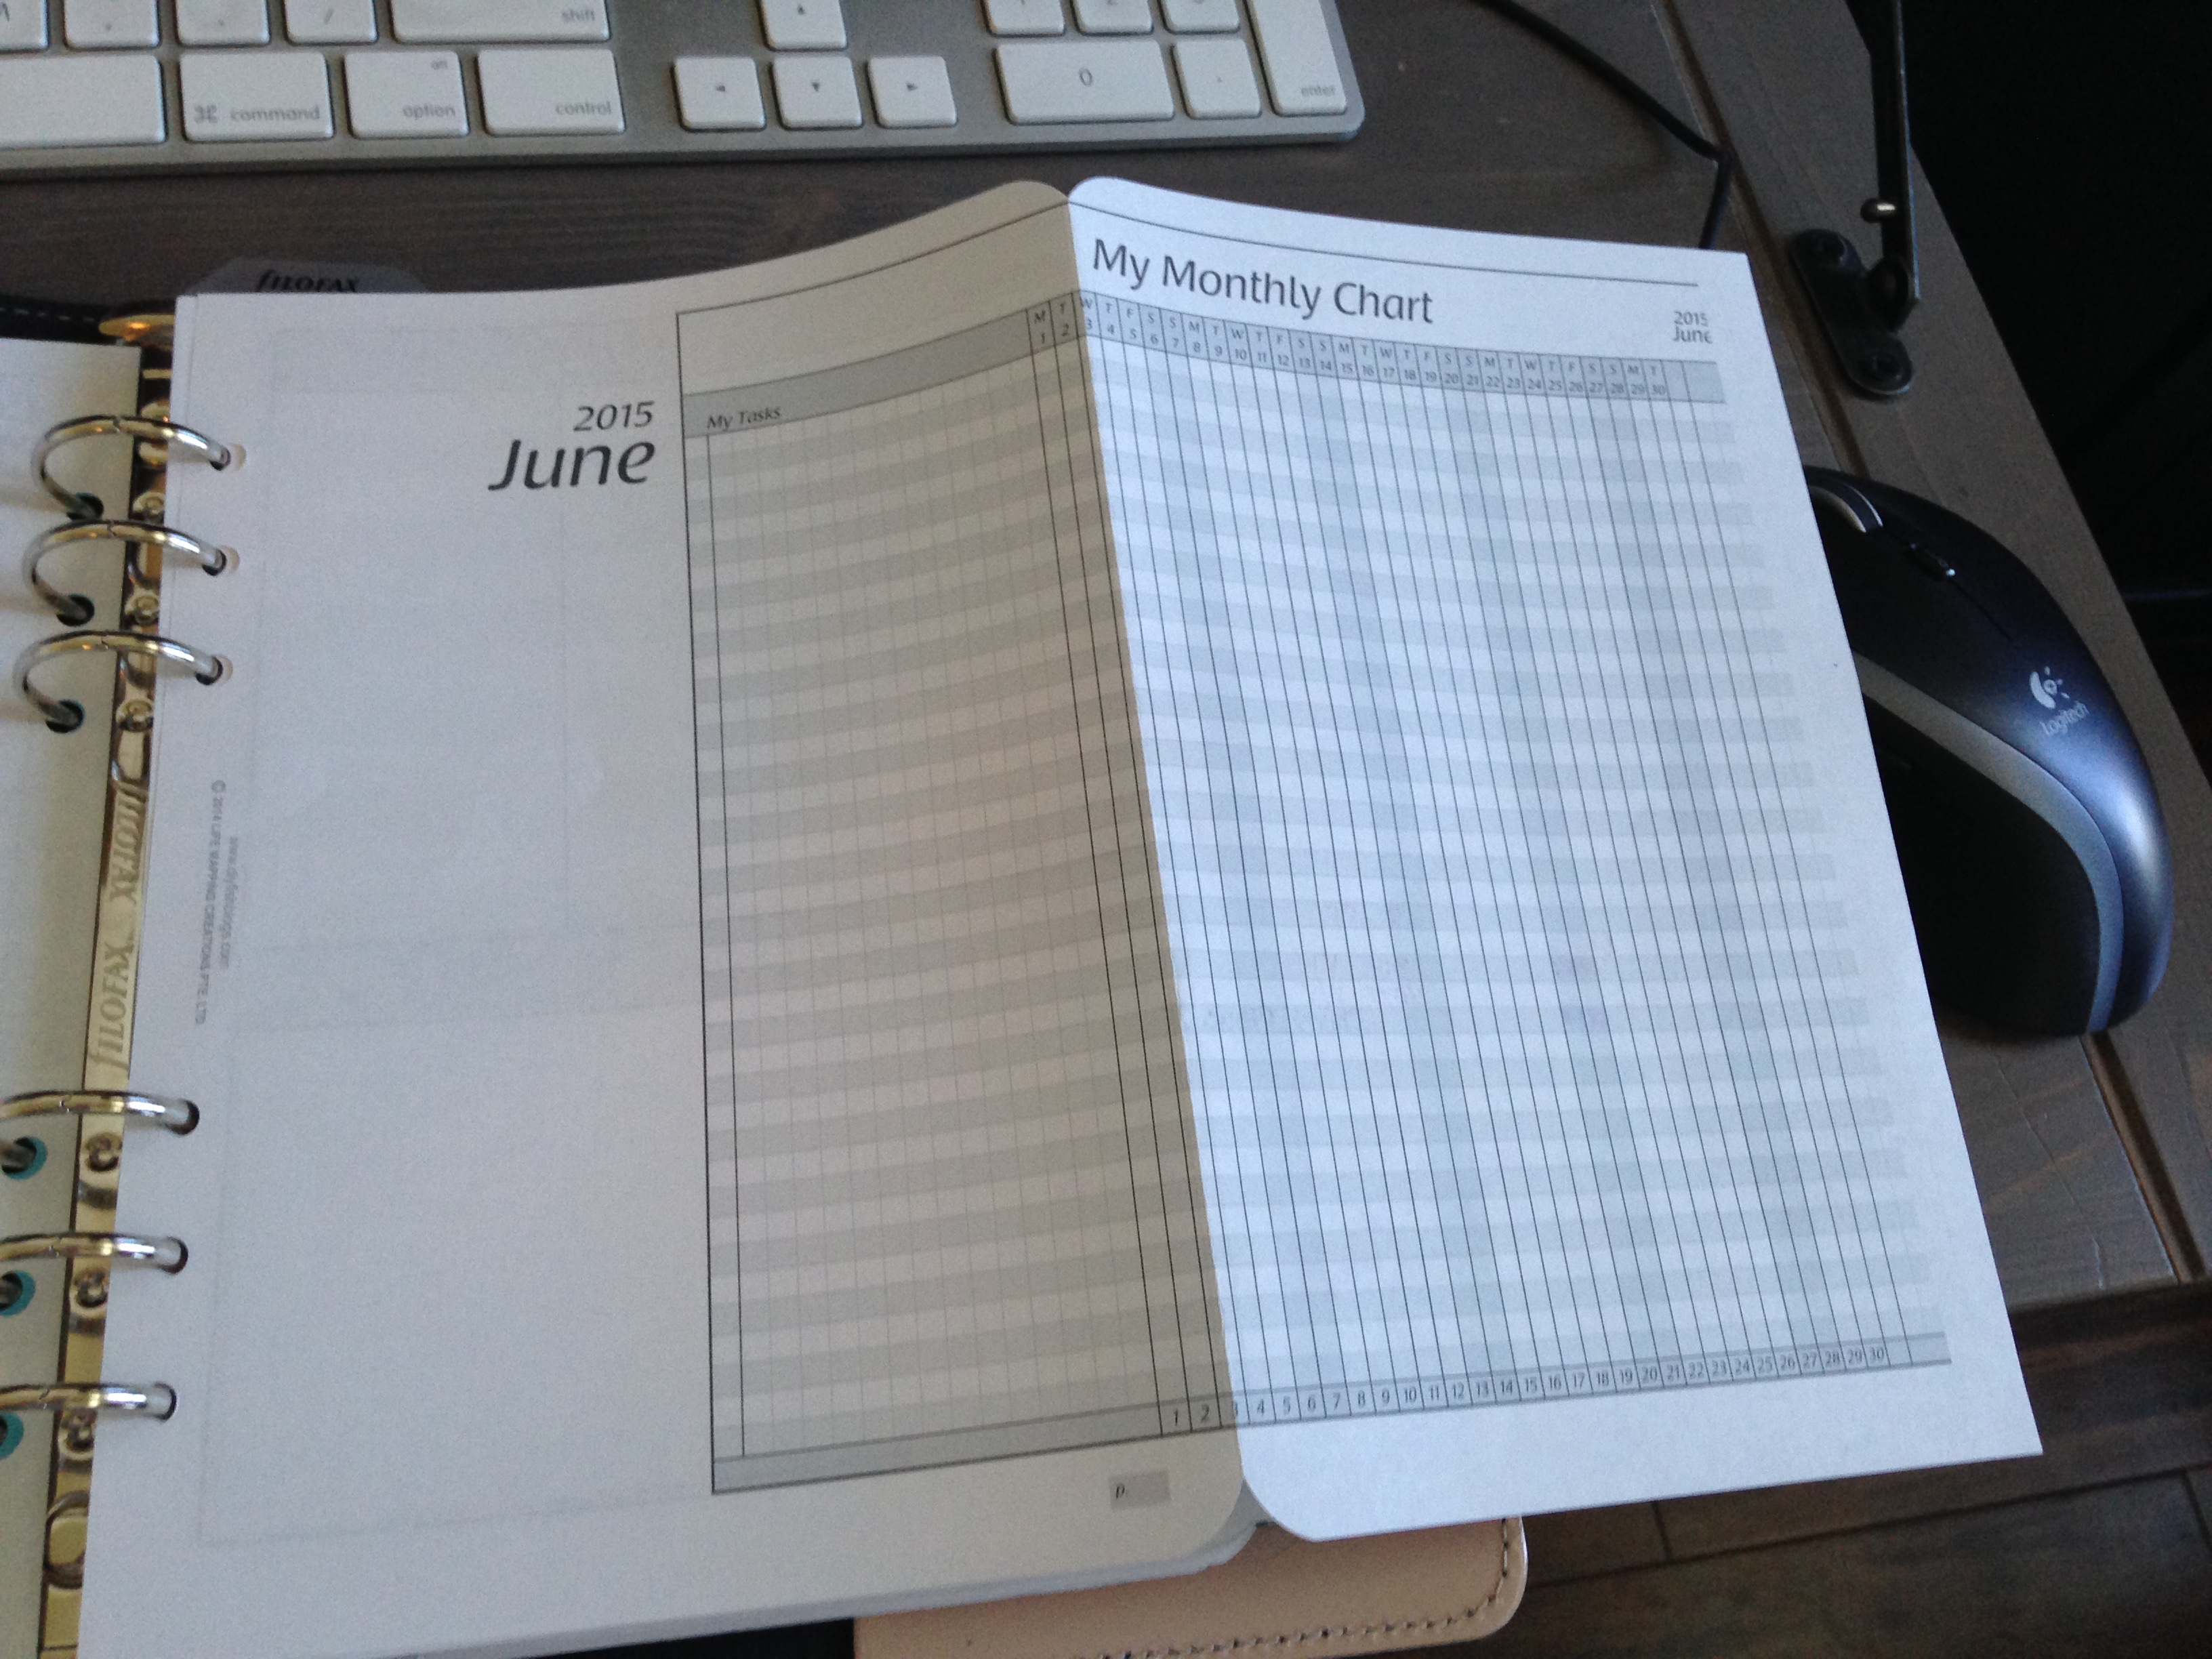
I haven’t schedule any tasks as of yet. I need to do a brain and Omnifocus dump to accomplish that and I’m not mentally there yet. I need to finish my setup first.
Next I have my weekly charts folded around my daily pages for the week that has already passed. I’m planning to keep all weekly/daily pages in my Filofax until I’m ready to archive that month. But because I don’t want to look through them every day, I have them loosely secured with a magnetic bookmark (a paperclip would work just as well). As the days pass and the daily page becomes more of a yesterday page, I’ll secure it within the week fold. This was the week’s major tasks are still very visible. Because I was still setting up my pages, the majority of the last week doesn’t really have much on it. And boy was I confused when I was running errands, going to appointments, etc. I’ll be glad when I can just refer to my written schedule every day.

Next I have my current daily pages.
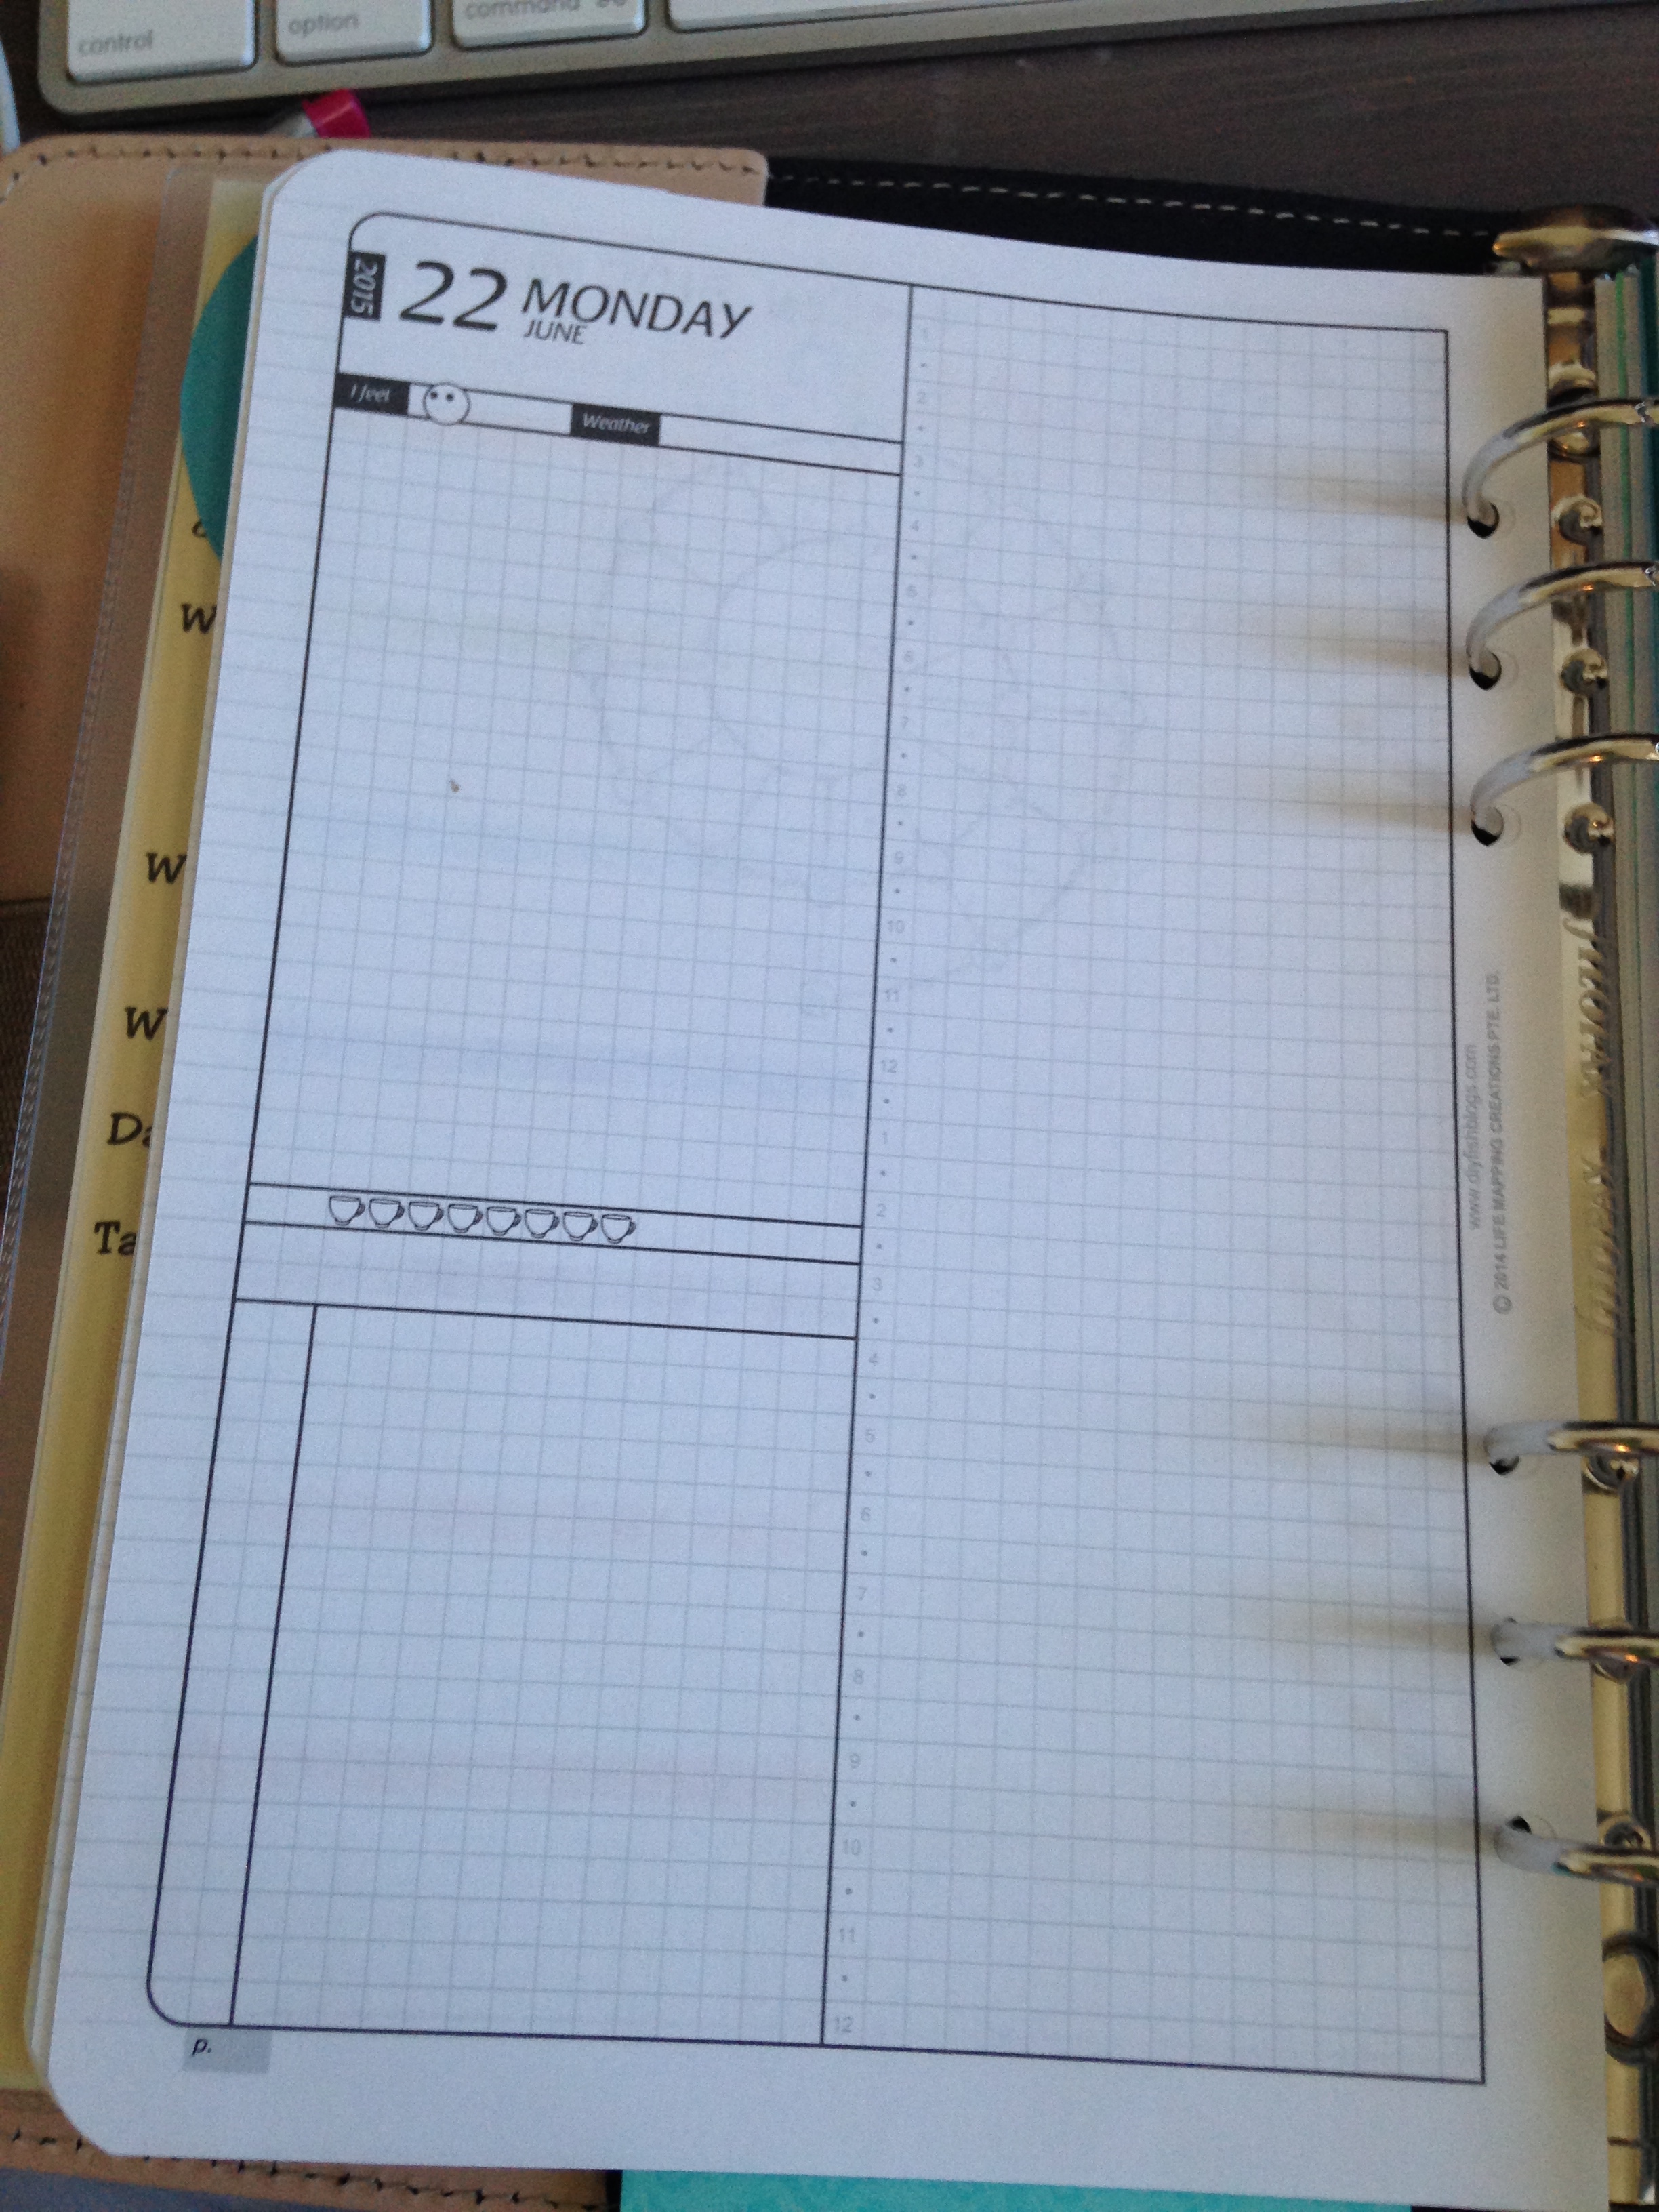
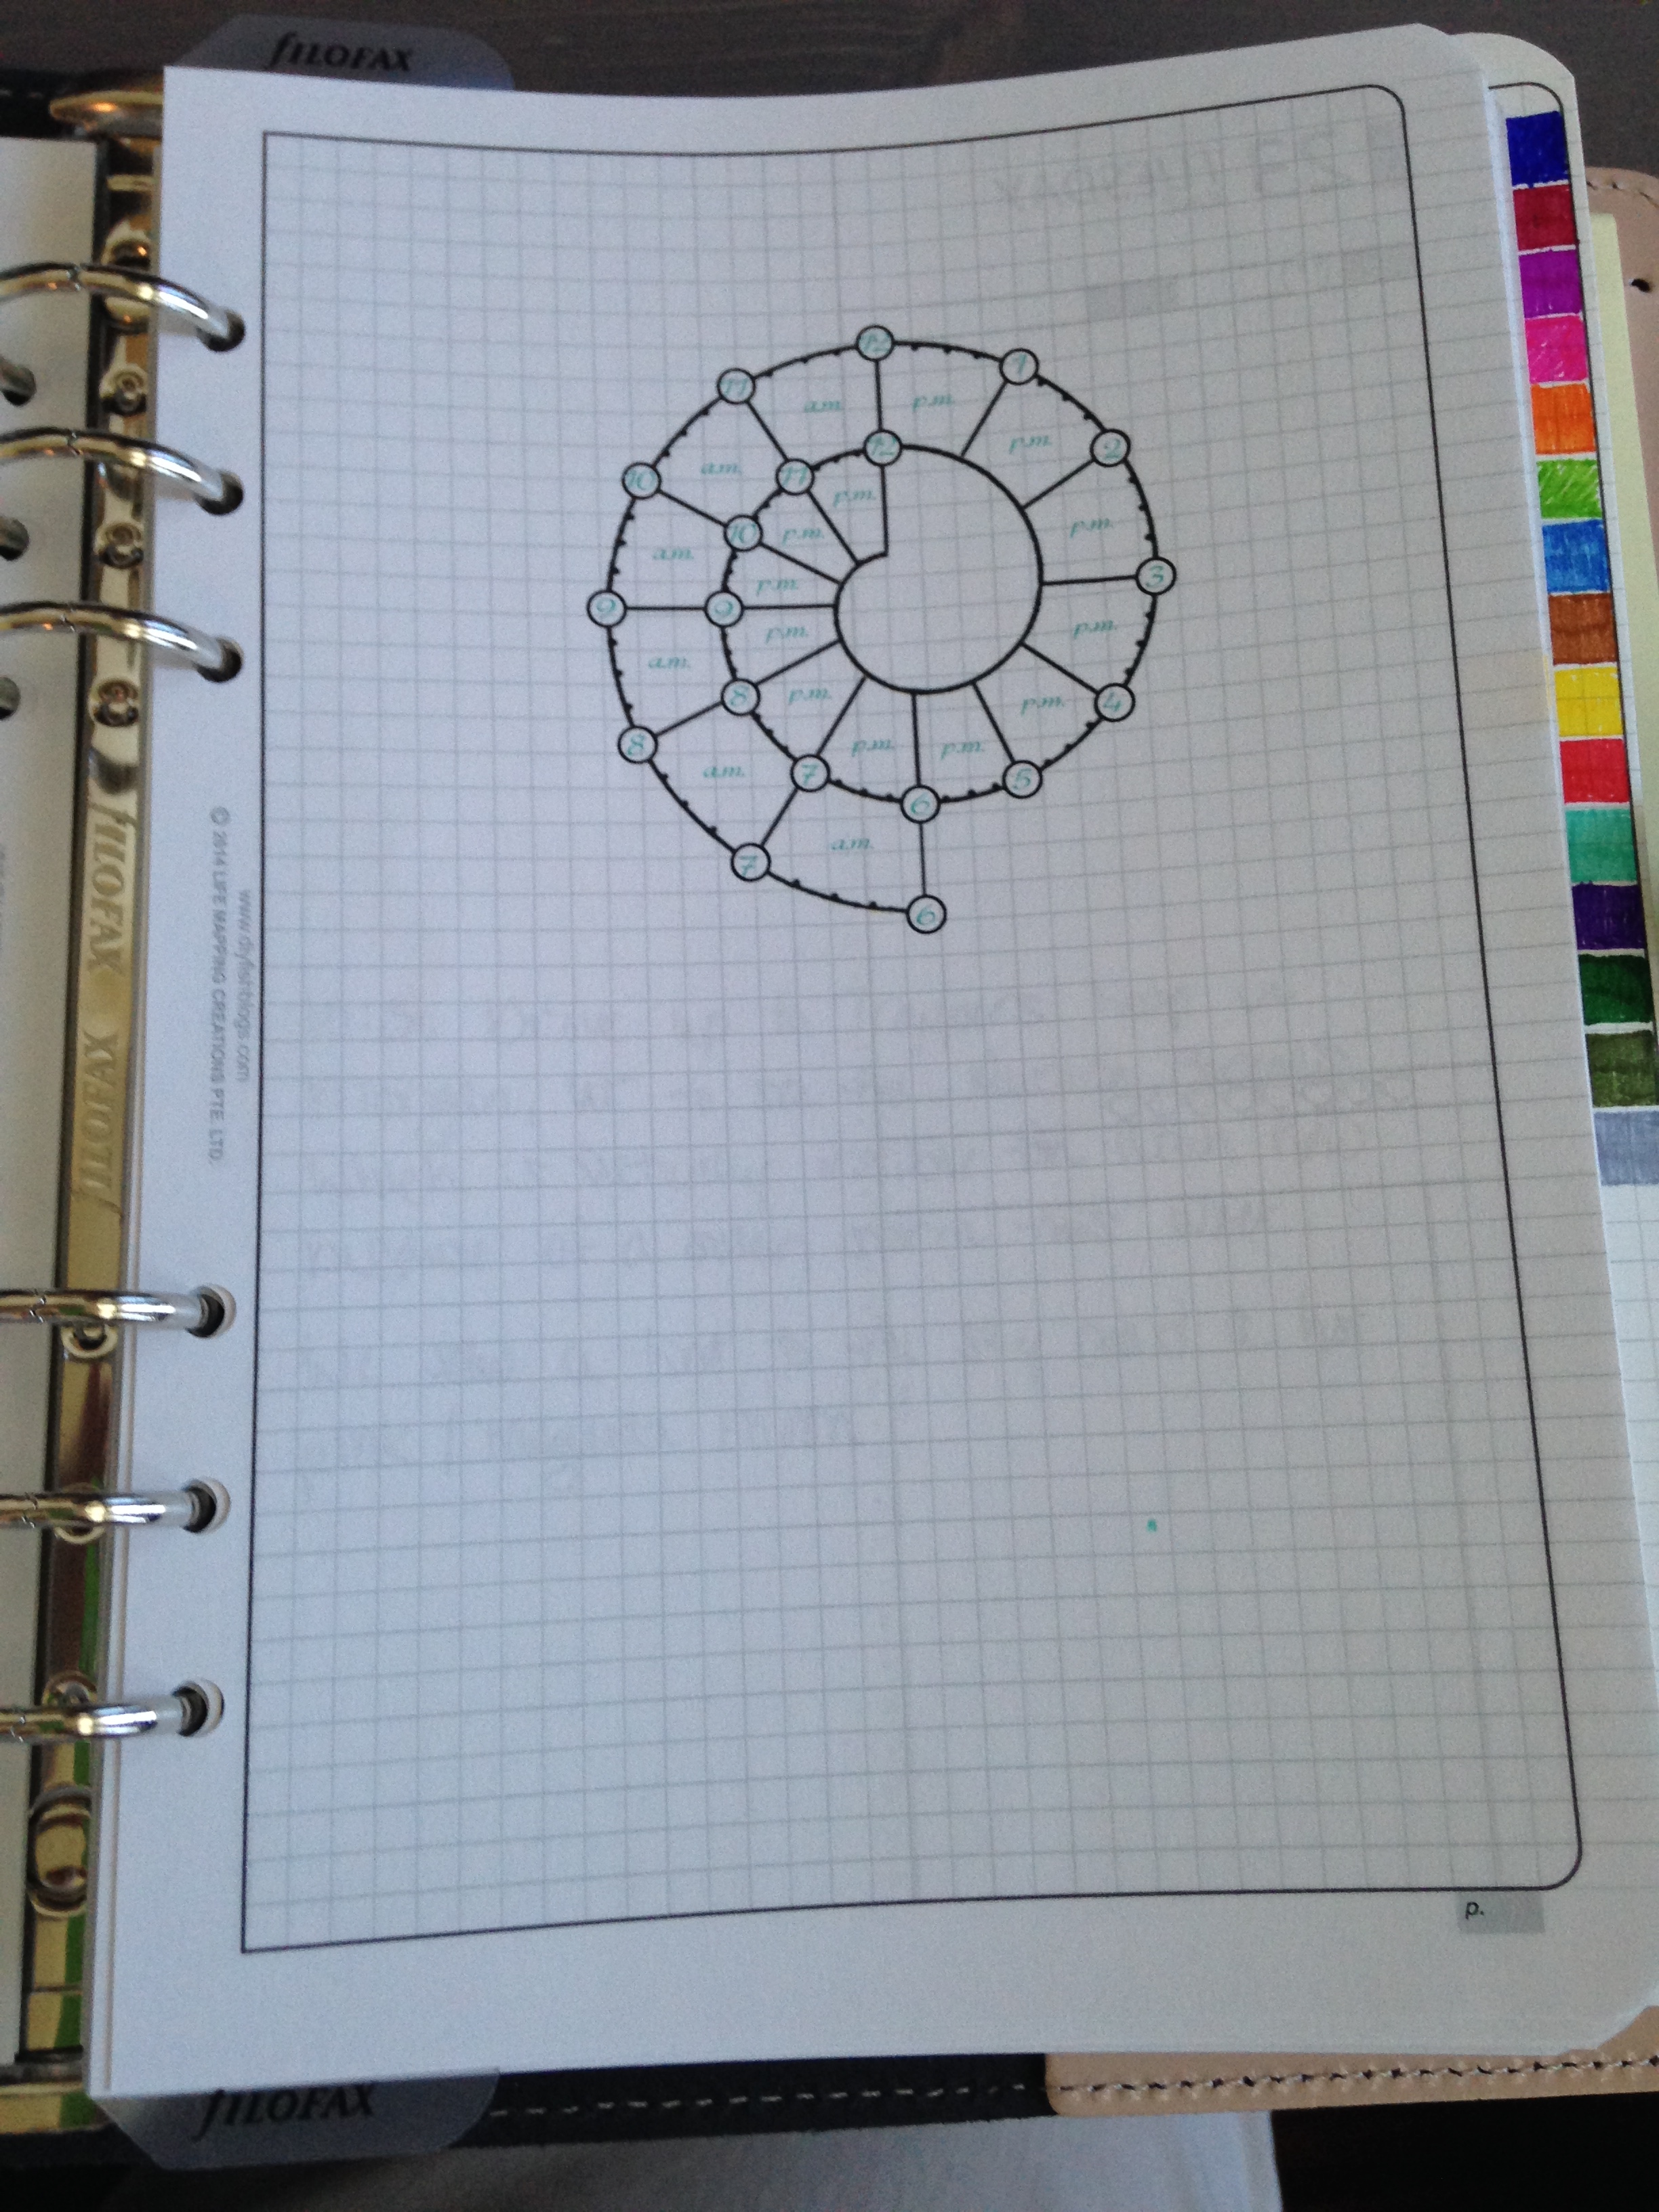
Later on, once I’ve used some pages, I’ll post some pictures of how I put information in the daily pages. For now, scheduling goes on the left, to-dos specific to that day go on the left page. Journaling and time tracking (more on that later) goes on the page on the right. I also have the standard Filofax “Today” page marker that comes with every Filofax so that I can the current day easily.
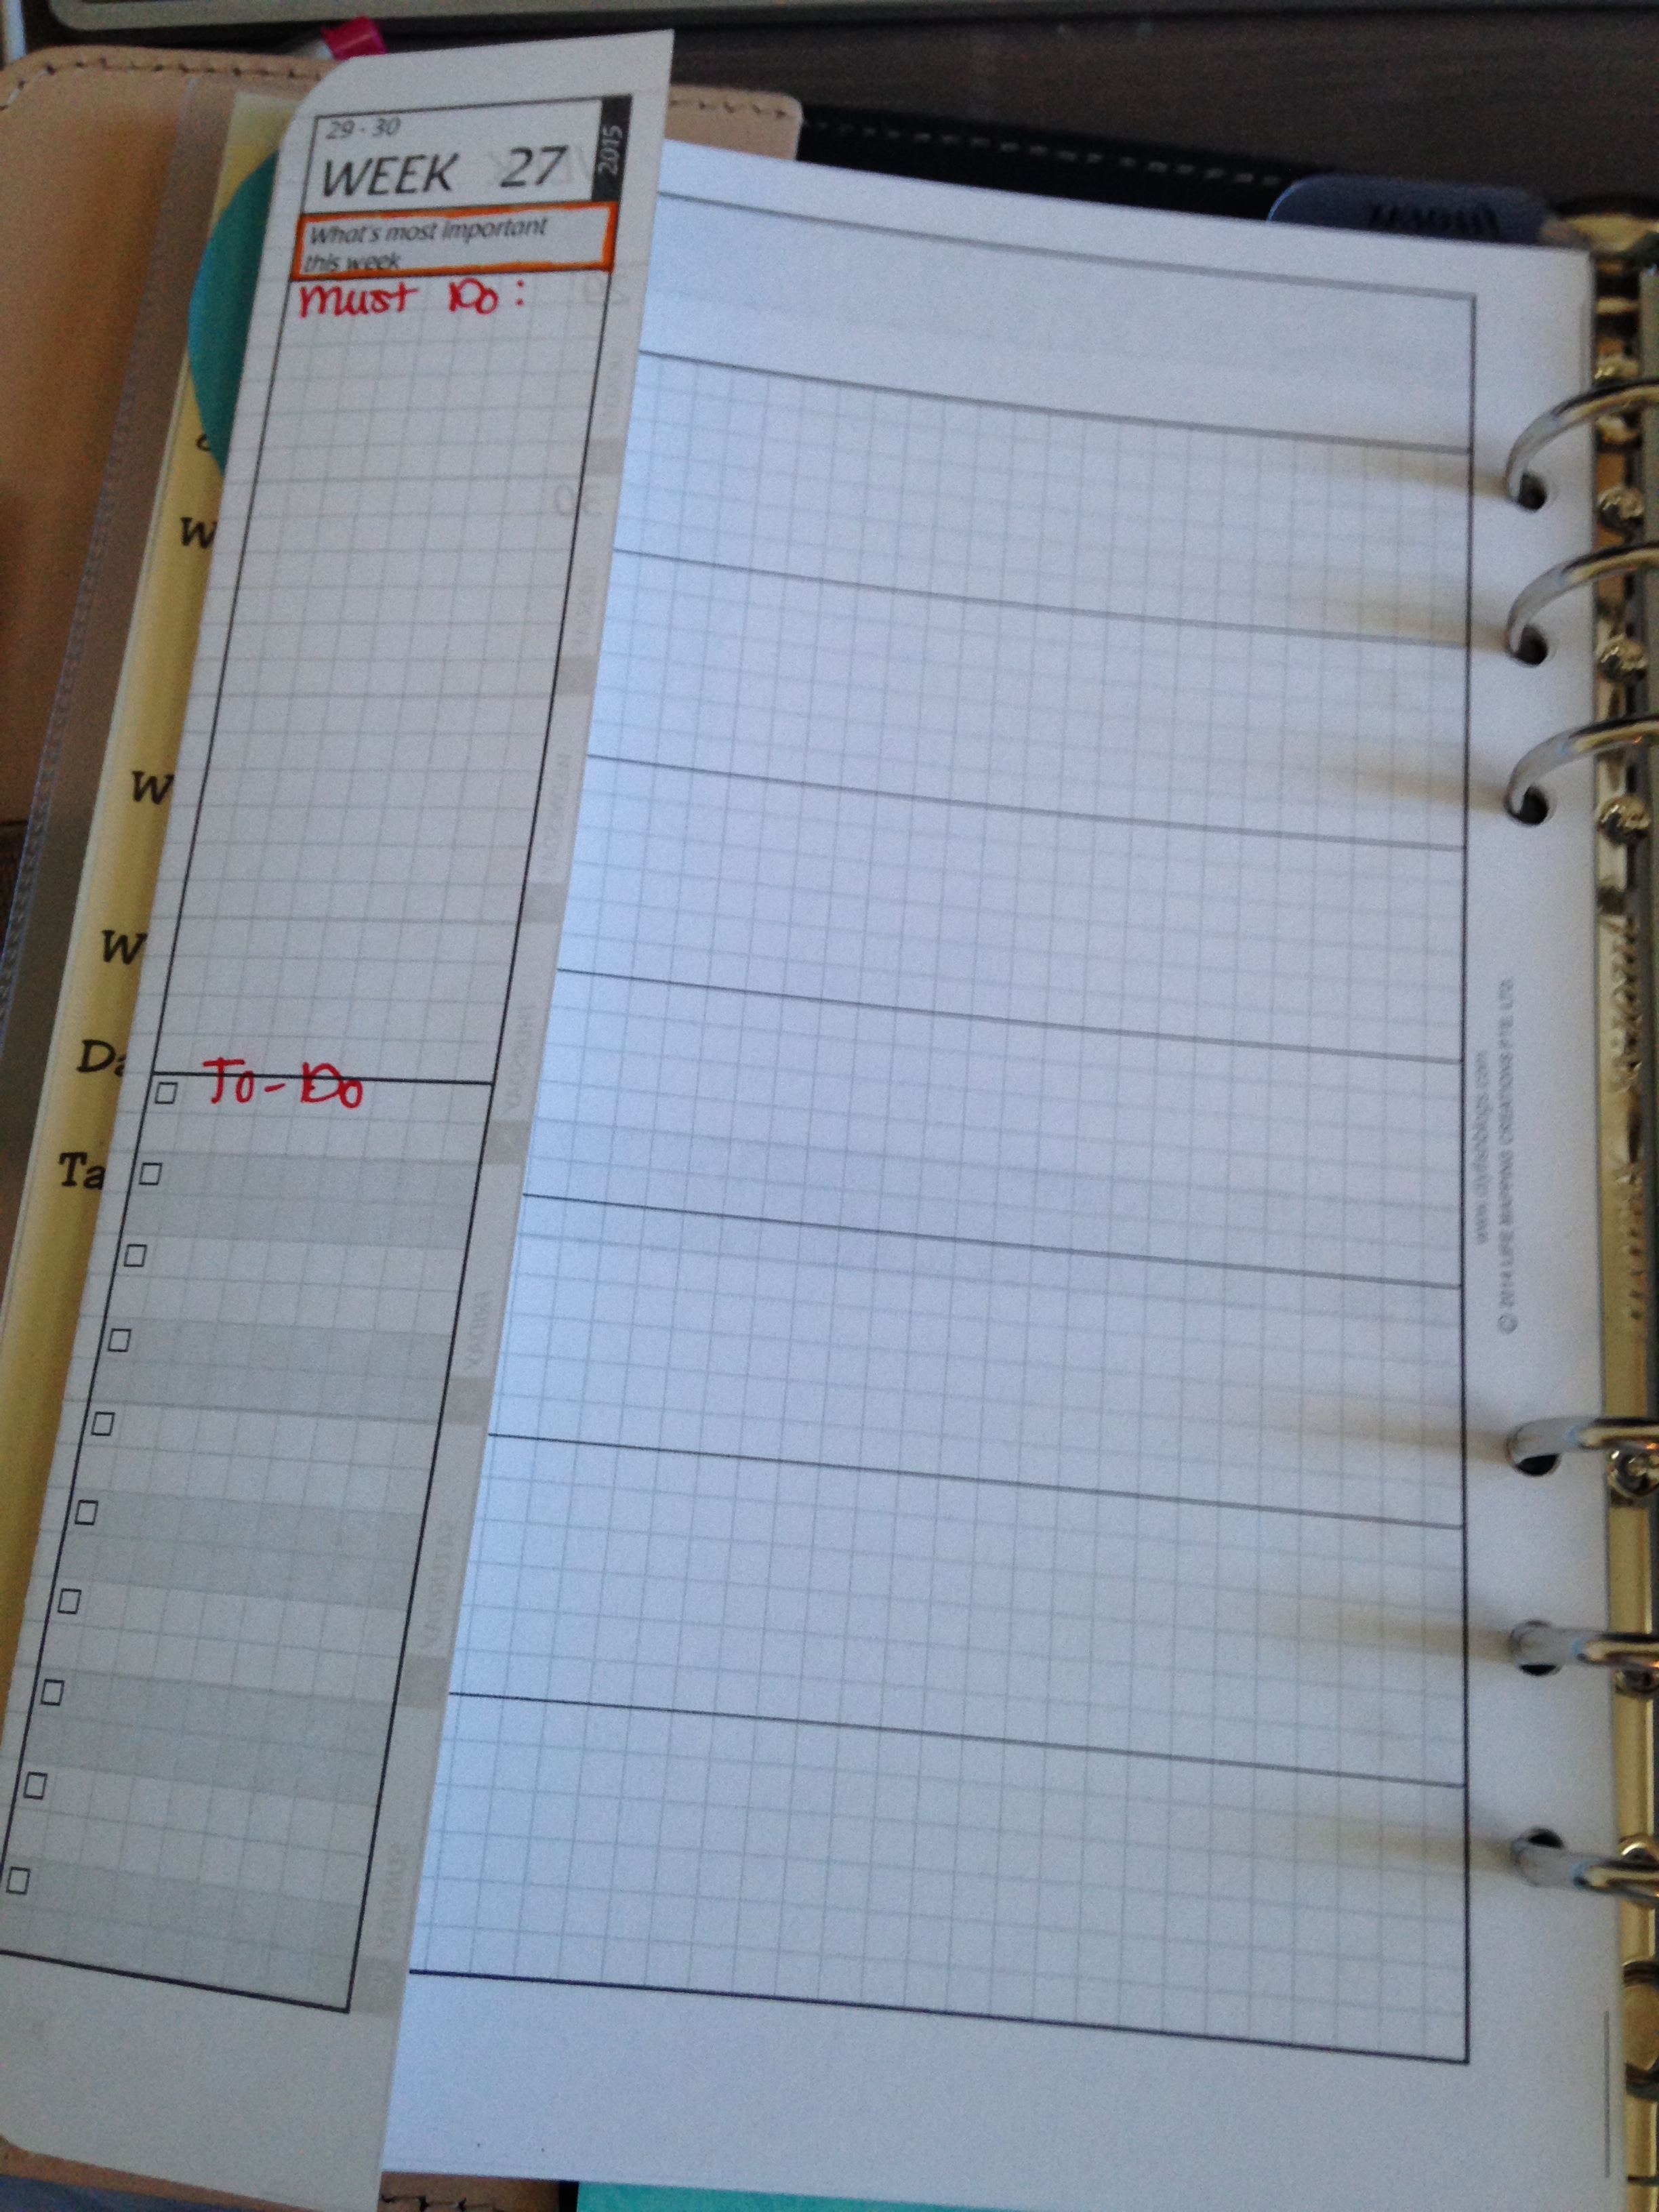
Next up I have my coming-up week. In this example, I played around with the two sections as DIY Fish has outlined on her blog. The foldover for the weekly shows a “What’s most important this week” on top. This is the stuff that is seriously time sensitive. The crap that I just can’t put off. That’s important for me because in my electronic to-do list, it has become much too easy to just roll things over from day to day and not actually get stuff done. Then I run up against deadlines, which increases my anxiety unnecessarily. Hopefully this will help me overcome that bad habit. The bottom half of the foldover is regular old to-dos. I think of those as “it’d be really nice if I could get these done this week” items.
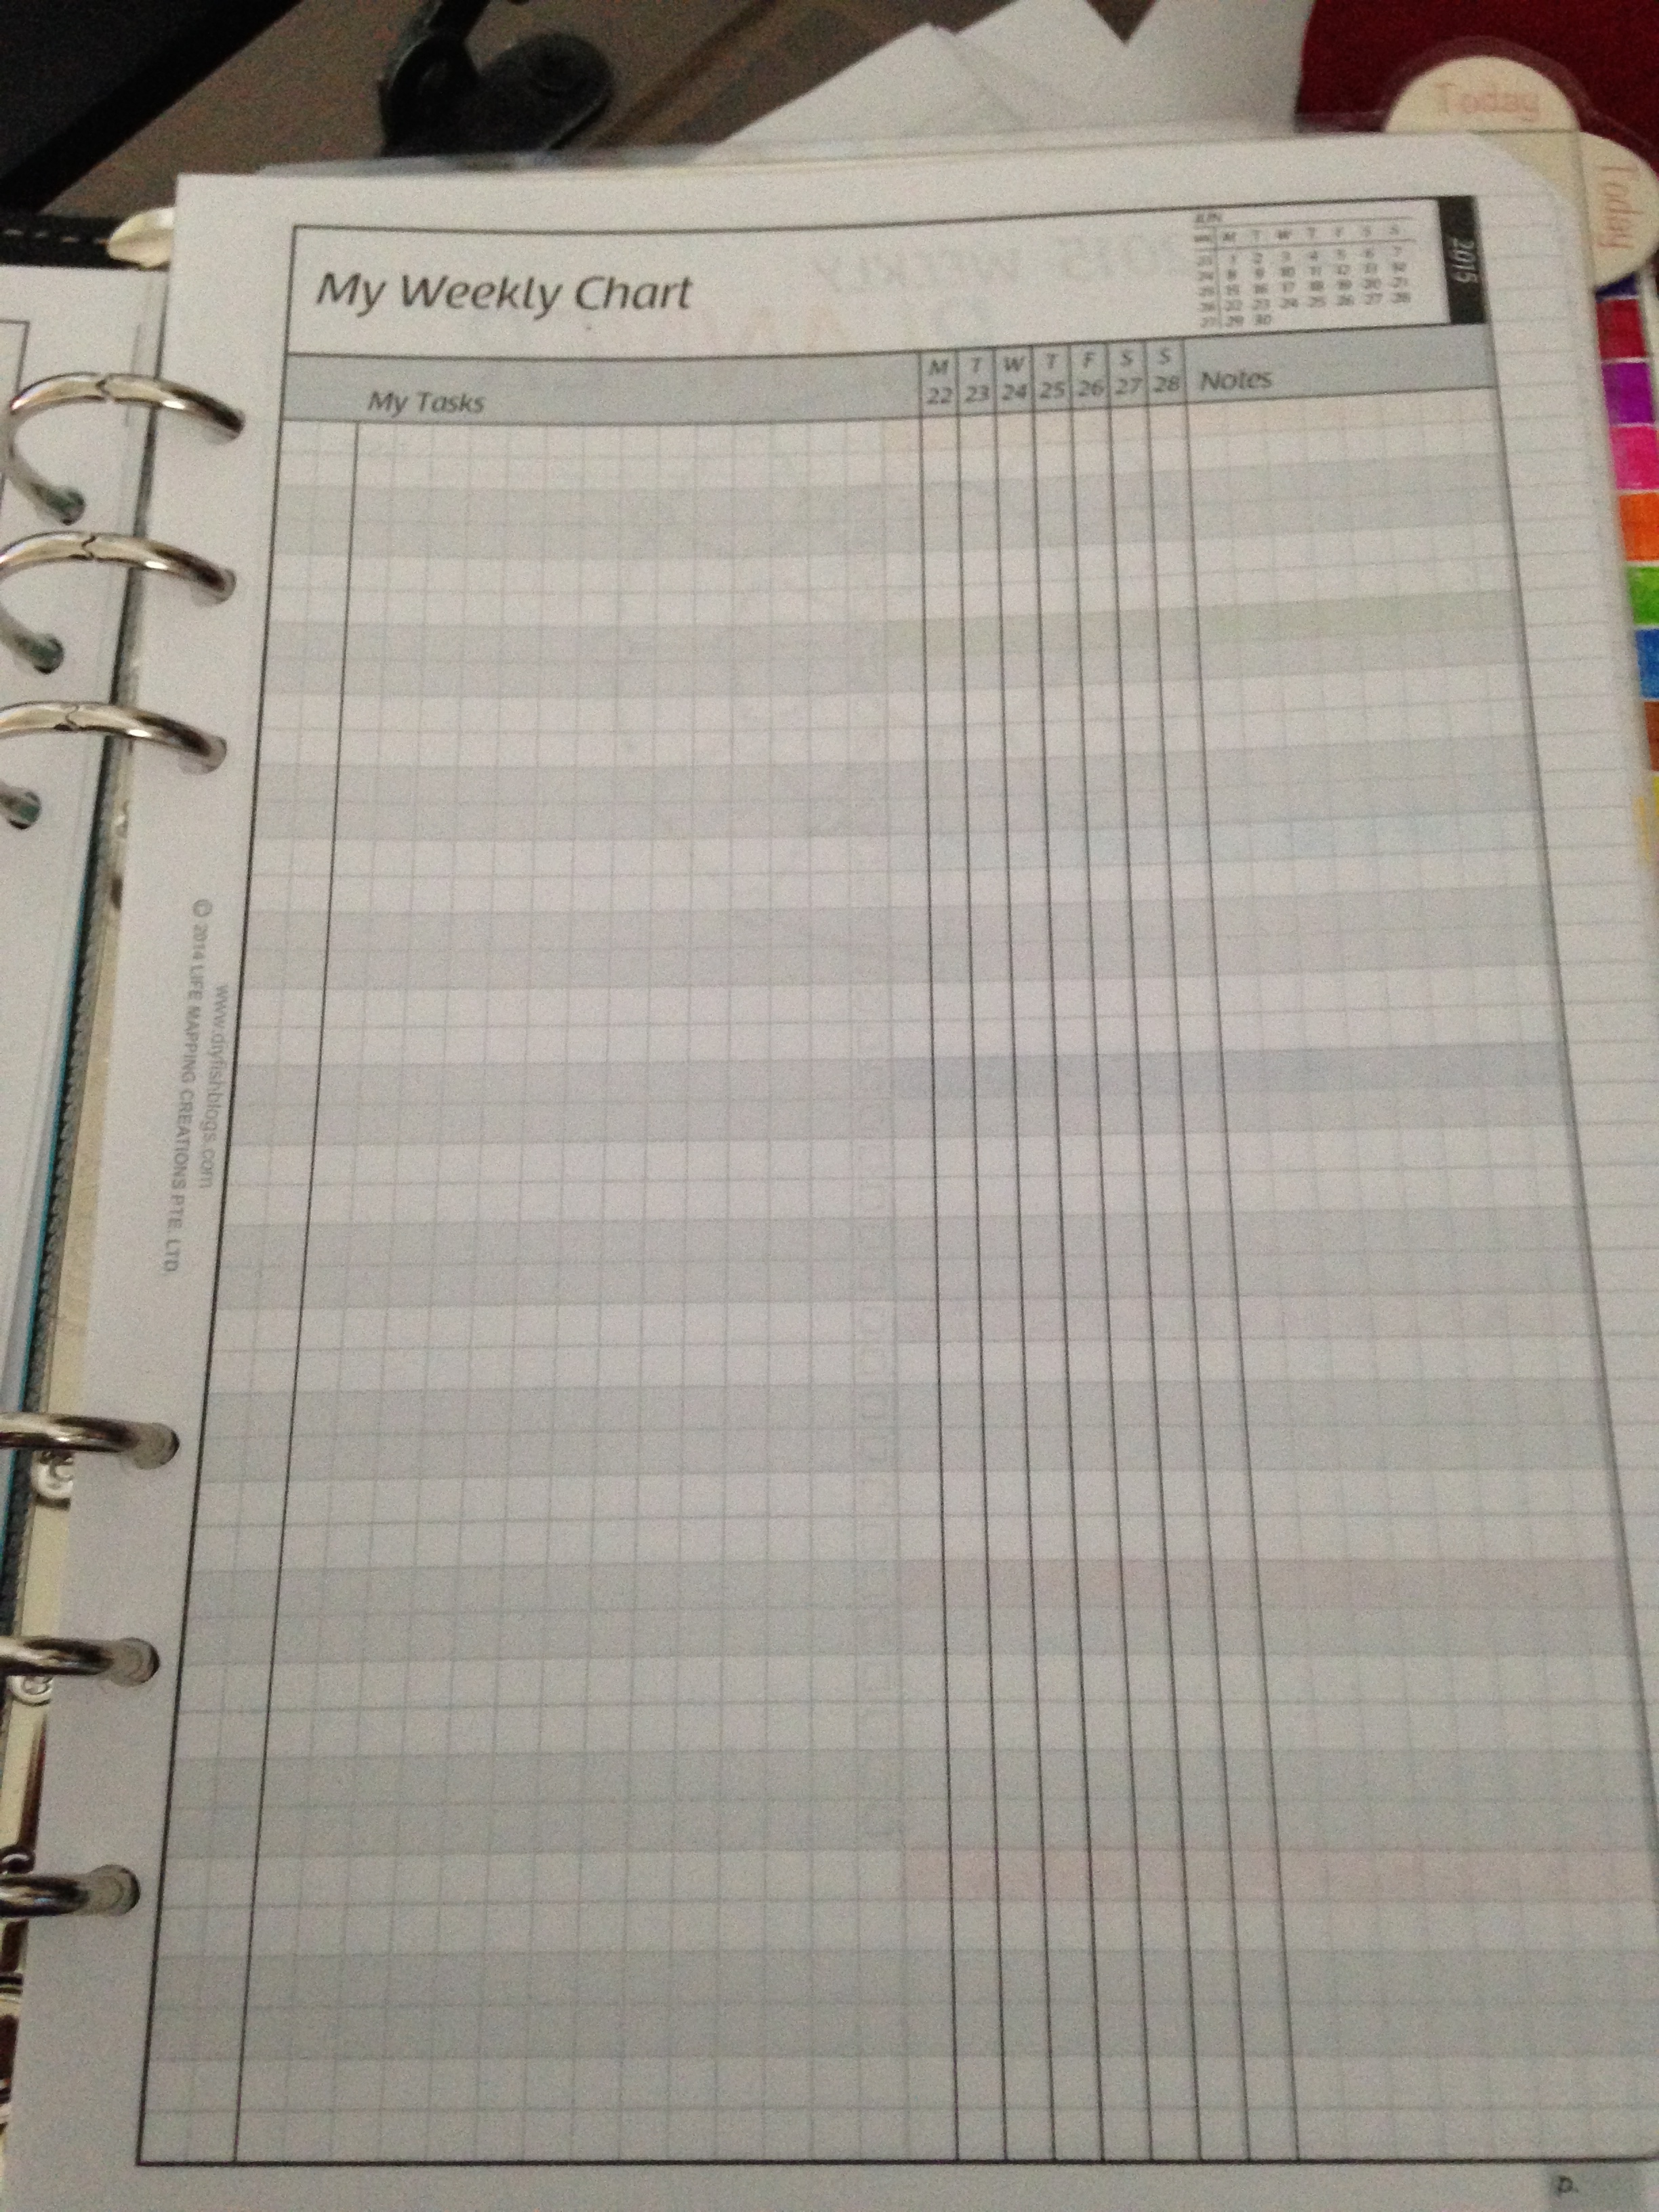
Then I have “My Weekly Chart.” I haven’t decided how I’m going to use this other than as an extended “like to get this done this week” chart. Many people use these as tracking charts but I’m planning to do that with monthly charts at the back of my Filofax. I’ll have to see how those work out and update you later.
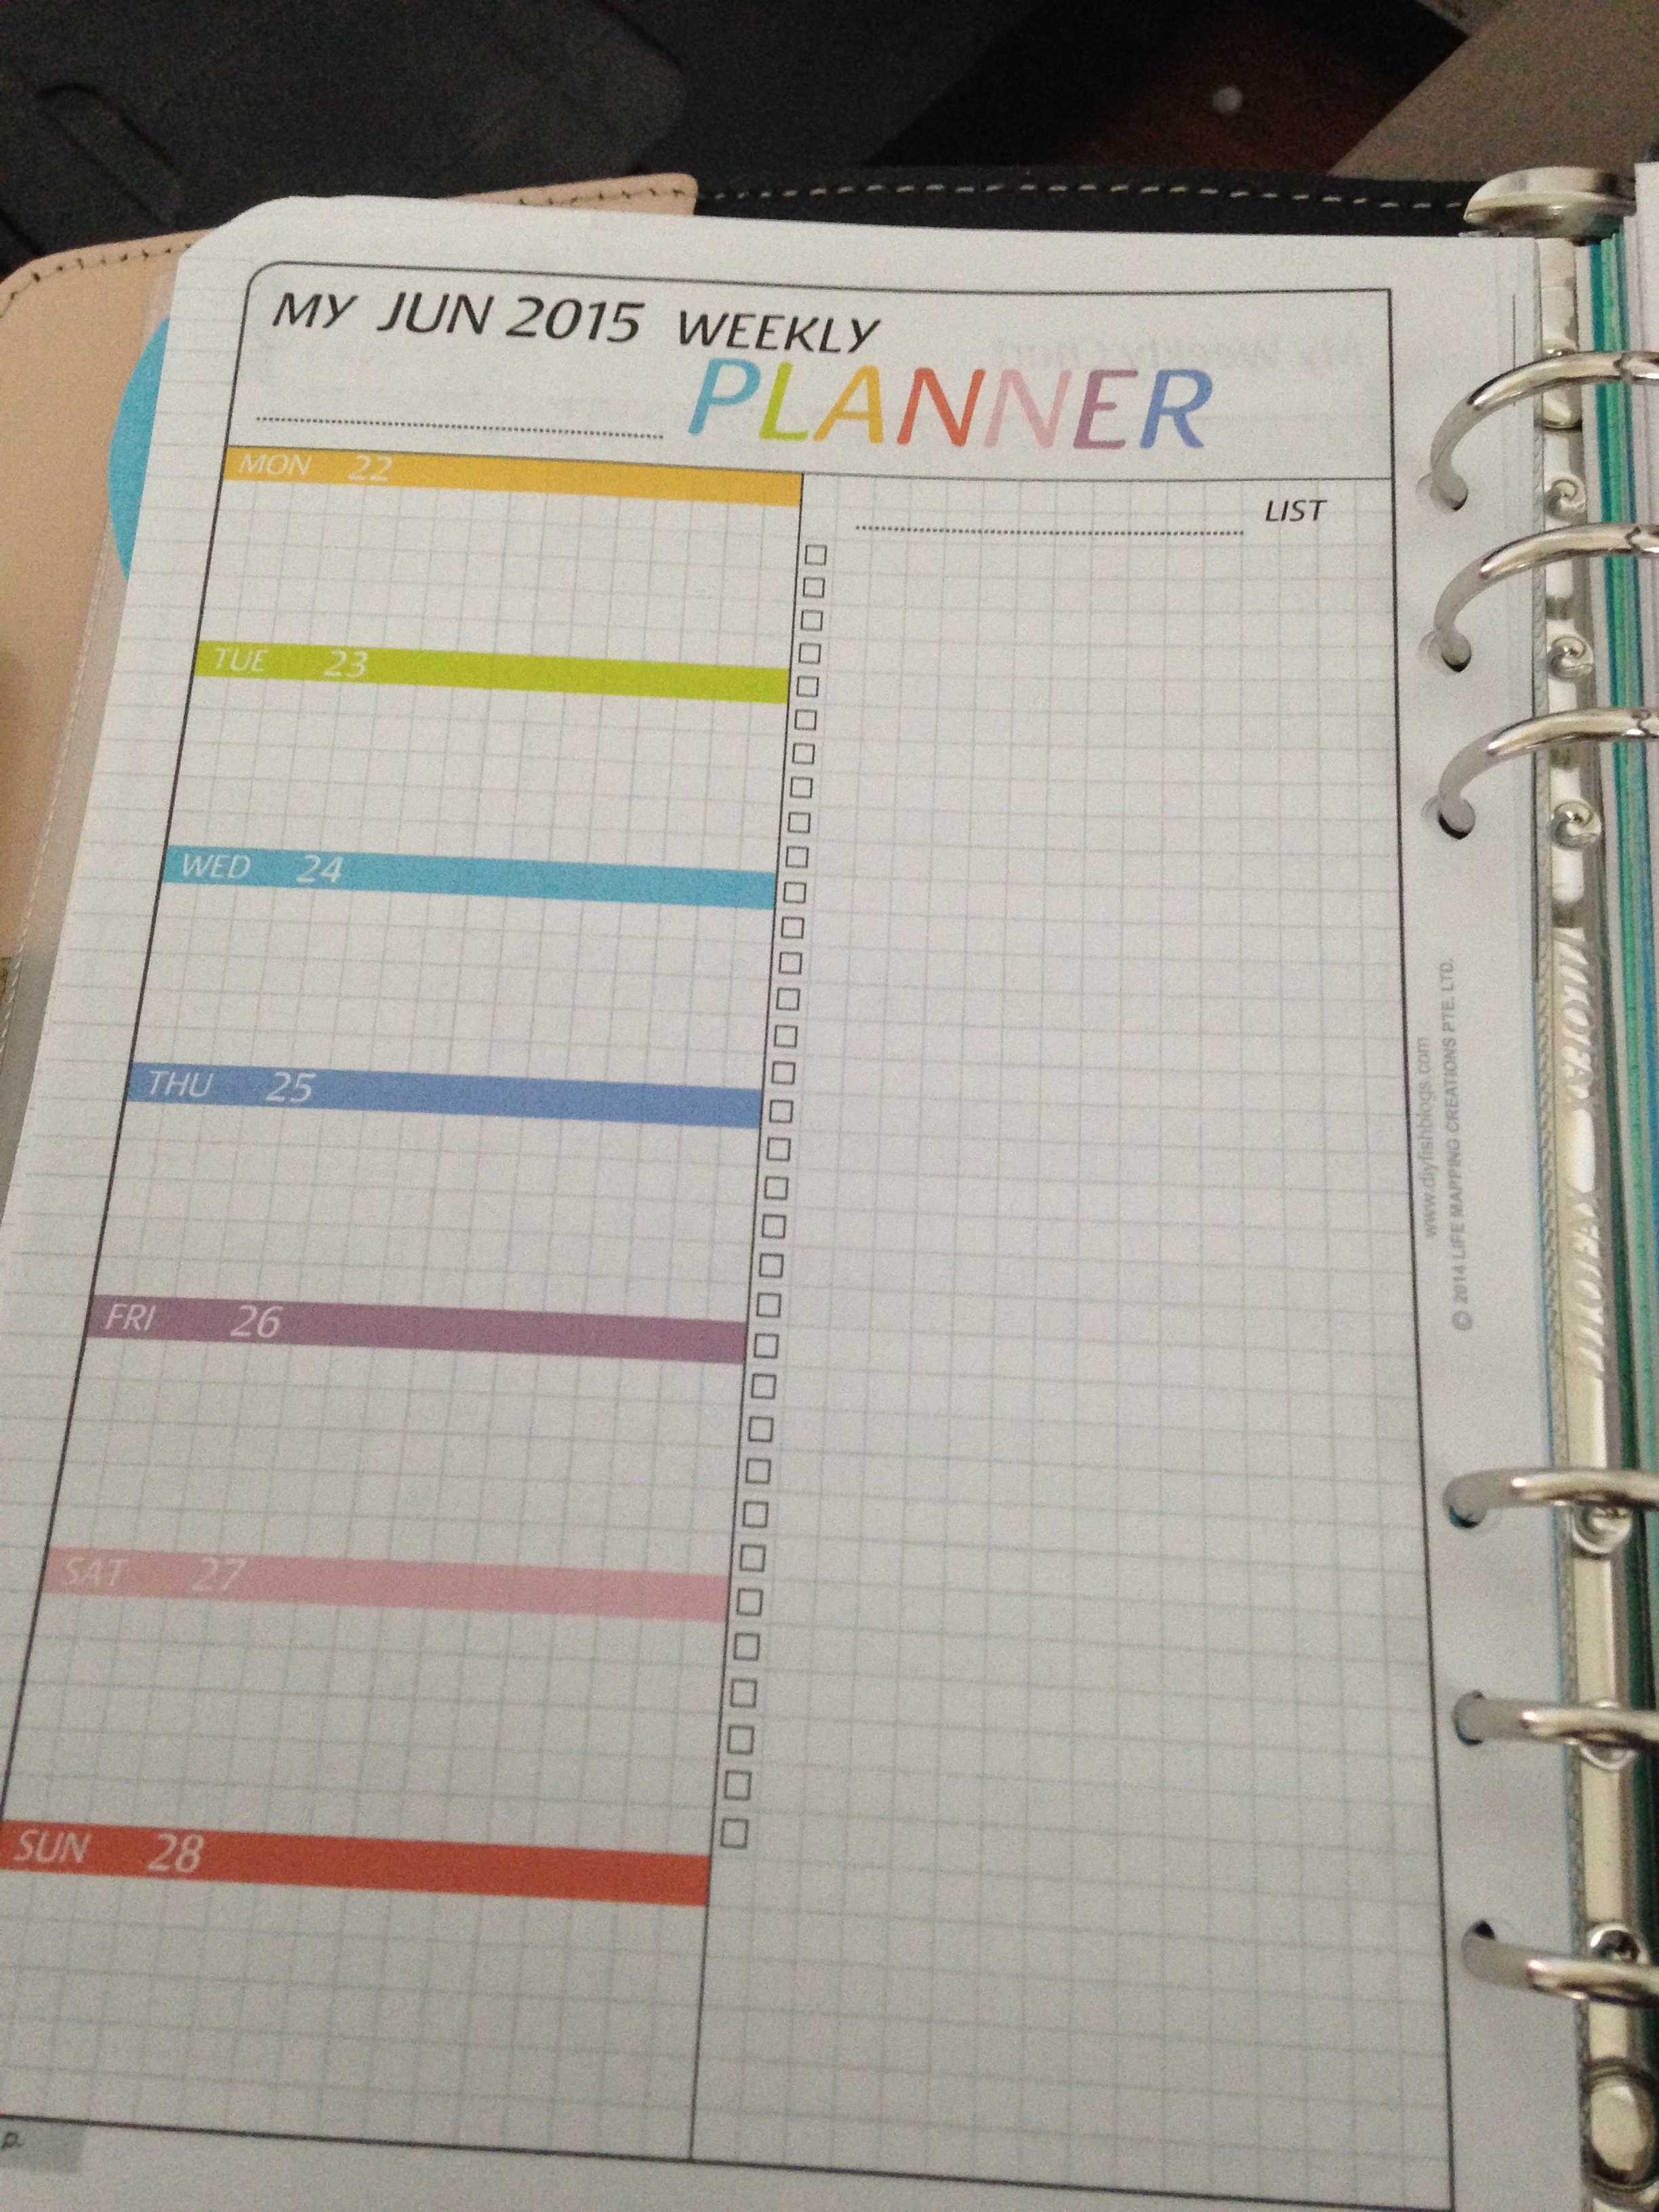
On the back of that page is a colorful My Weekly Planner page. I’ve seen most people use this as a chore list and meal planning list. That could come in handy for me because I suck at self-care.
More daily pages….
At the end of my month, behind the weekly and daily pages and sticking out on the side so I can see the colors easily, I have a color coding tab.
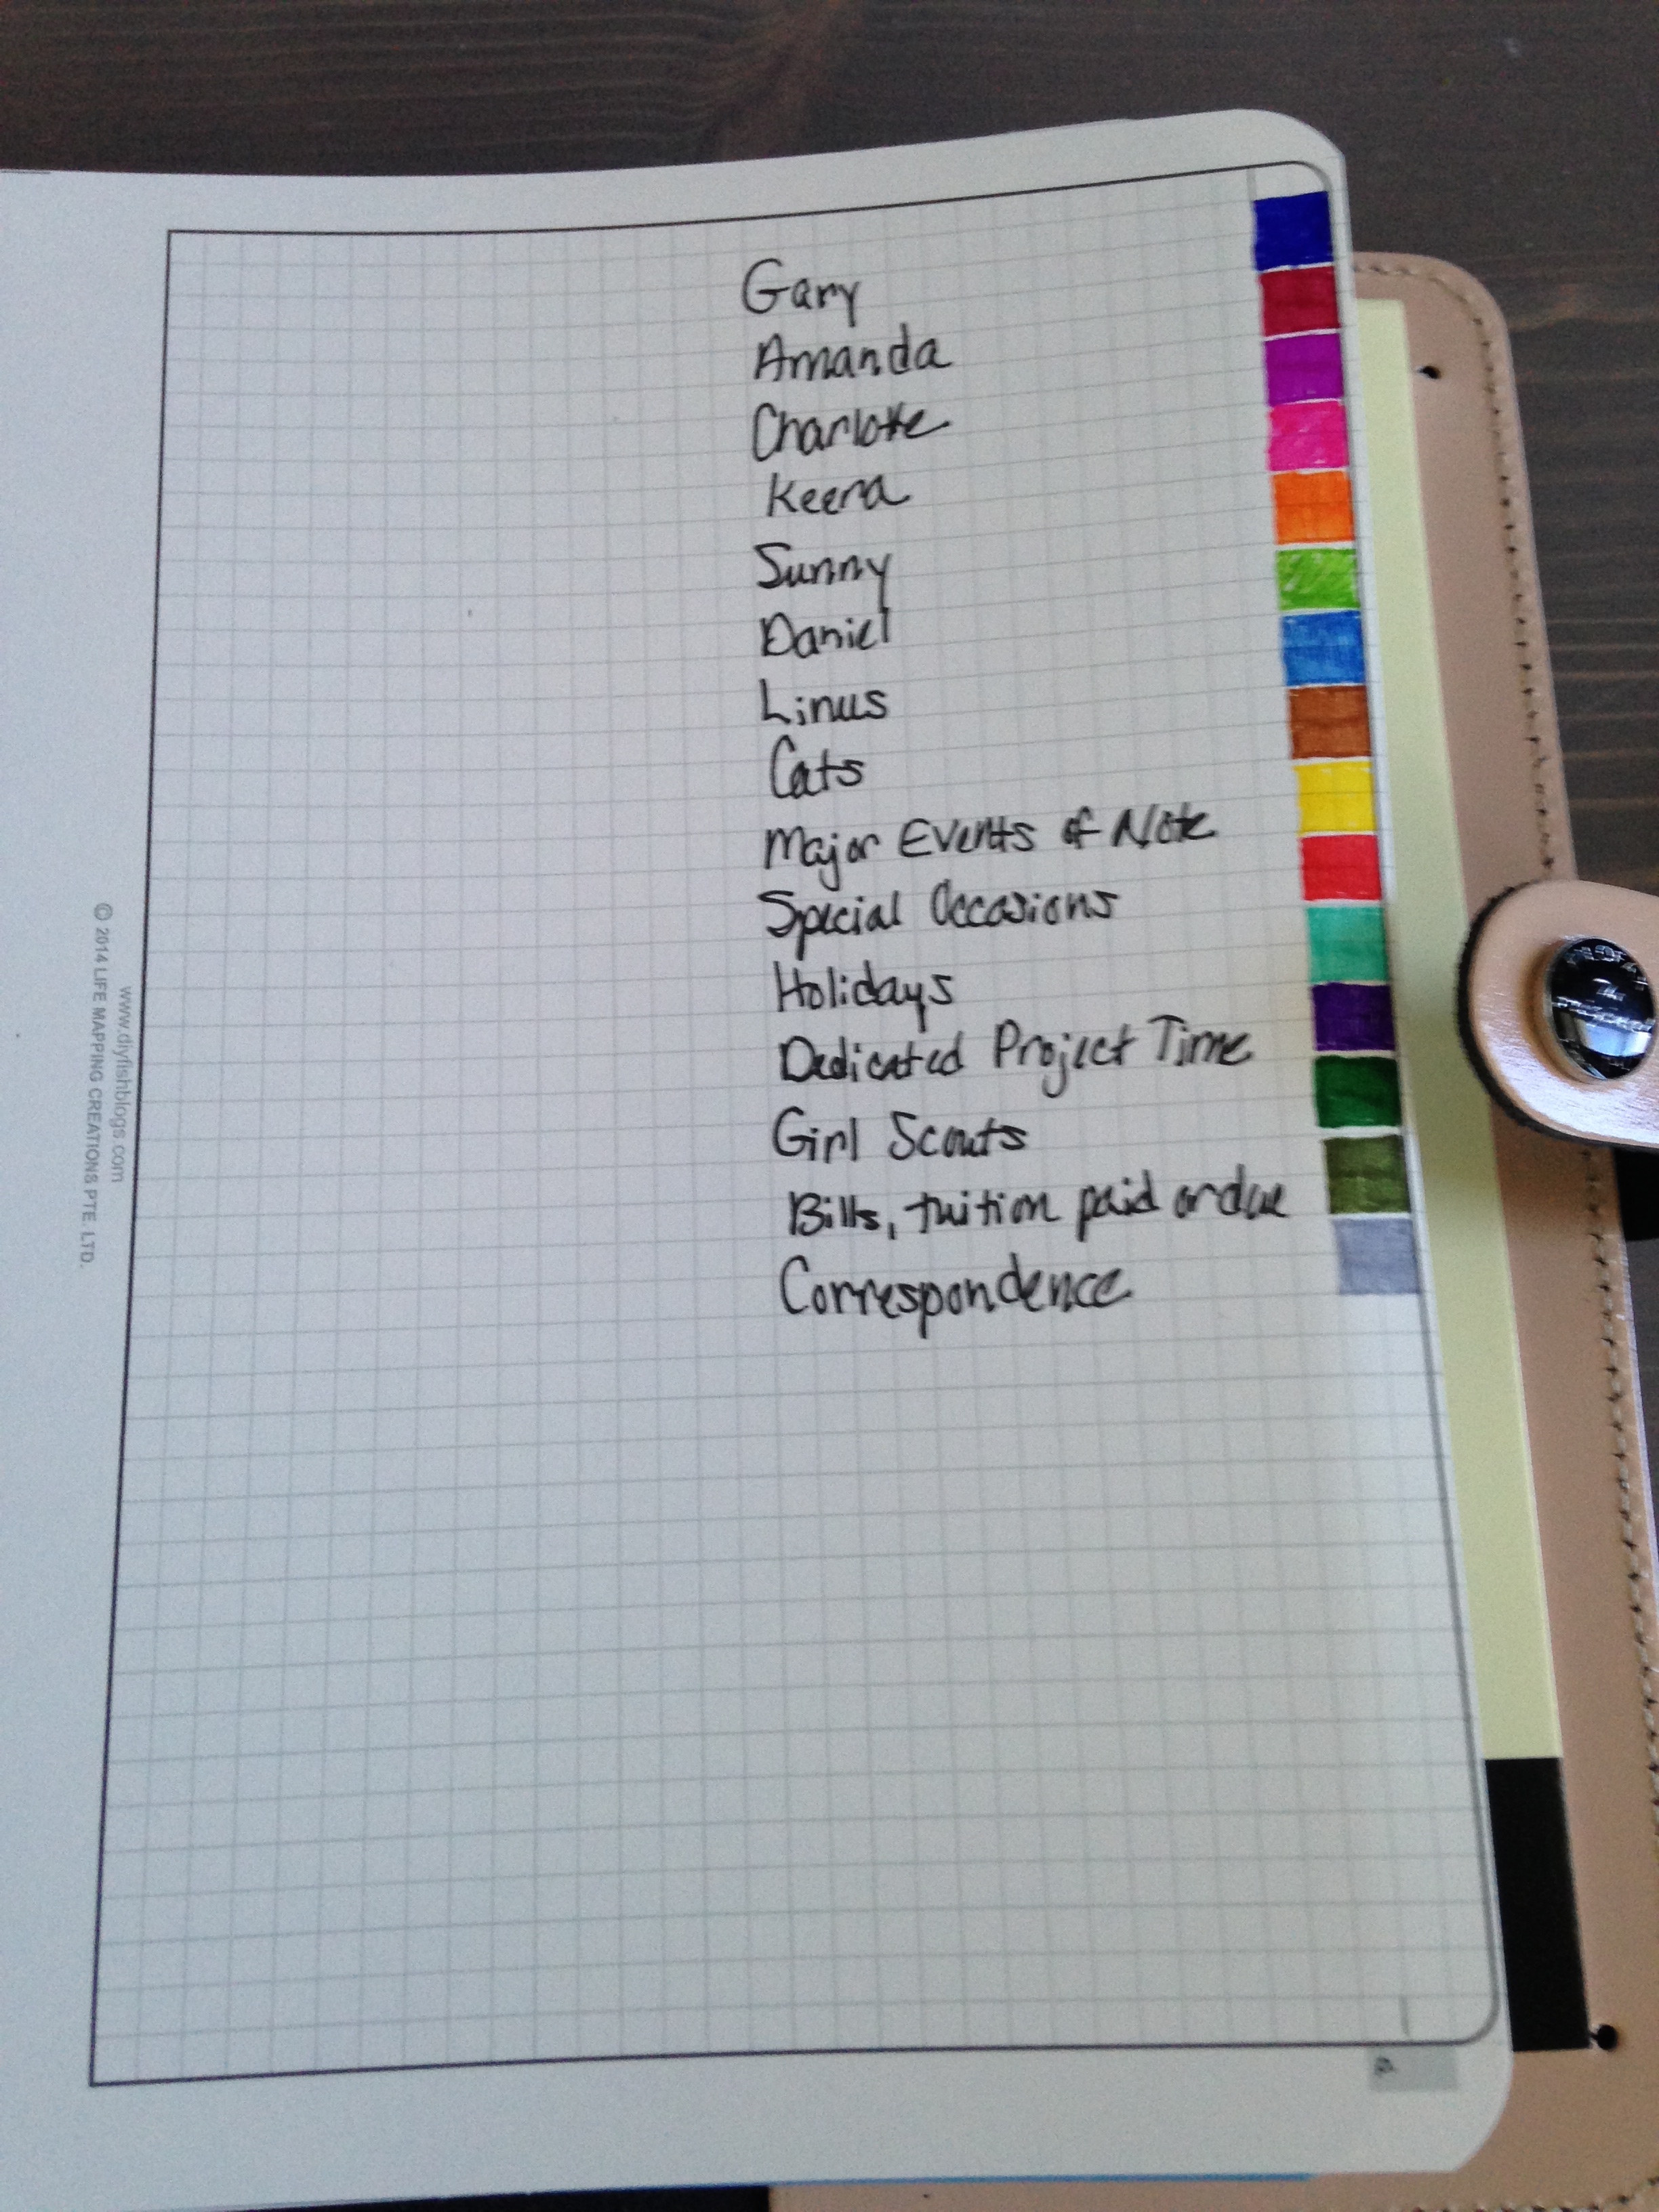
This is an absolutely ingenious idea that DIY Fish came up with for making written calendar items searchable. You assign a color to whatever item, person, type of appt., etc that you want to make searchable. Then when you need to find items of that color later on, simply slightly fan the pages of the book, archive, etc. and they jump right out at you! I love this idea. Because of my memory issues, I have a difficult time remembering if I finished a certain project, went to an appointment, or fulfilled an obligation. Now I can look that stuff up very easily. She makes her out of plastic and paper but I just cut mine out of cardstock a little wider than a normal Filofax a5 page. Her color coding system works no matter which combination of her pages you choose or what other inserts you stuff into your binder. Awesome! Here is her tutorial for making a color coding tab. Color Coding to Make Items Searchable
Next I have my tab for July:
Because we are so close to July actually starting, I went ahead and put my monthly, weekly, and daily pages in for July. The setup is the same as for June.
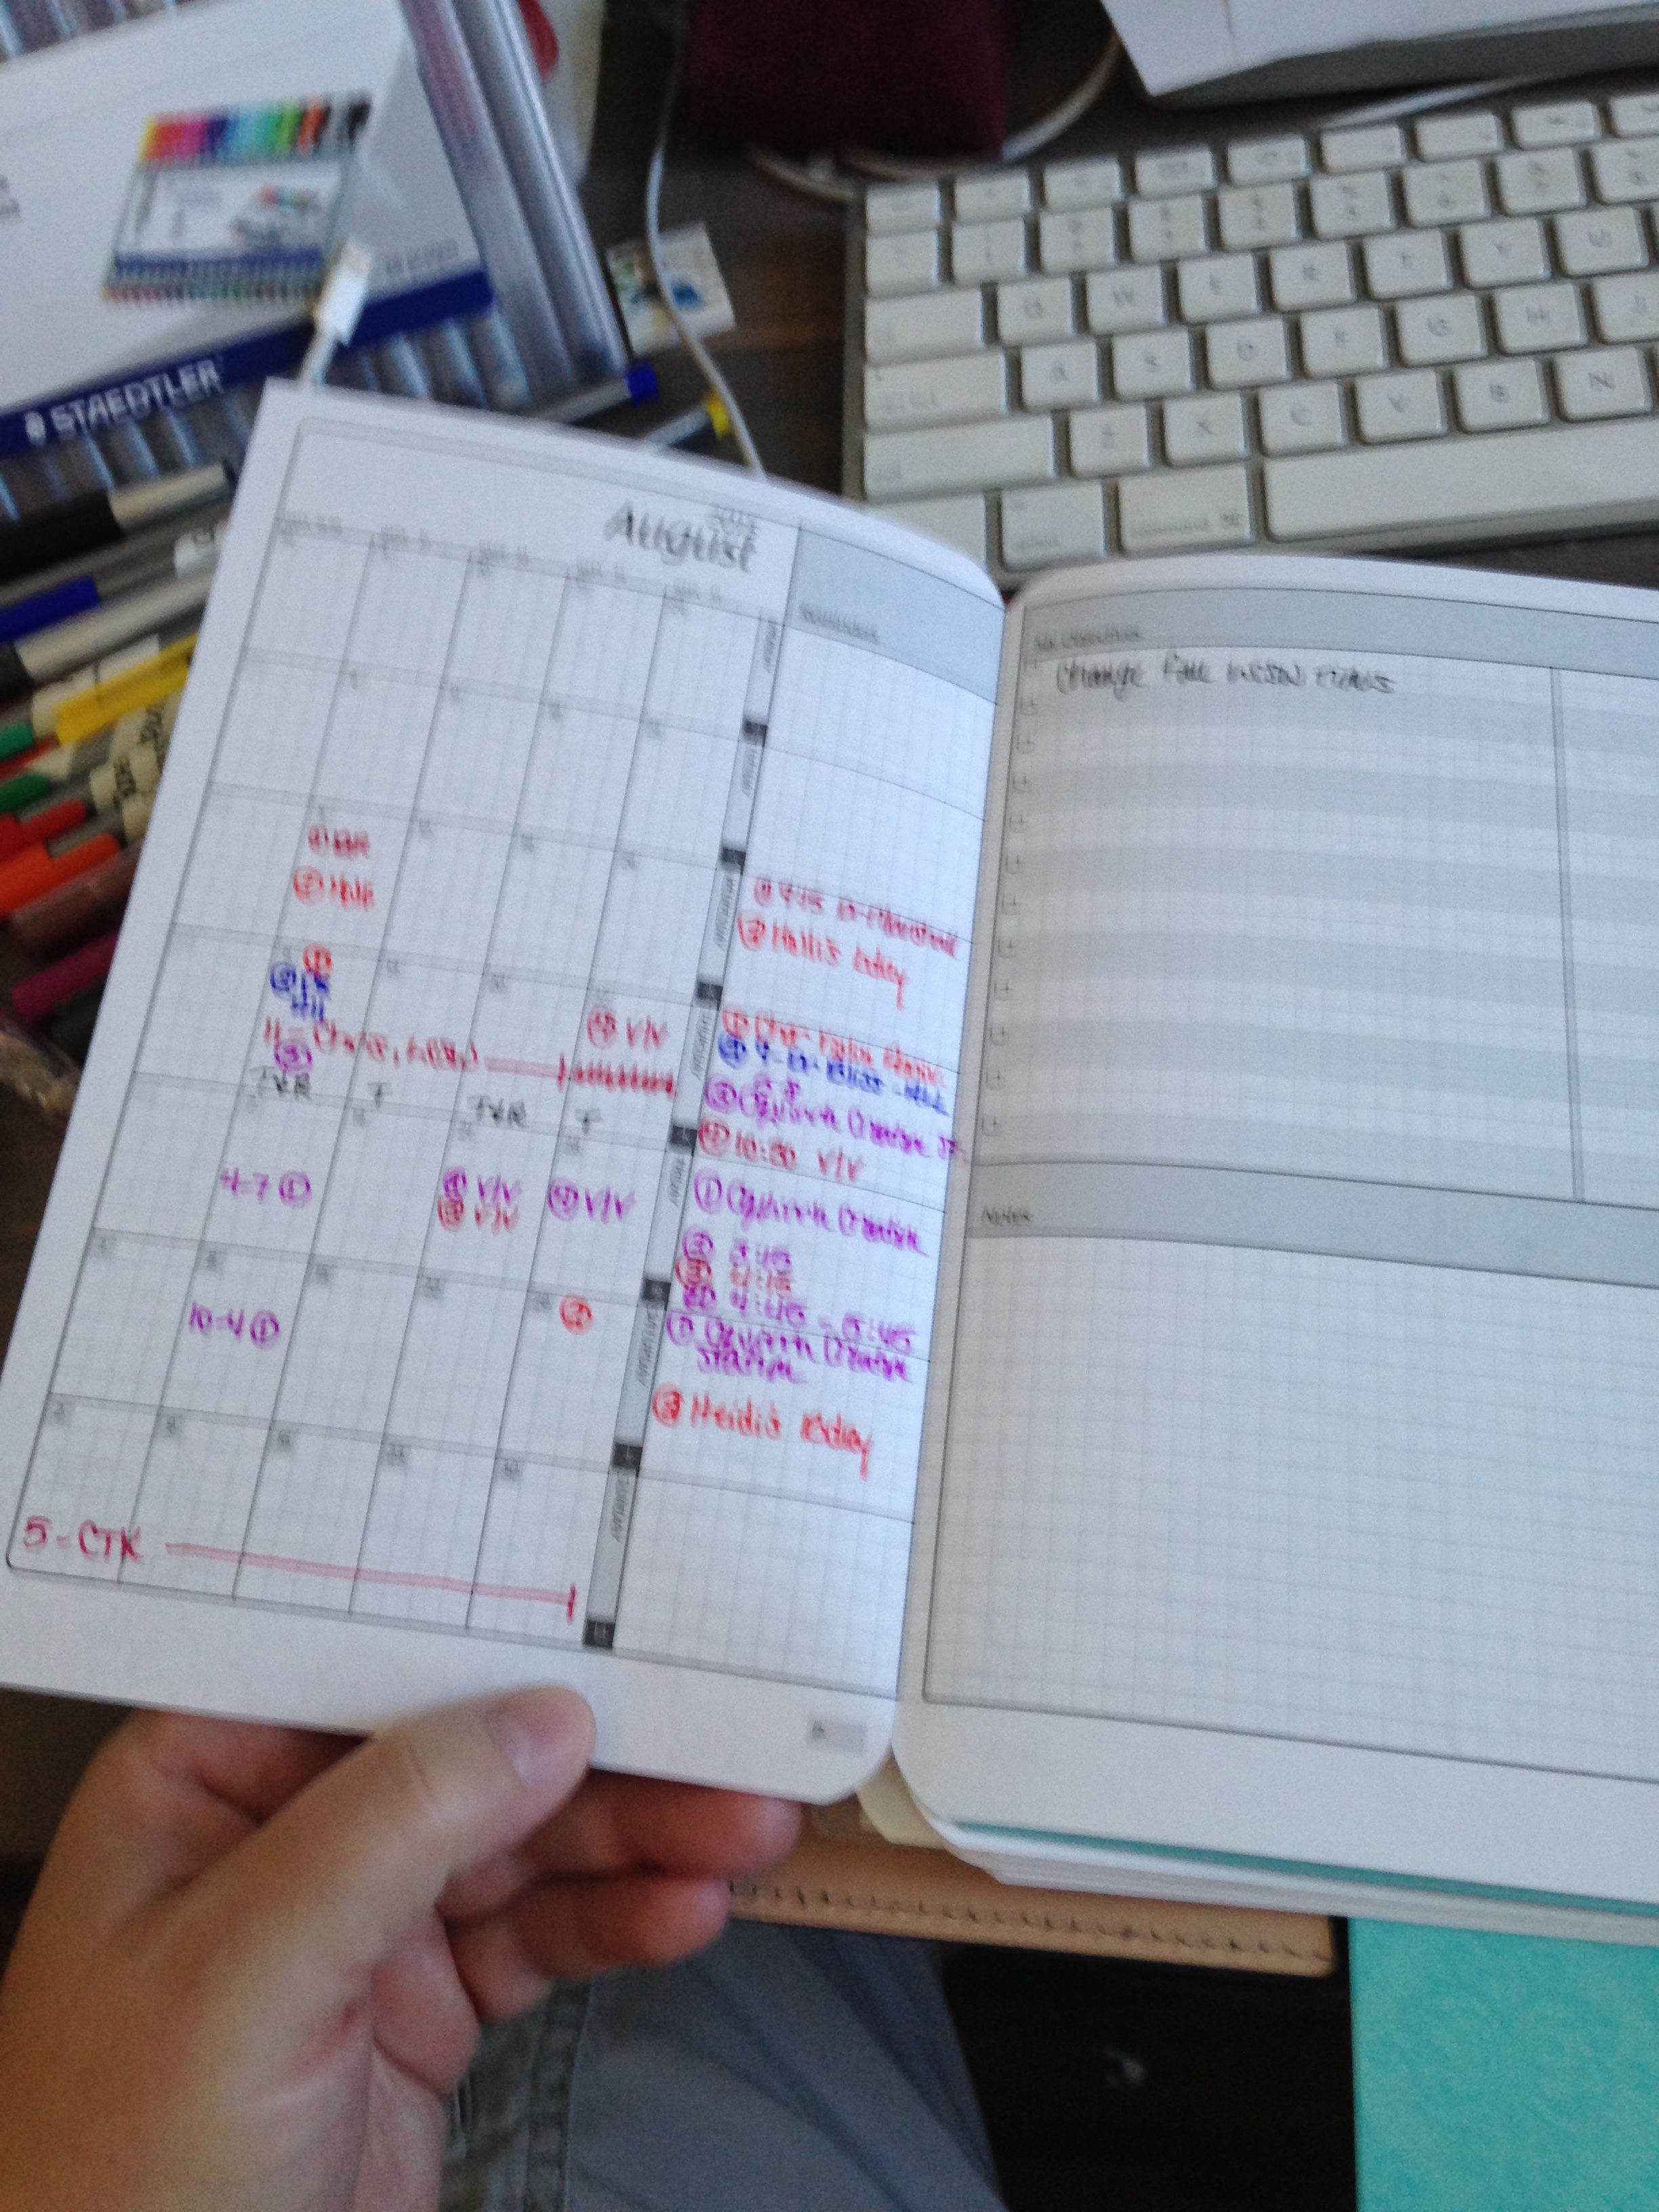
Behind my August tab, I only have my August monthly folding page for future scheduling.
Behind my Future tab, I have monthly folding pages for September through June, 2016. I’m a July to June person rather than a January to December person. Mostly because there is just too much going on in December for me to want to add the task of printing out, punching, etc. Filofax pages for the coming year.
Because my daughter is a musician, dancer, and student, her schedule for the following school year gets pretty much set by May of the previous year. So I have already filled out the monthly calendars for all the months through next June. This will allow me to make long range plans easier.
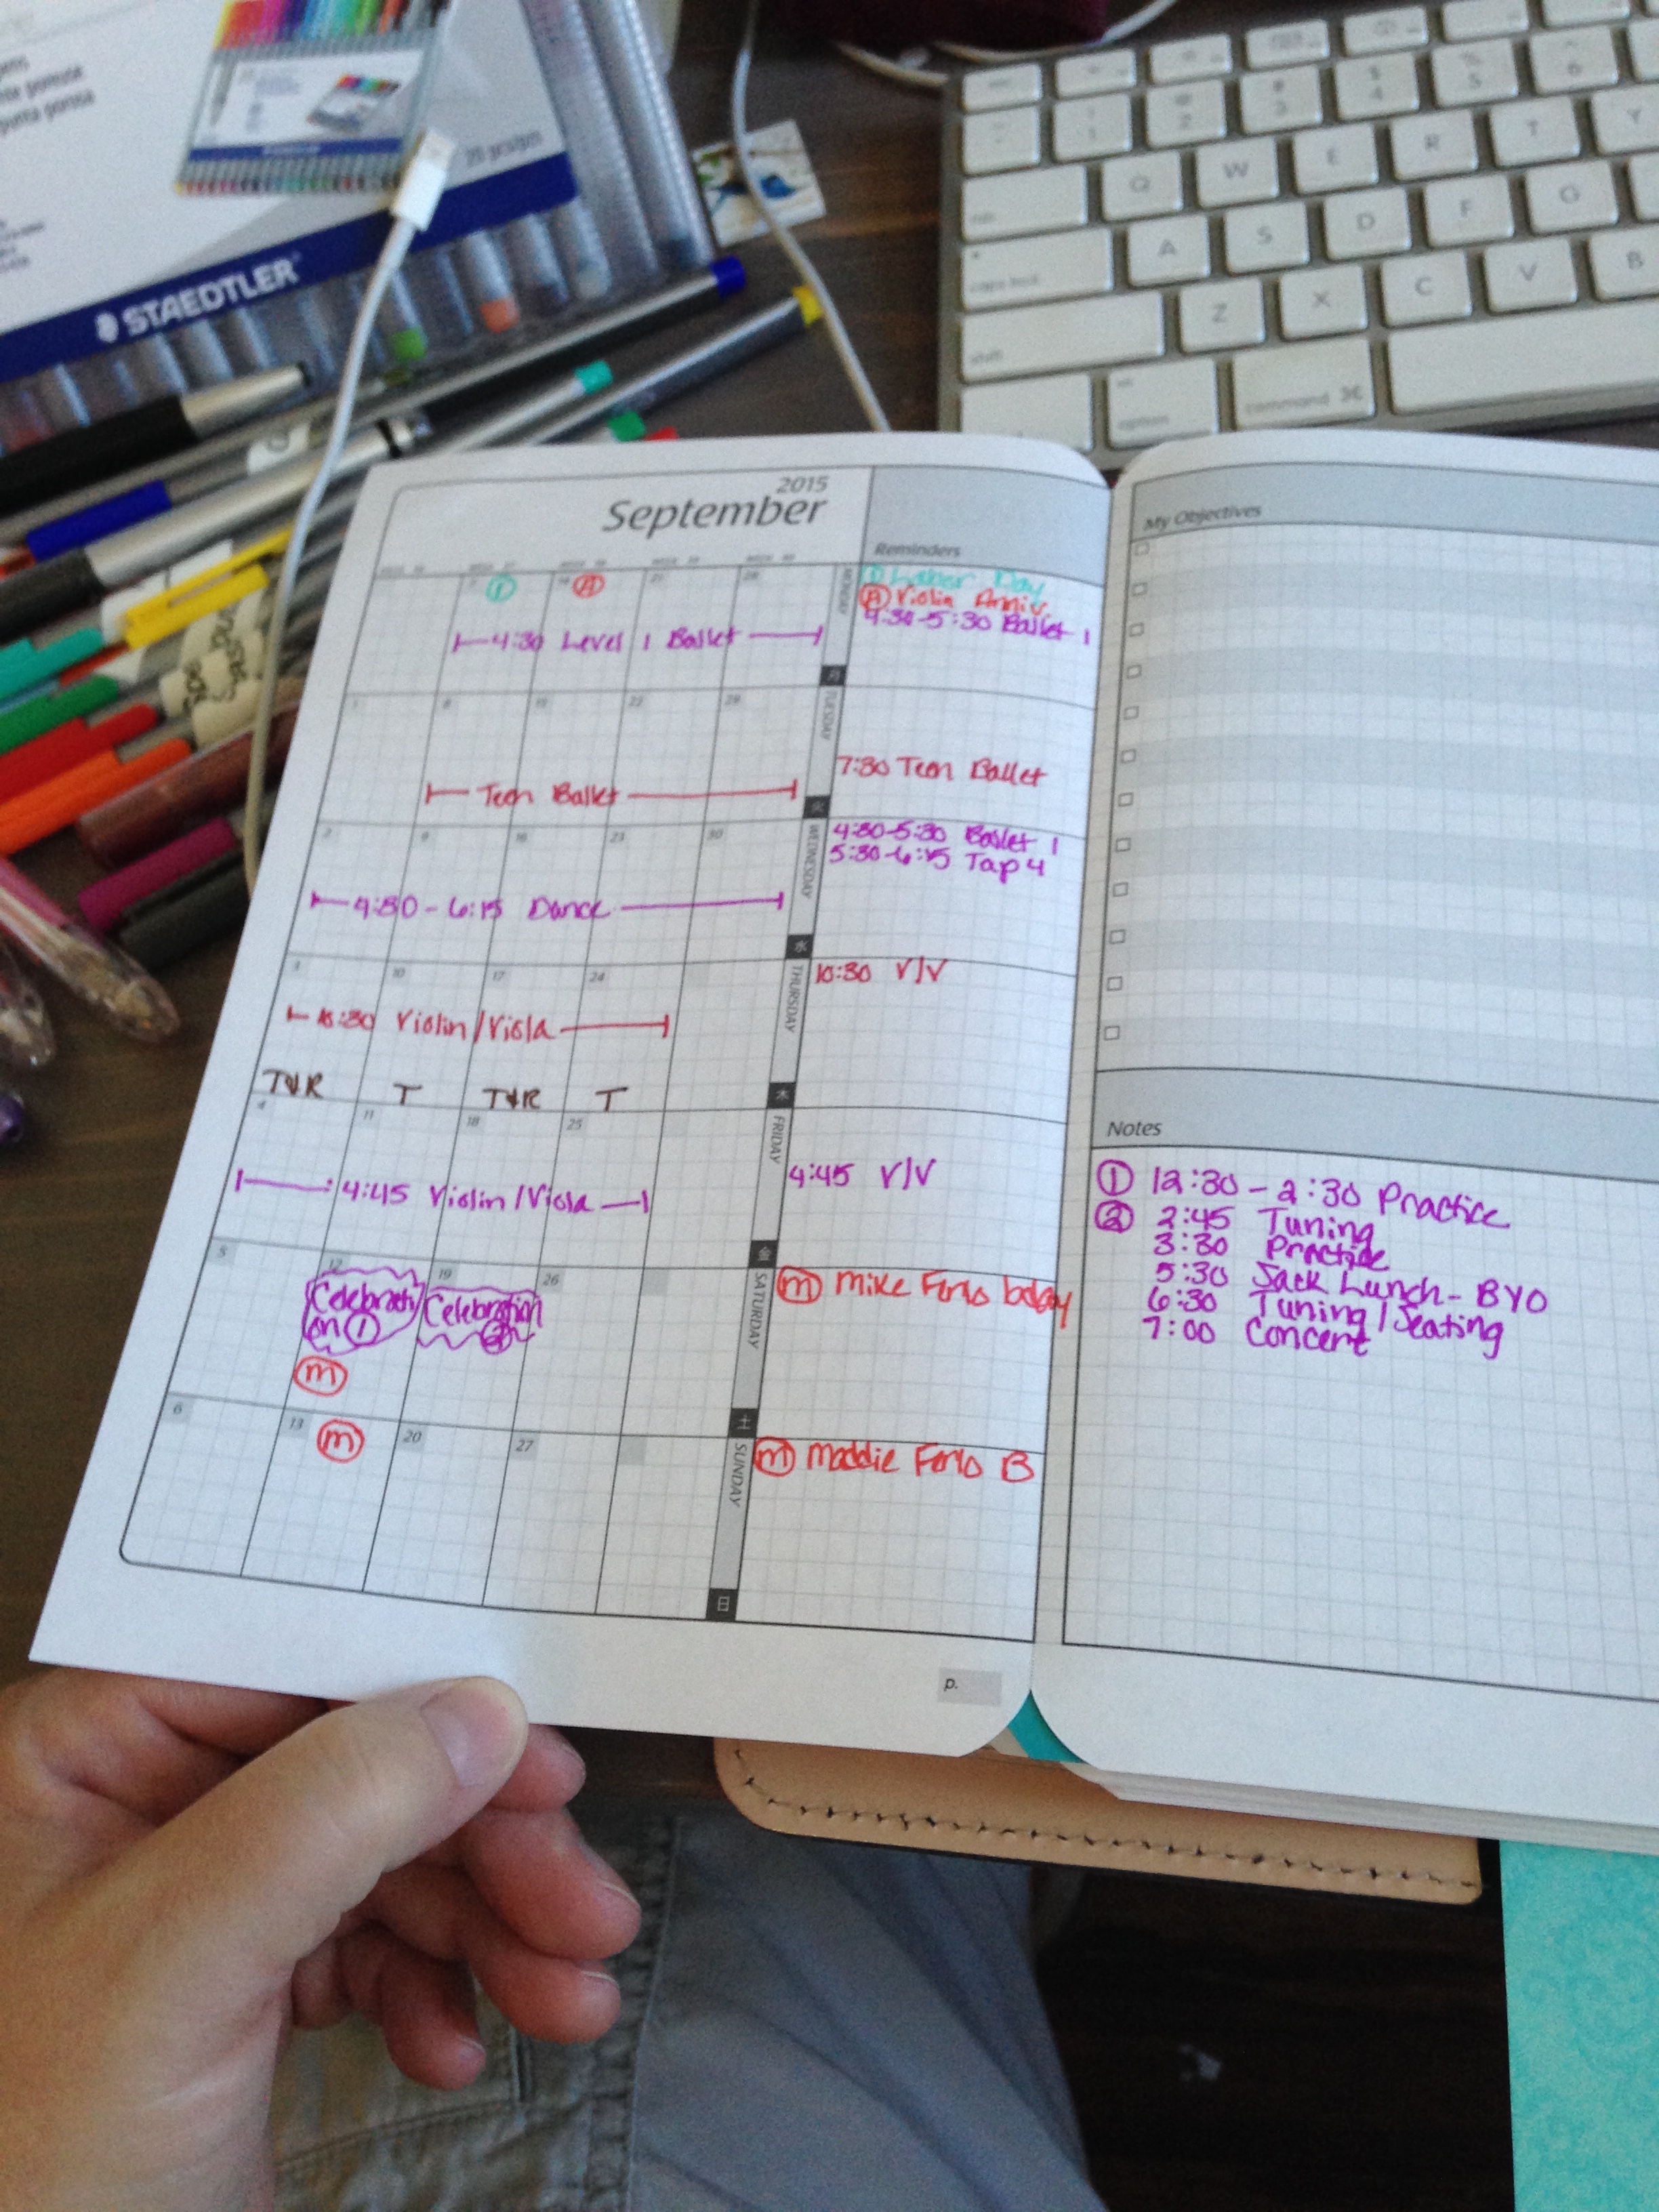
On the monthly pages, I also have my trash and recycling pickup schedule from the city services, any birthdays and holidays coming up, and any detailed events.
Behind the calendar stuff, I have my project management type tabs and pages. Stay tuned for how I have those and my tracking pages set up!
