PART 4: PRINTING
*The following Filofax and pages set-up was designed to specifically address memory, organization, and time perception problems associated with particular disabilities. Any feedback, questions, or suggestions are welcome. I hope this set-up information and associated descriptions are helpful for people.
This was the most intimidating part of the entire project for me. I was pretty frustrated the first little bit but I’m hoping to save you some stress by pointing out some things that I overlooked the first time through.
The DIY Fish pages have cut lines and fold lines on the pages to guide you. If you don’t see them right away, flip the page over and check the back. Most pages are double sided but usually have the cut guides on one side only.
Read the instructions and watch any tutorials you find helpful before you start.
Print several test sheets so that you get the hang of it before you jump in. It really does help.
Once I printed a sample of each item and tested how it went together, I printed three months of pages at a time. Most people print the entire year at once but I didn’t because: 1) I don’t want to store them physically; 2) I tend to put things in wonderful little, perfectly logical, hidey-holes and then can never find them again; 3) I made minor modifications to the pages and want to test my modifications a little at a time so that if I change something, I only have to recycle and re-print a few months rather than 12 months of everything. 4) I didn’t want to waste that much paper if I royally messed something up.
My downloading and printing process:
Warning… This is going to seem like a lot of work and time. The first time is fairly time consuming but it gets easier and faster as you go. An alternative is to contact a printer through the DIY Fish Facebook page and have them print and ship to you. Quite a few people do this and the printers get great reviews. I’m mostly printer savvy and I wanted to print something additional on one of the pages so I did my own.
I downloaded all the files and put them in a special folder called “Filofax/DIY Fish Blanks” on my computer so that I can find them again in a few months. When you do this, you get a bunch of sub-folders and files that look kind of like this:

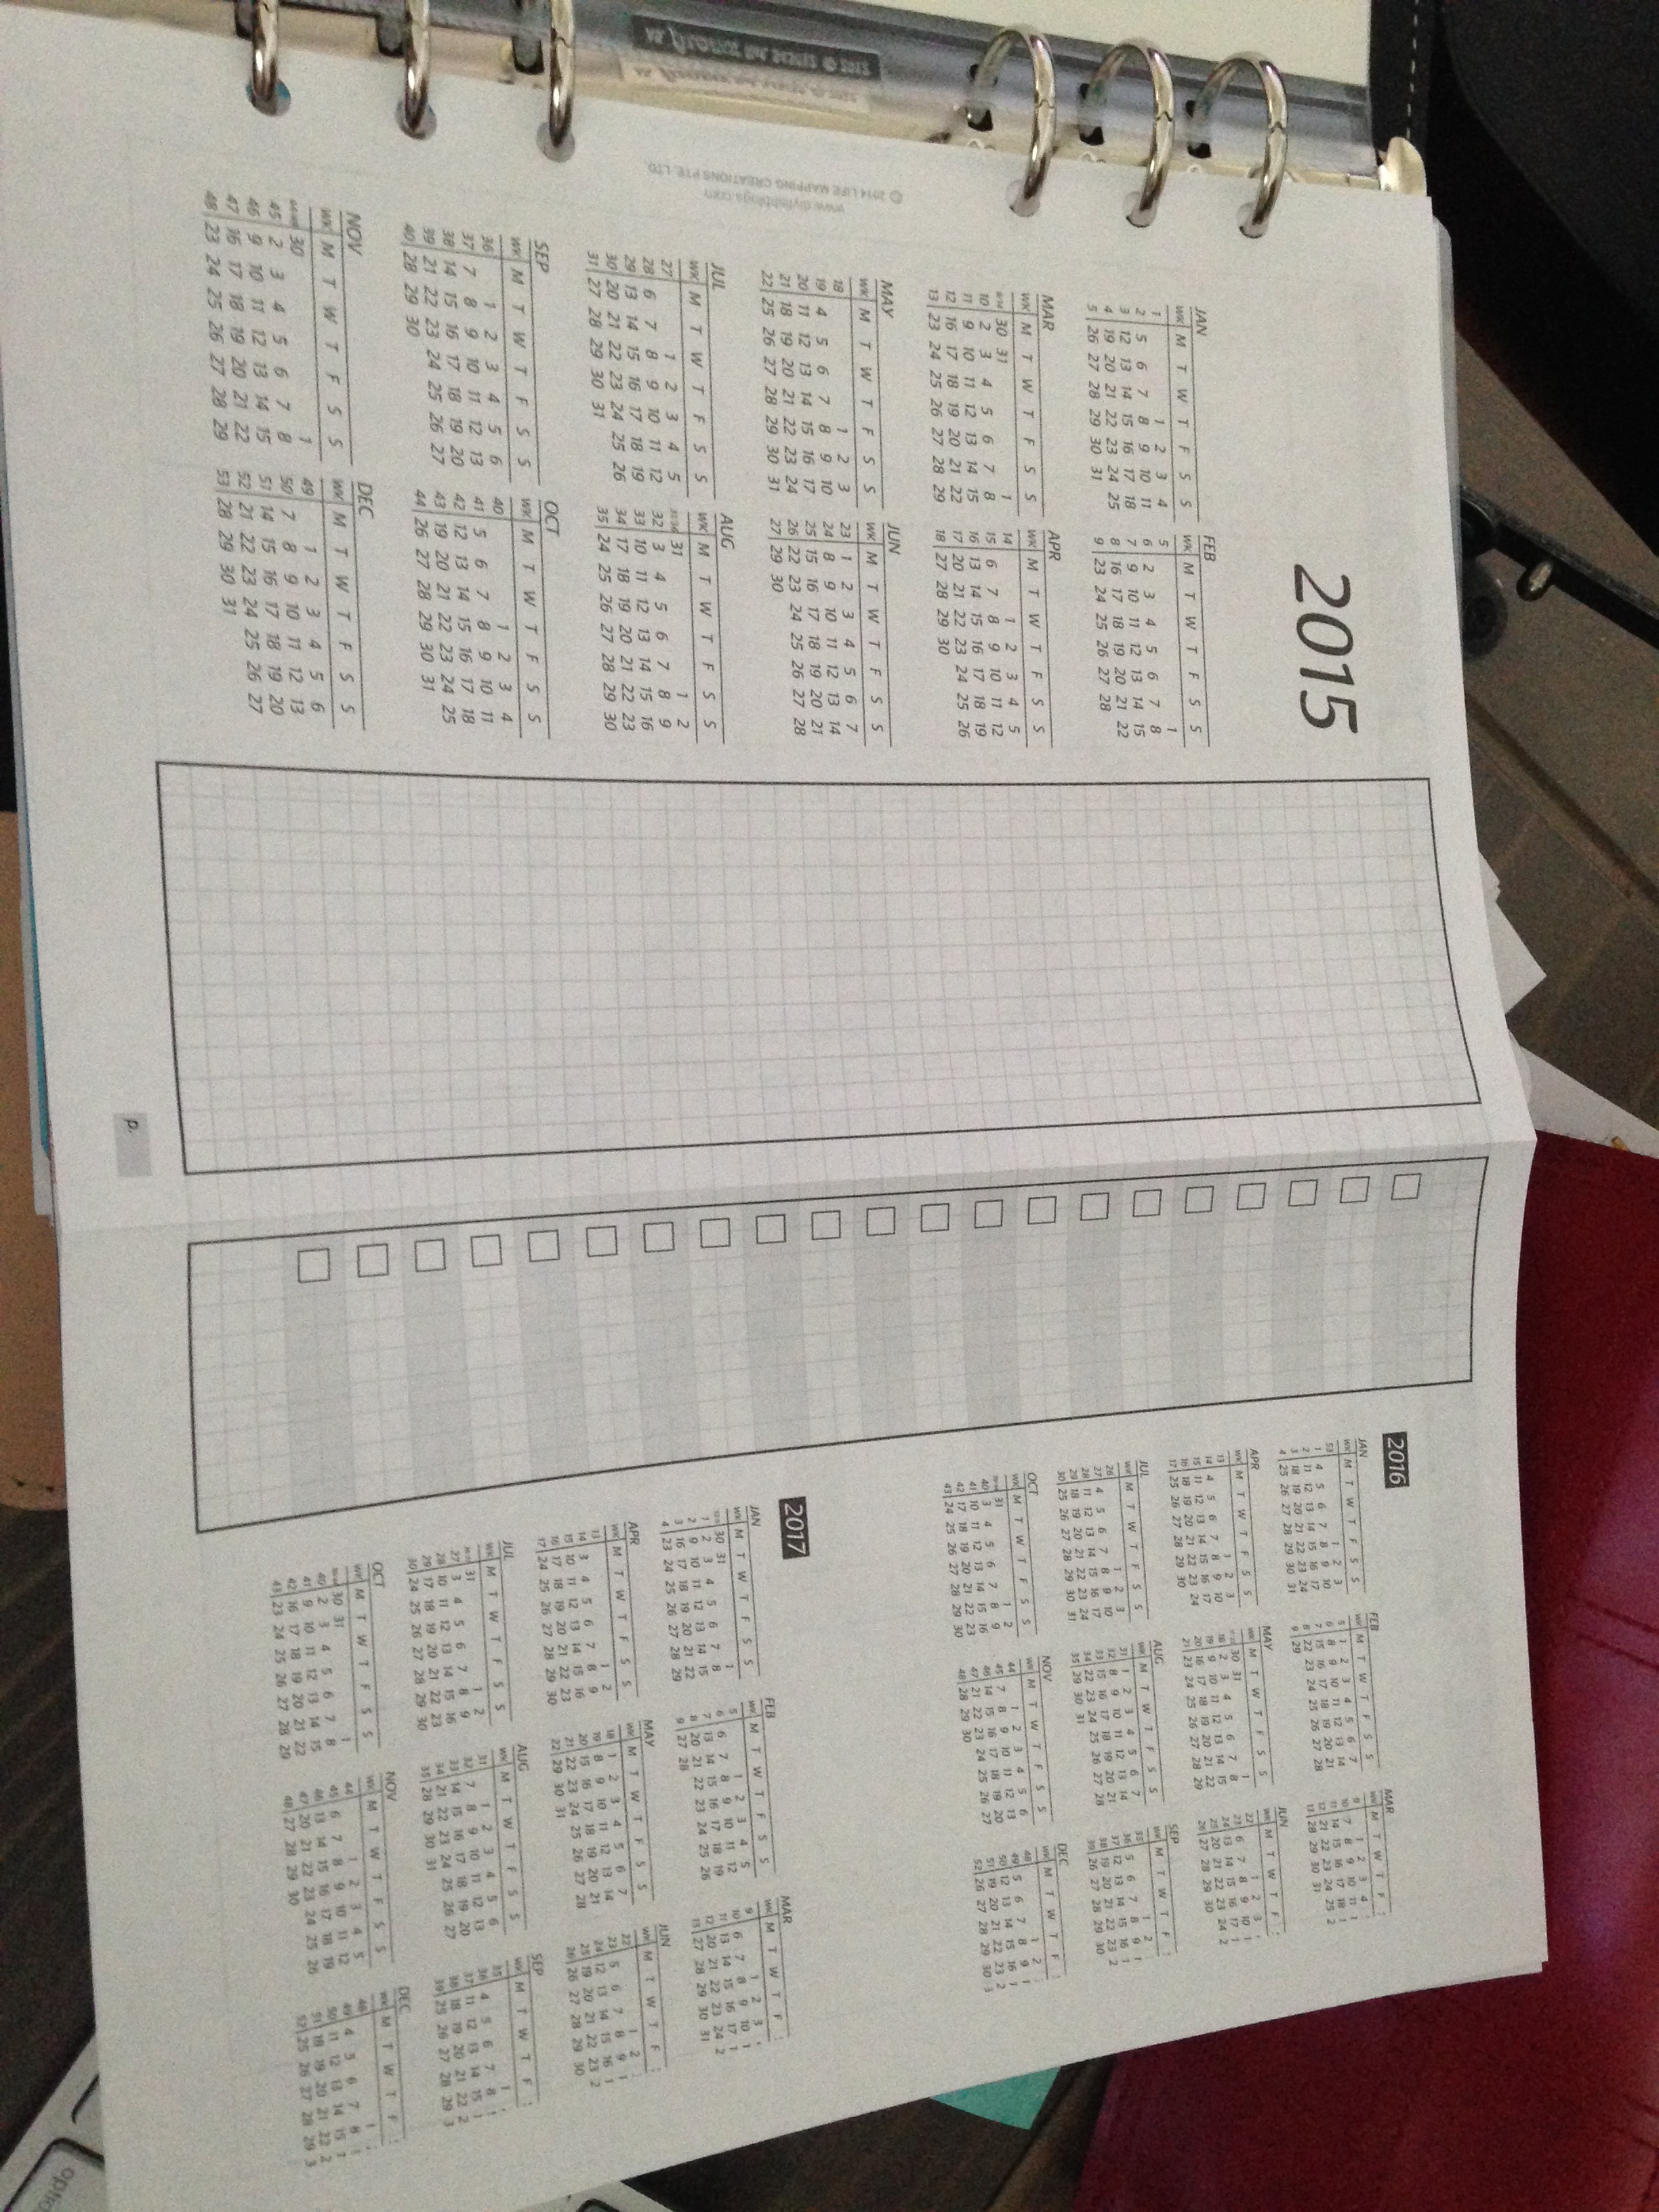
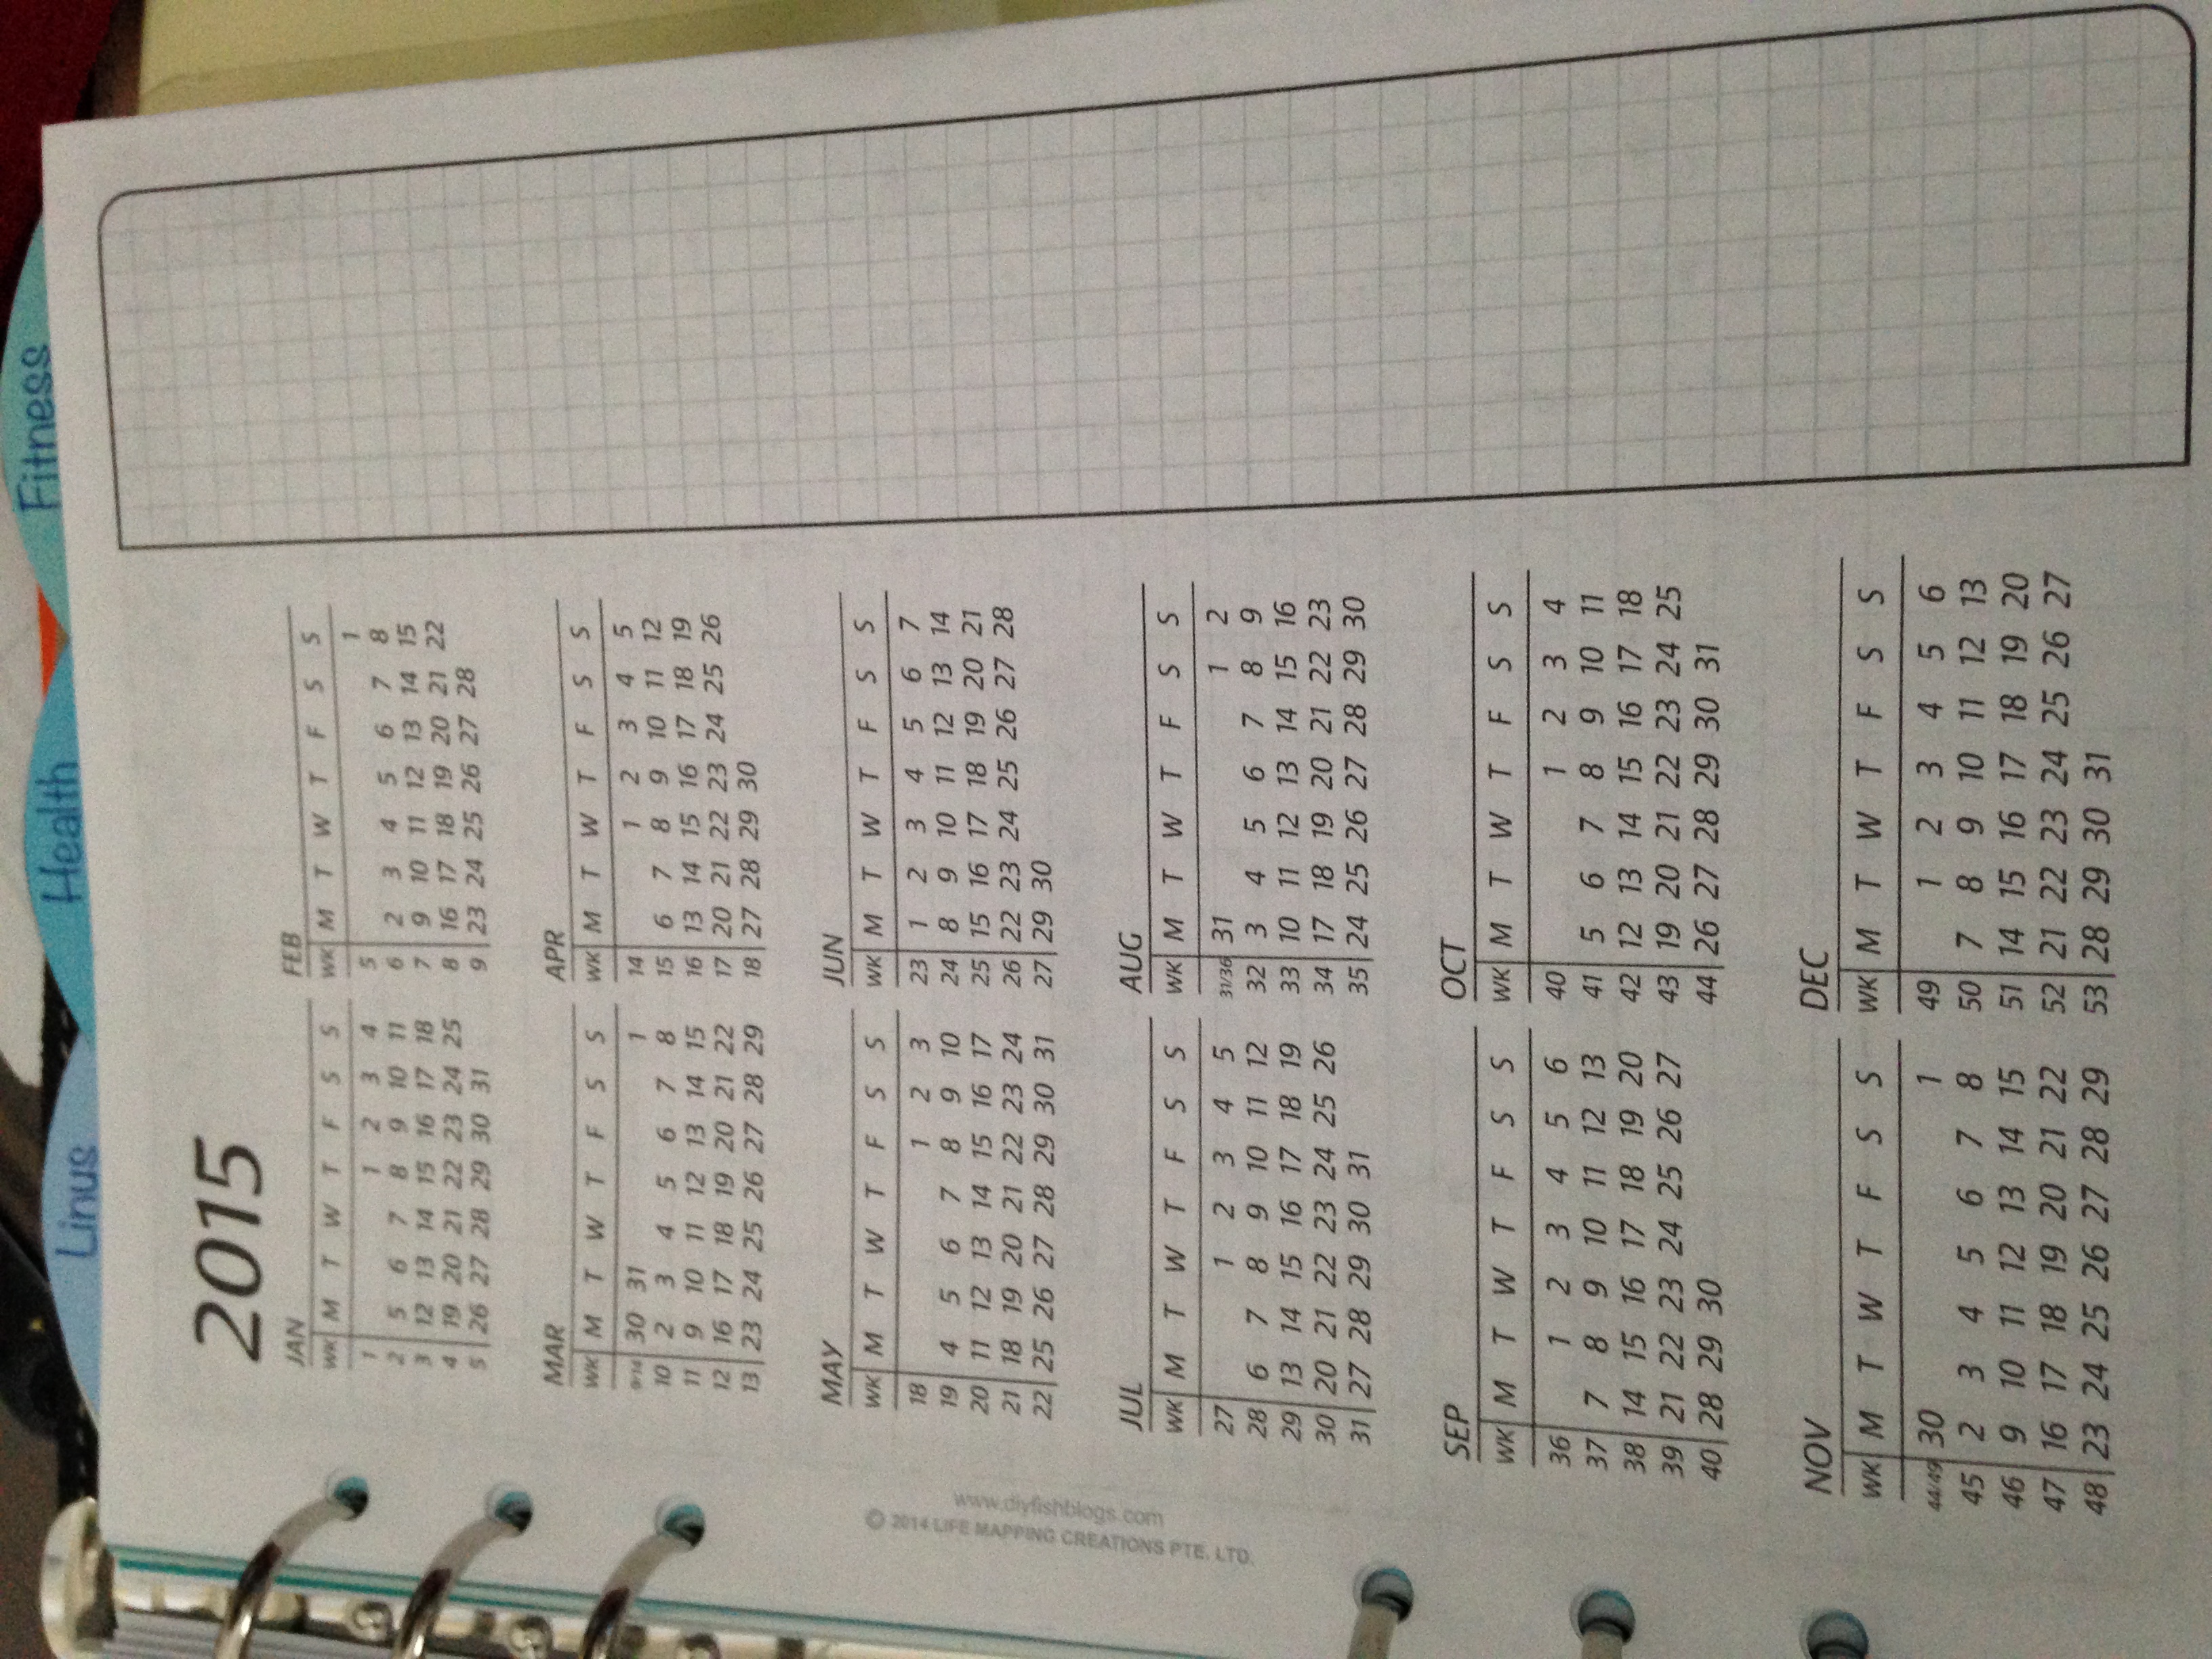
First I printed my yearly calendar and my 3 year planning calendar. My 1 year calendar is at the front of my binder to give me an overview of the rest of this year. The 3 year planning calendar is in the back of the last month in a section titled “Future” for things like dental appointments that get scheduled pretty far in advance or for things that haven’t been scheduled yet but need to get done in a particular month, like a mammogram in June of 2016 for example.
The 1 year calendar file is this one,
![]()
and looks like this when printed:

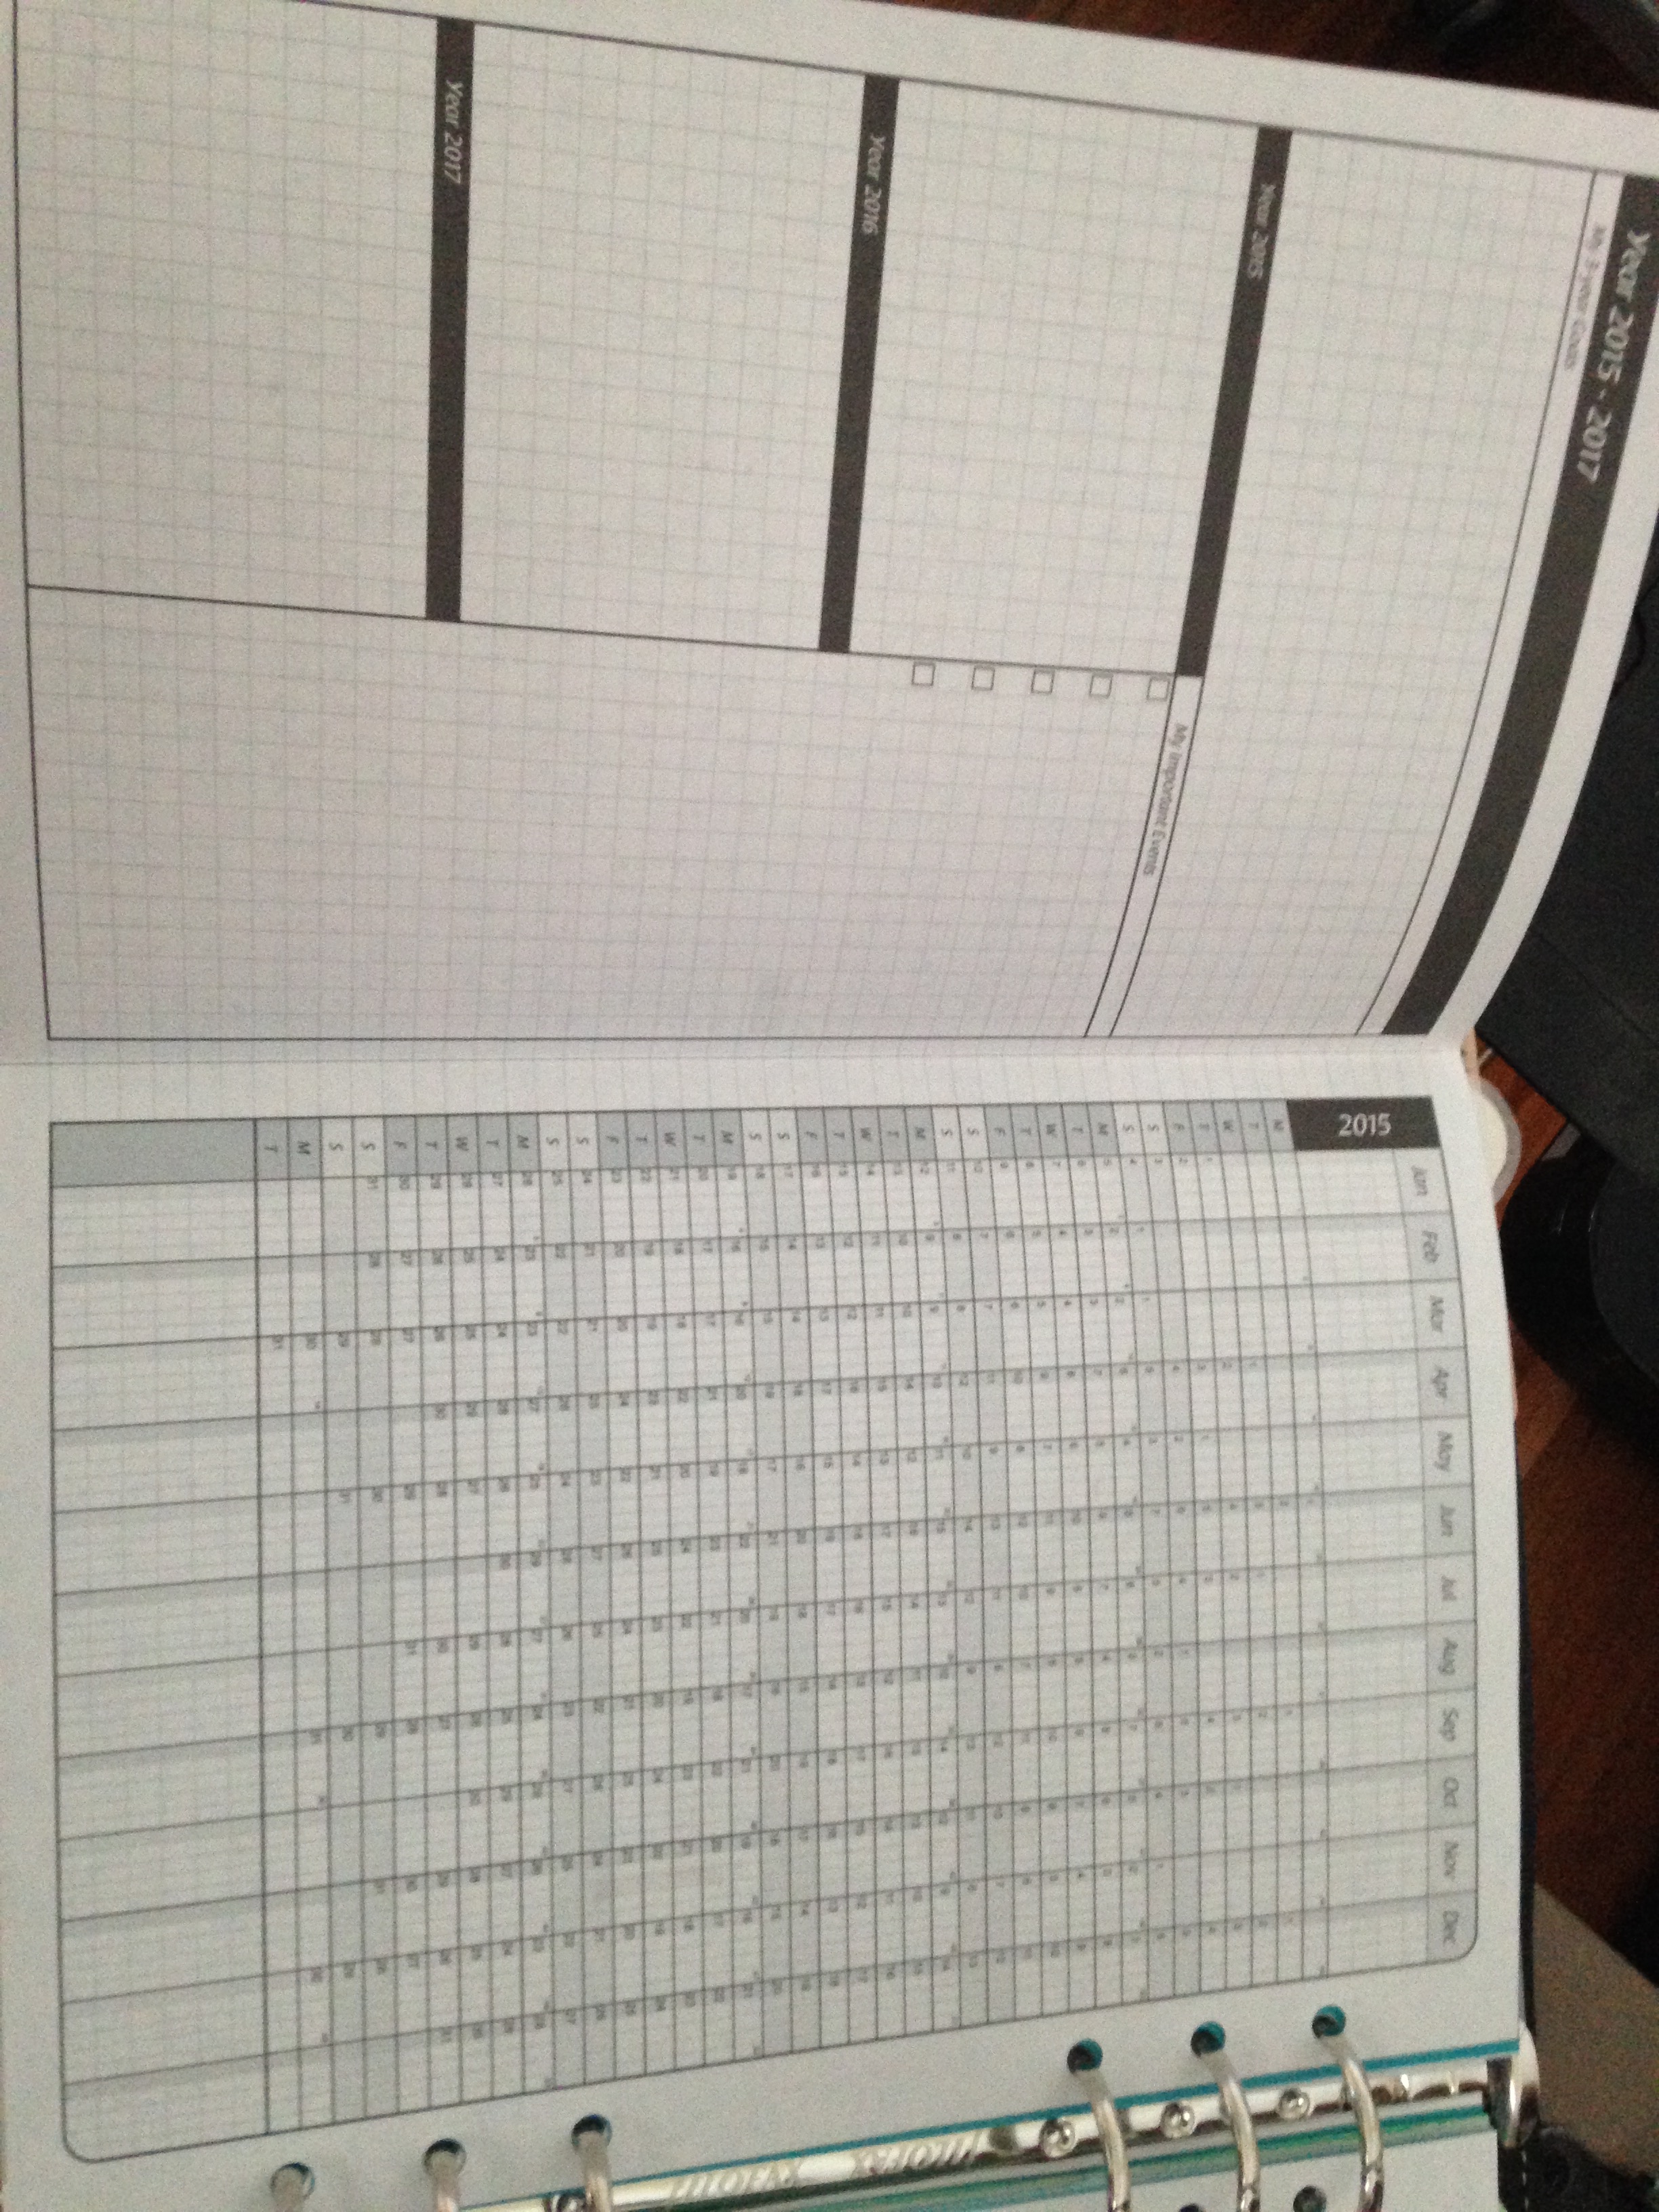
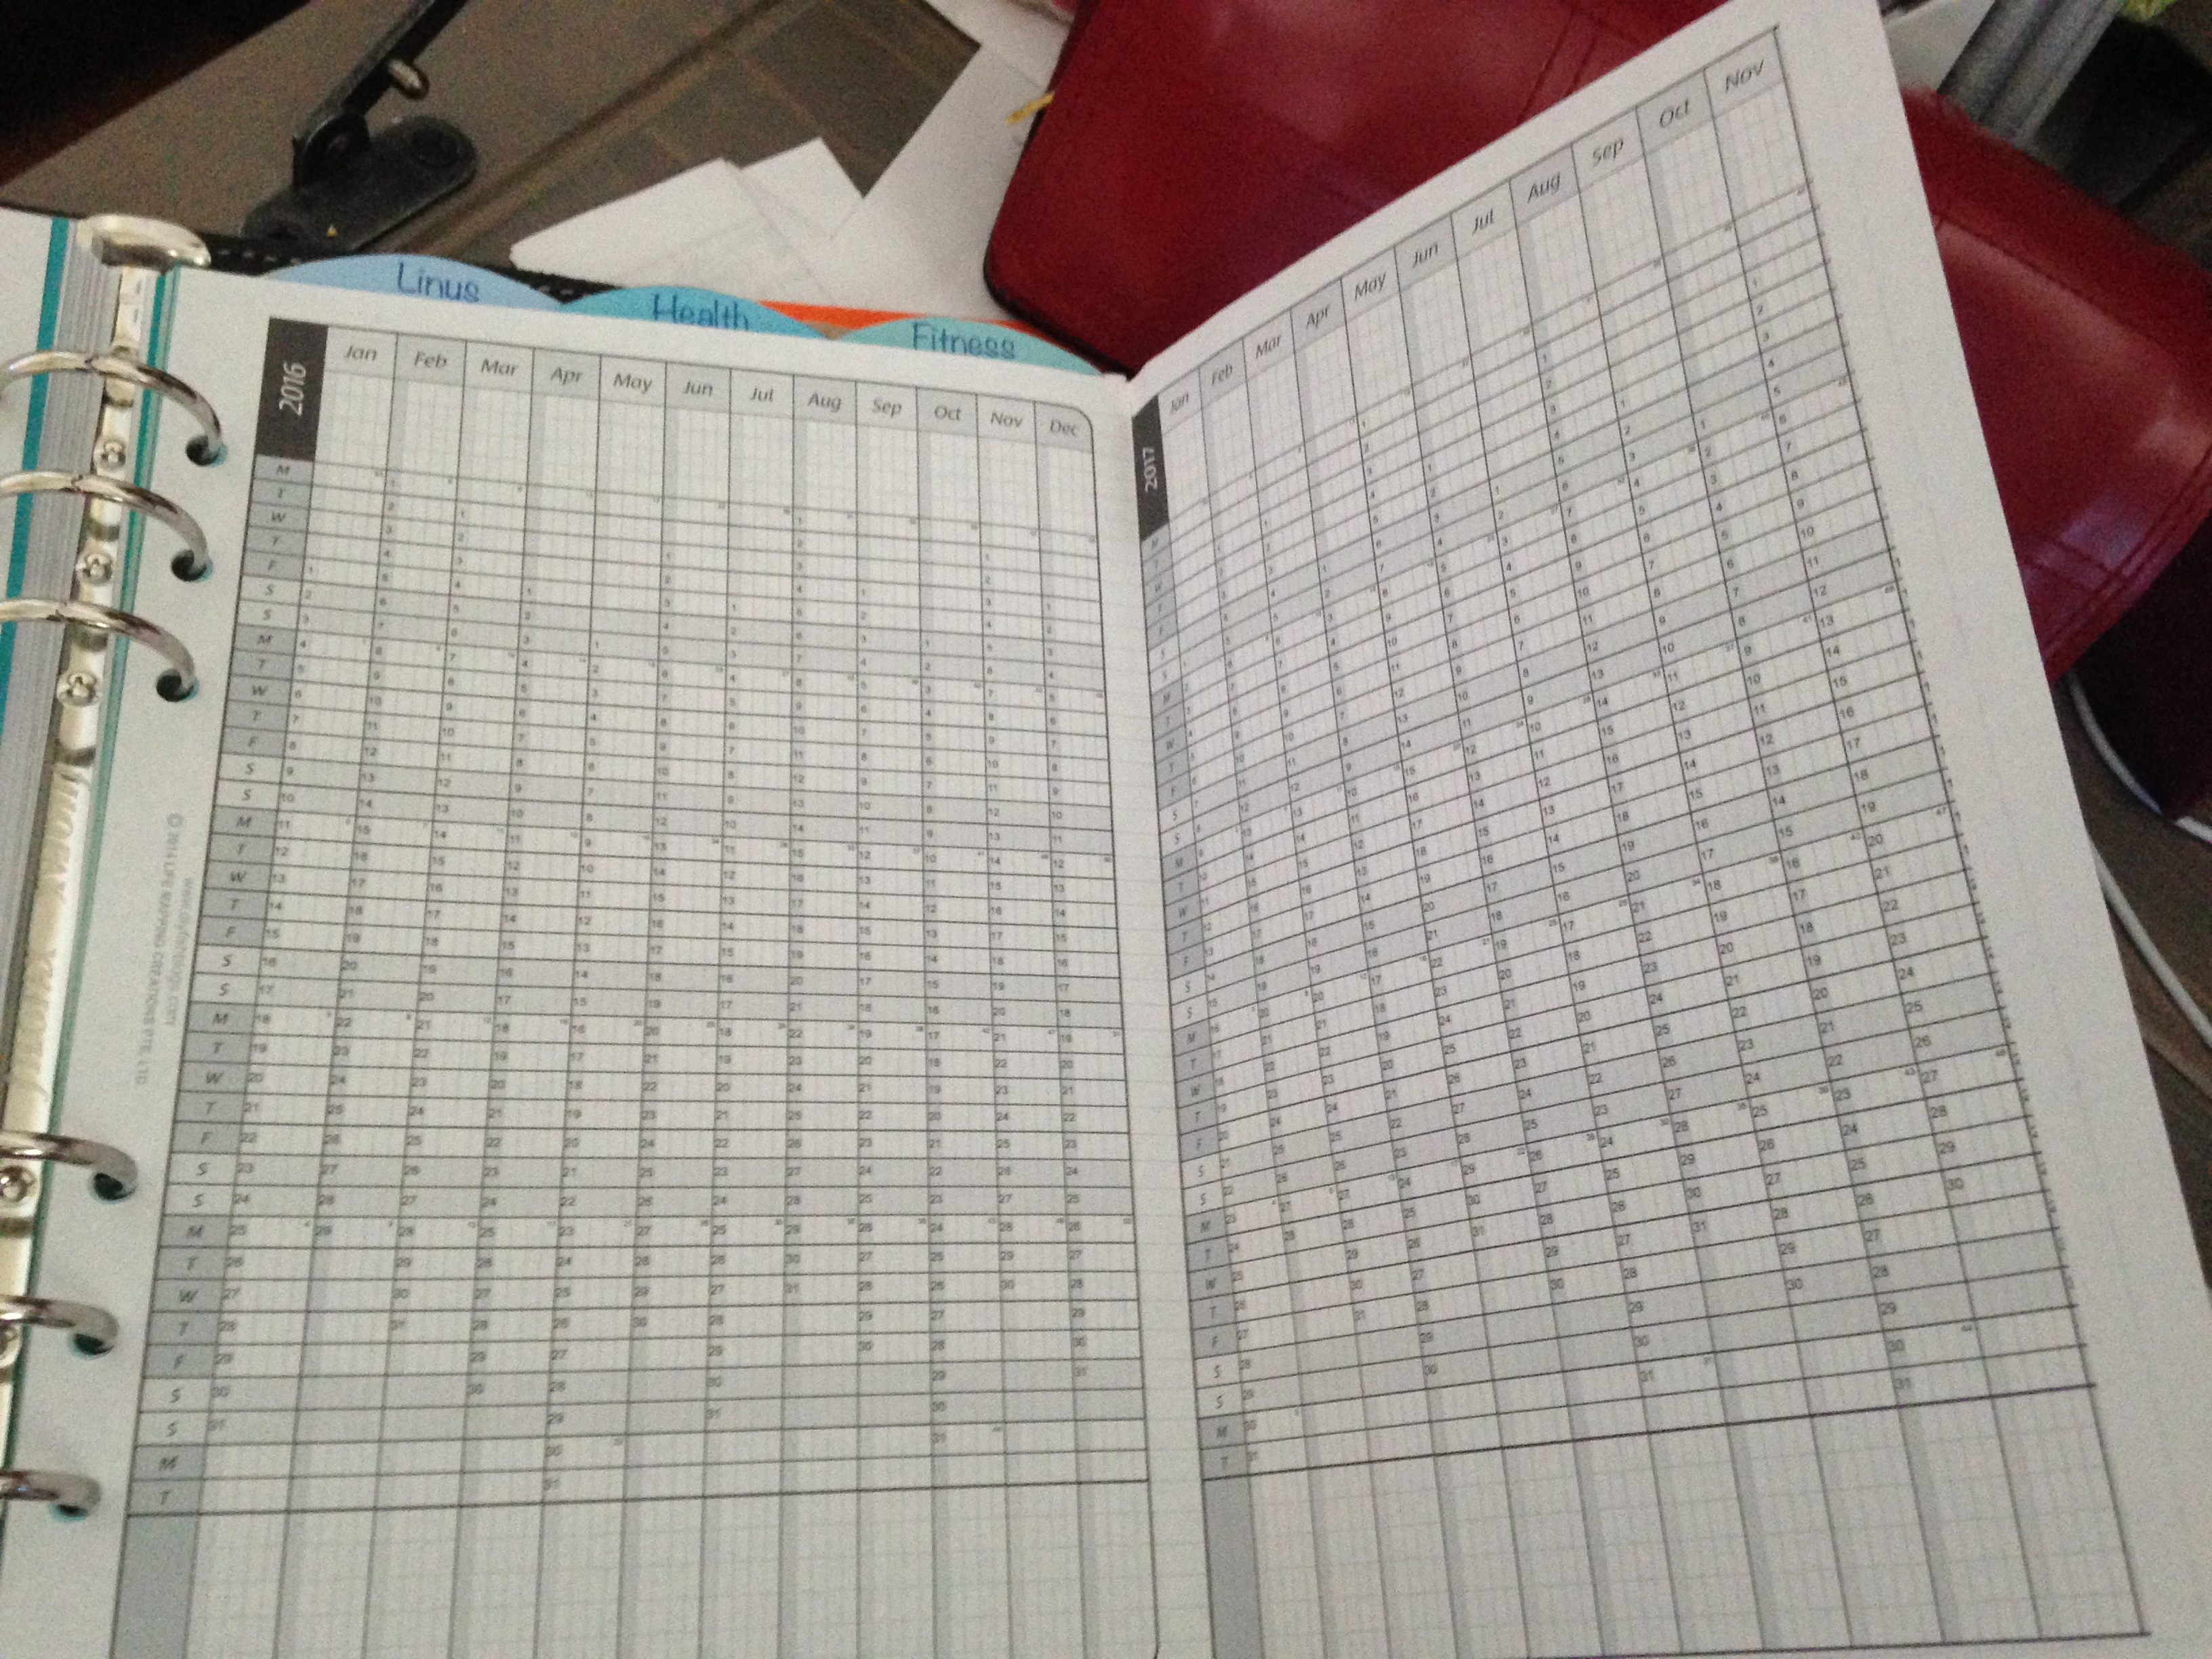
The 3 year calendar file is this one,
![]()
and looks like this when printed:


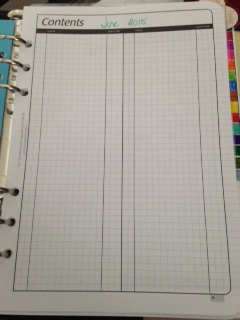
Next I printed my contents pages. These are similar to the old Franklin Covey index pages. They are really a Table of Contents for what you want to stand out for that month. Some people use this page as a to-do list for the month instead. There are two different contents pages included in the download. One file is for 2015 and one is for 2016. Fish made a few visual changes to the 2016. I only printed the 2015 since I’m only dealing with three months at a time.
The files in the folder look like this:

Printed out and cut it looks like this:
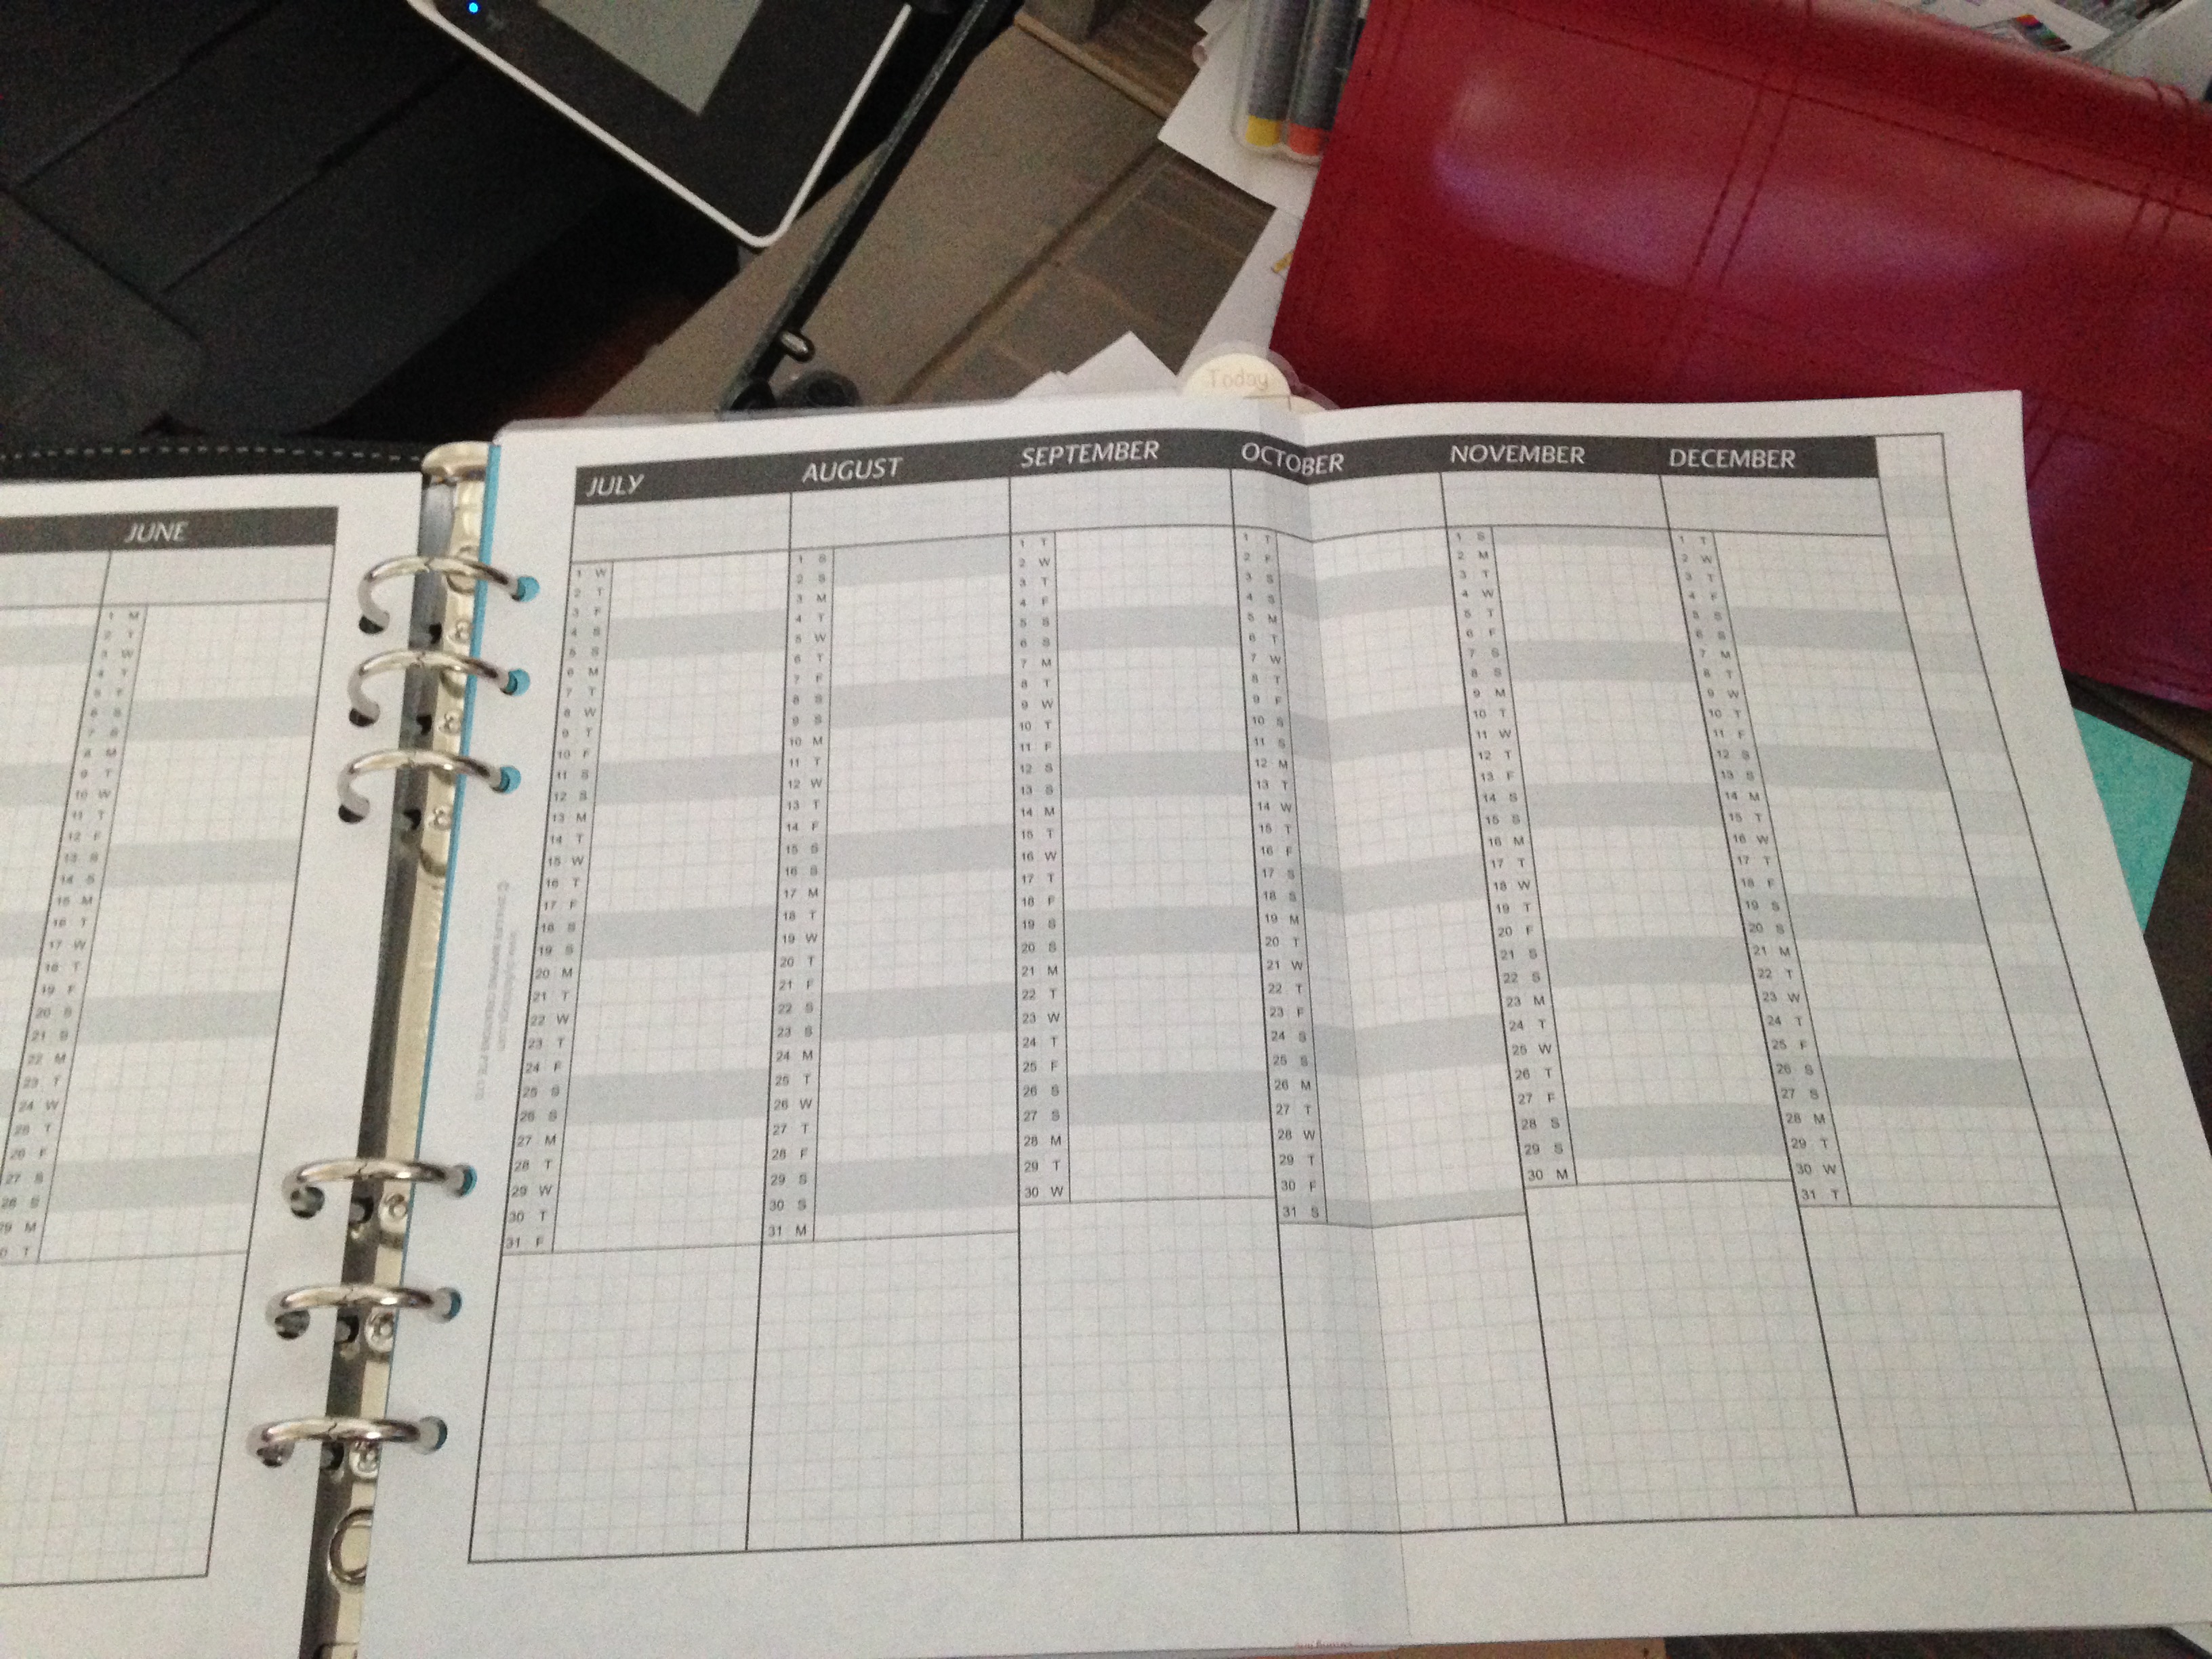
I printed all my monthly charts. These include a “My Monthly Chart” on the front of the page and a large planning area on the back of the page. The page gets folded in half after cutting.
These files are in a larger folder that looks like this:
![]()
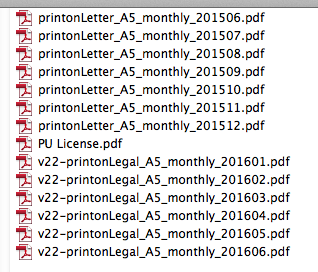
Because these are date specific, when you open the larger folder, you’ll see a list of files like this, one for each month:
Printed they look like this:
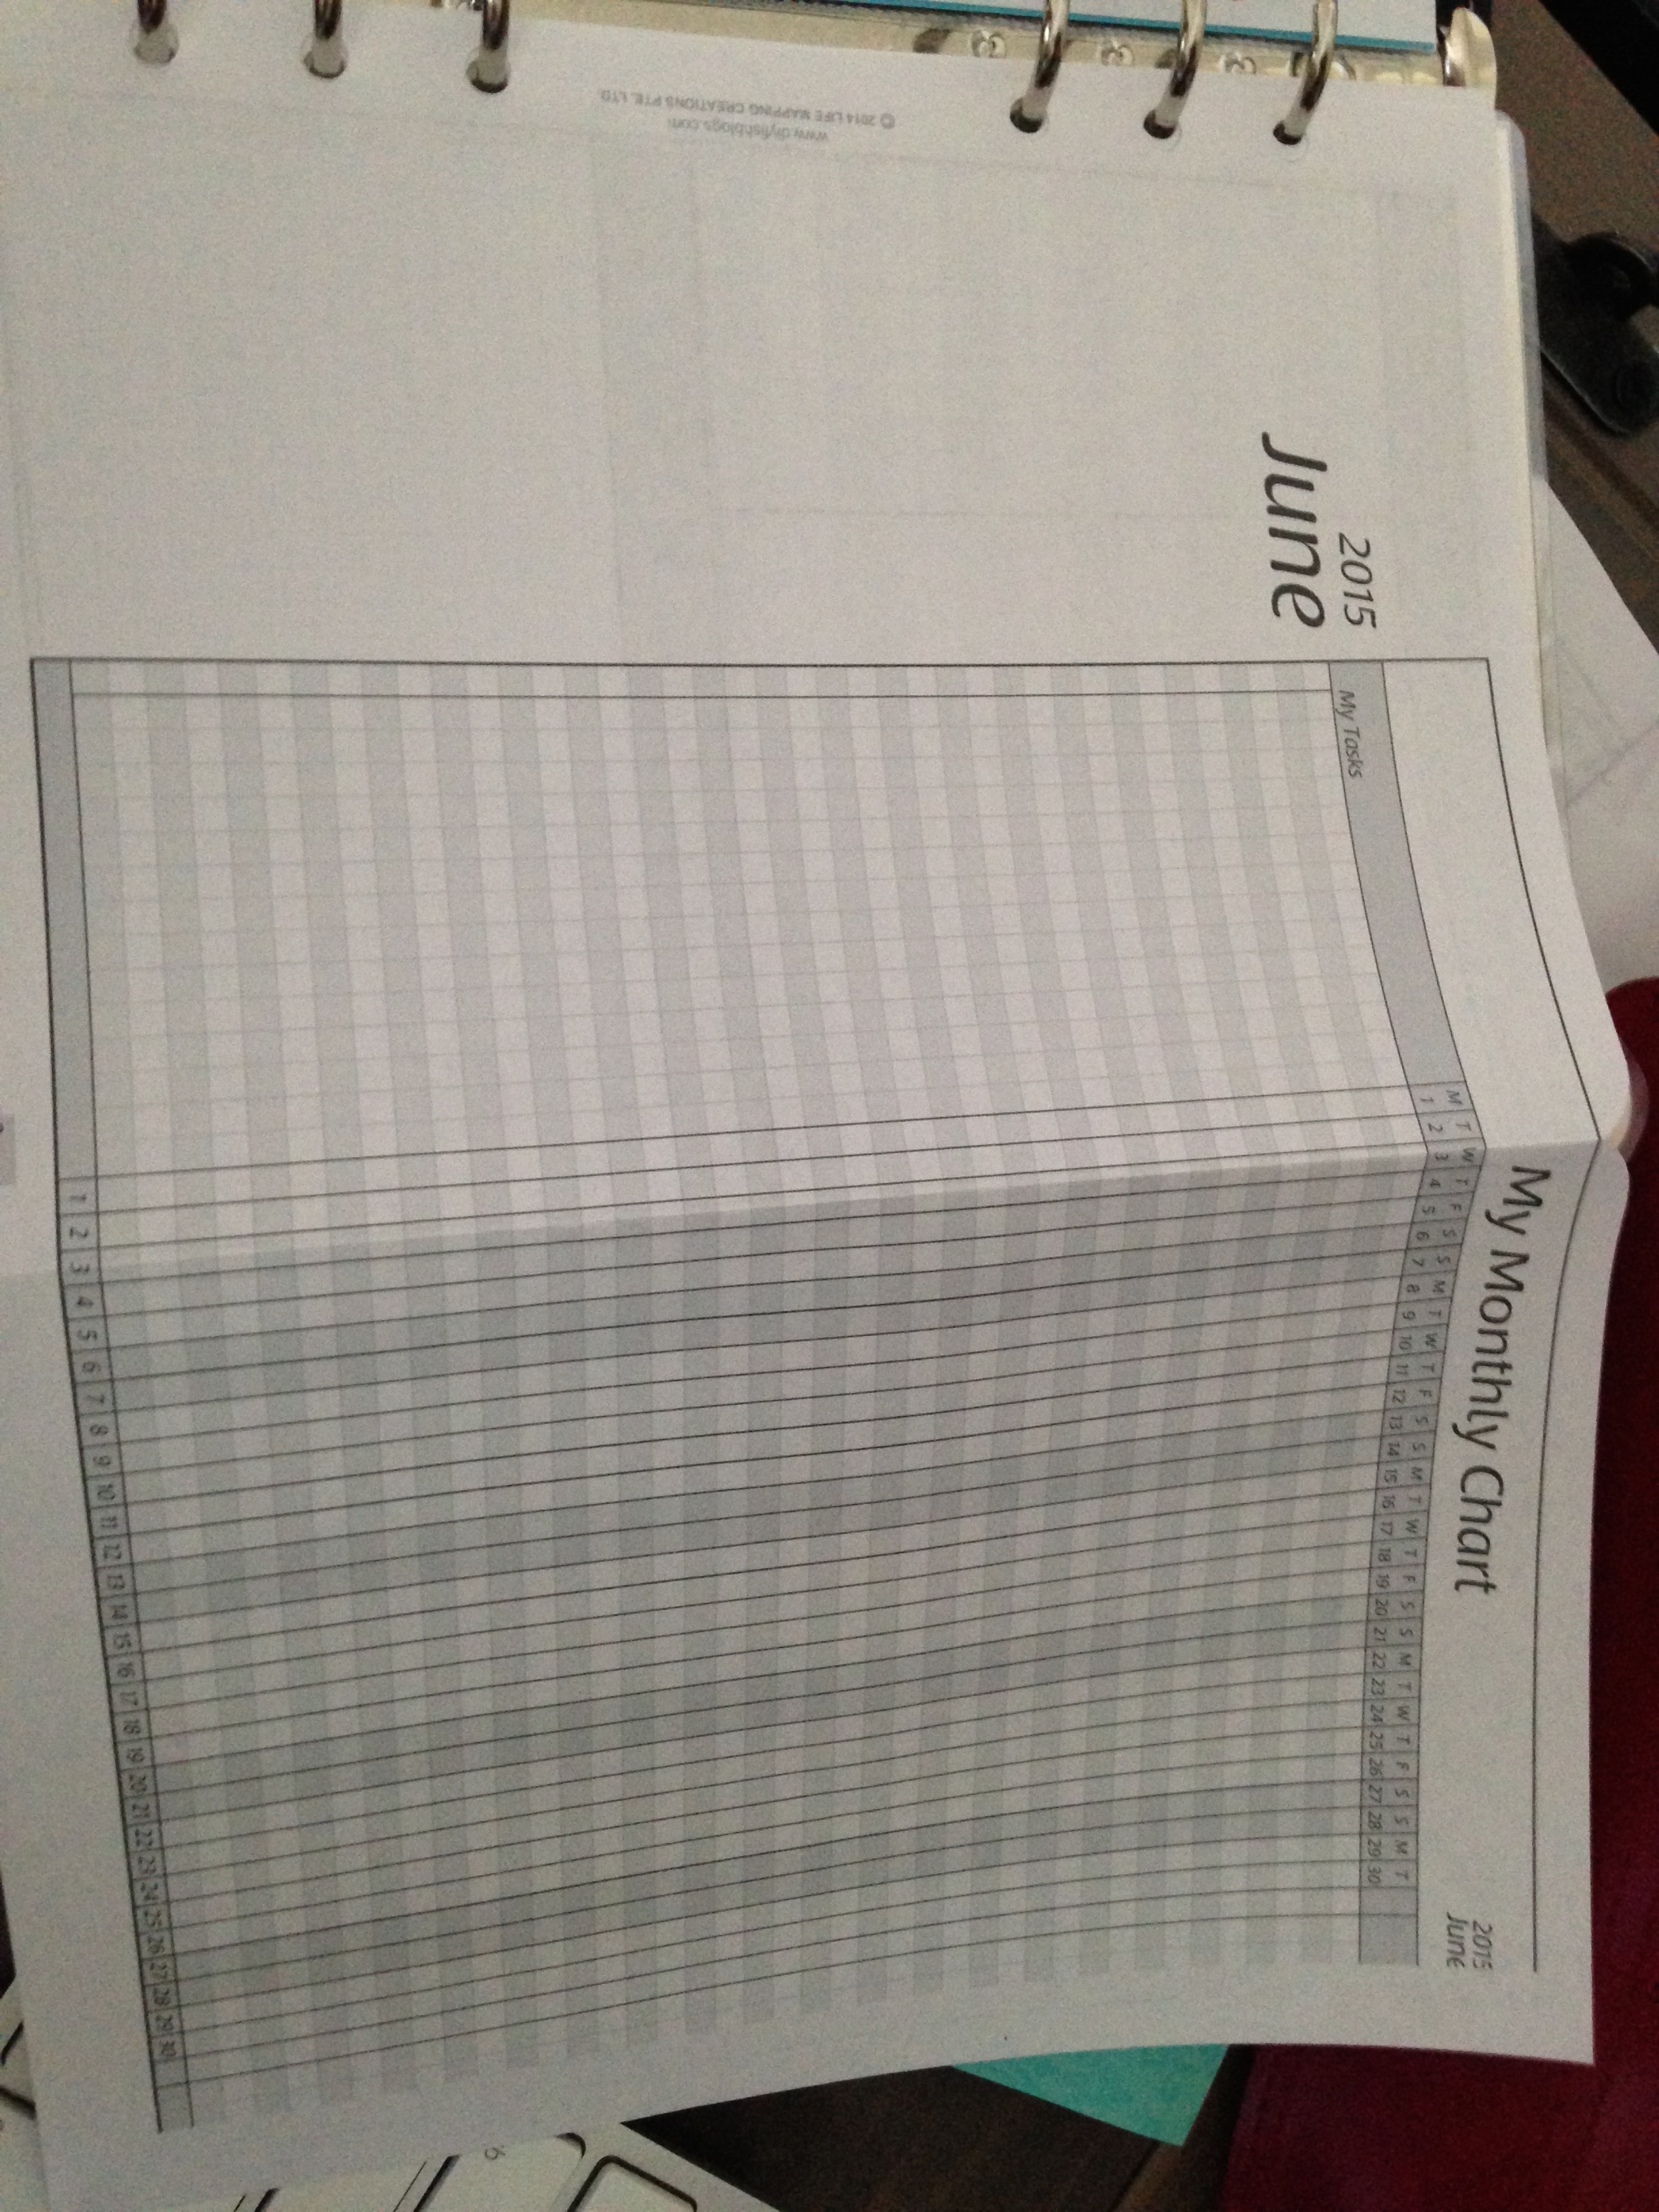

I did this for the months of June, July, and August, 2015.
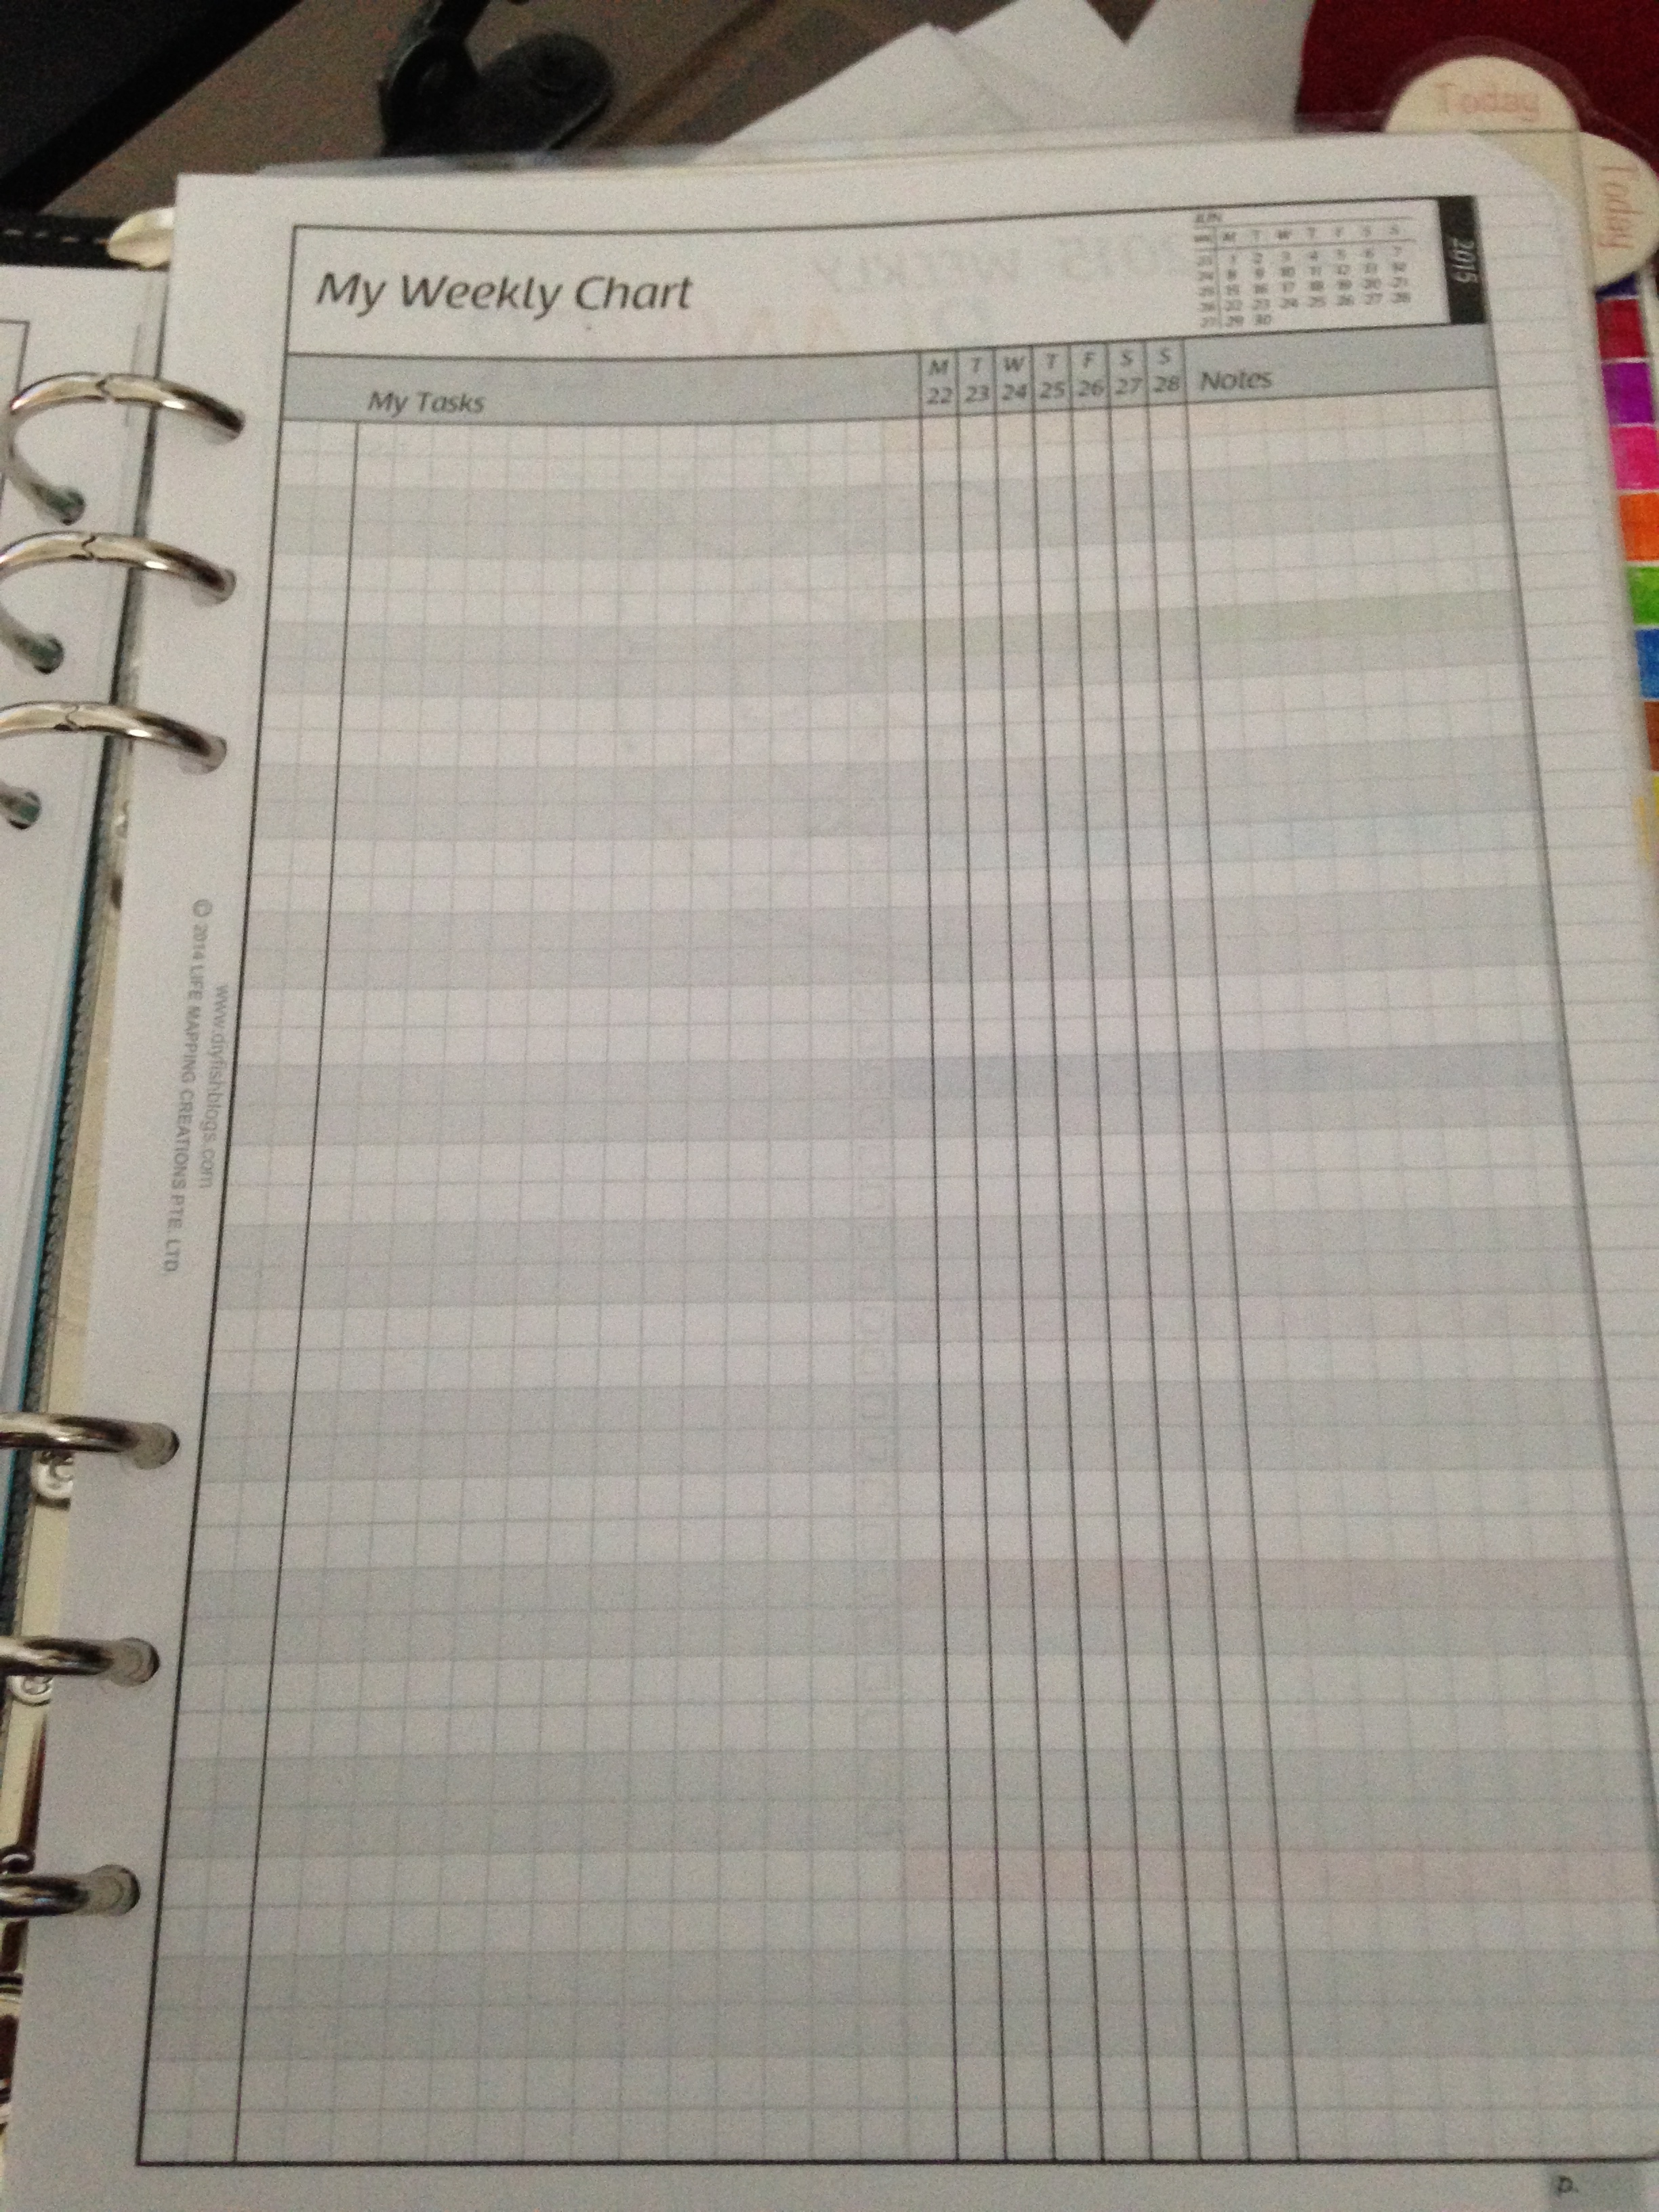
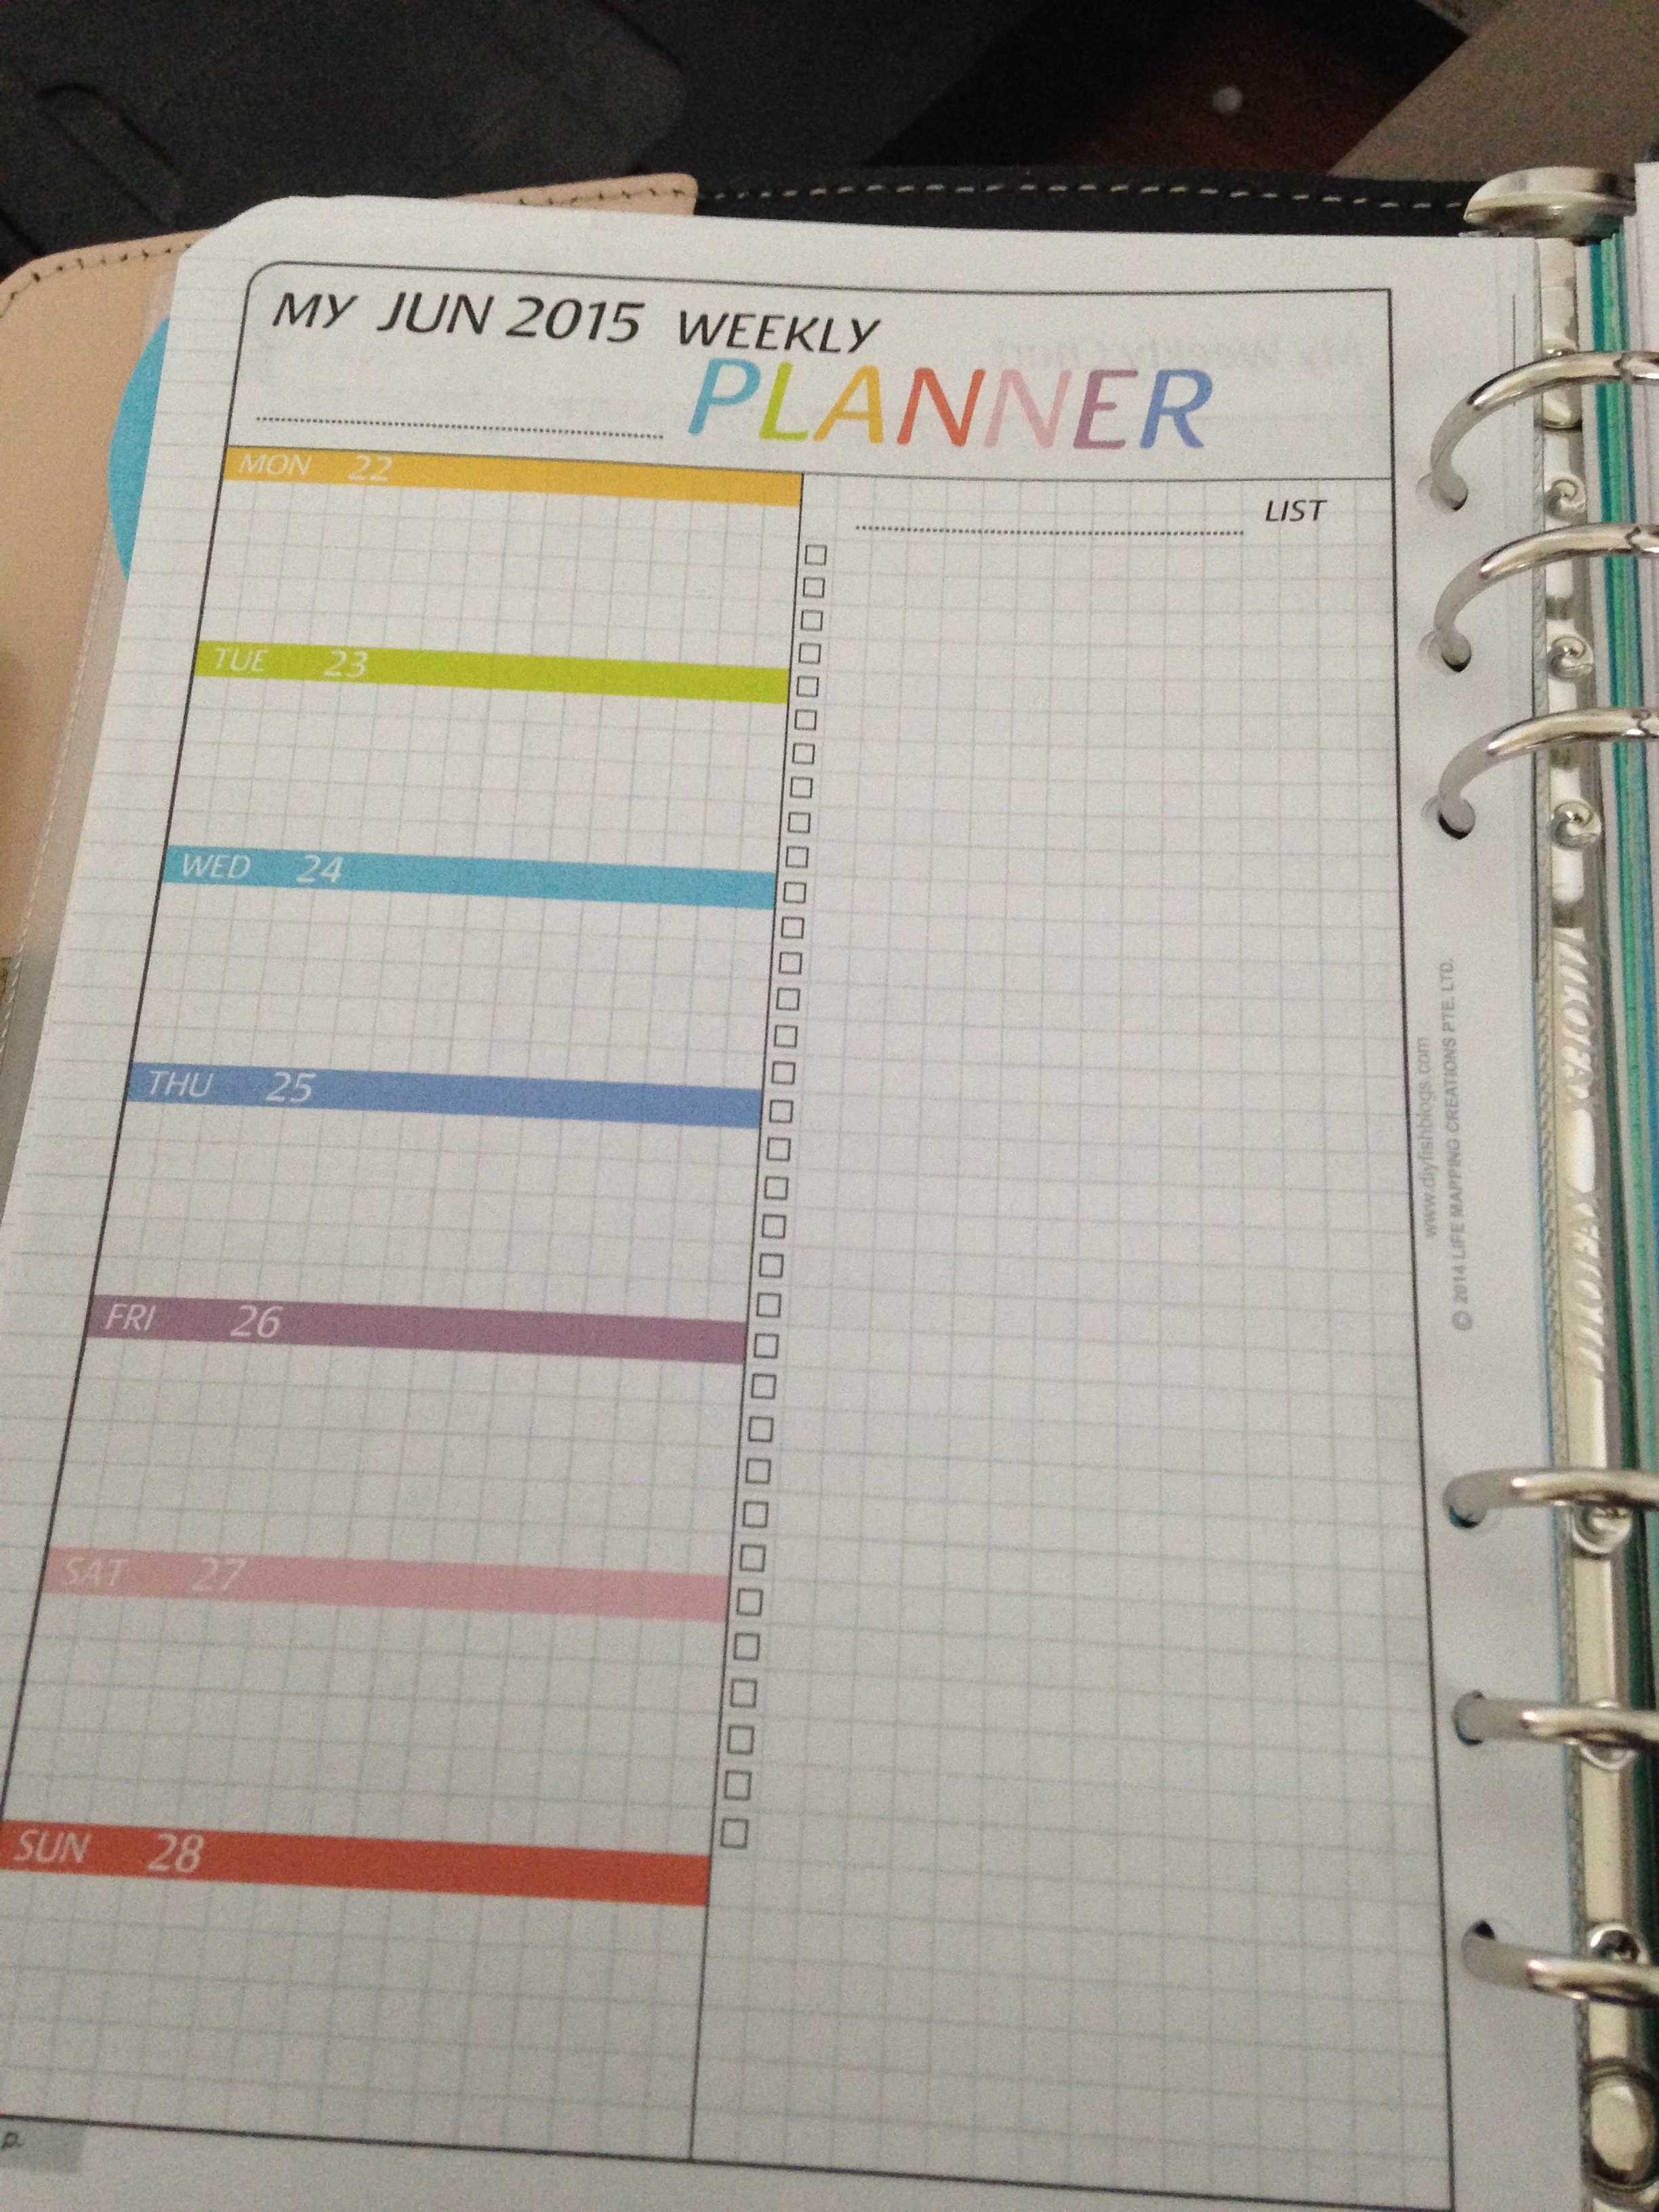
Next I printed all my weekly charts. Again these are date specific so you’re going to have multiple pages per month so several files to open in Adobe. I only printed files for June (06), July (07), and August (08).
The folder looks like this:
![]()
The files look like this:

Printed they look like this:
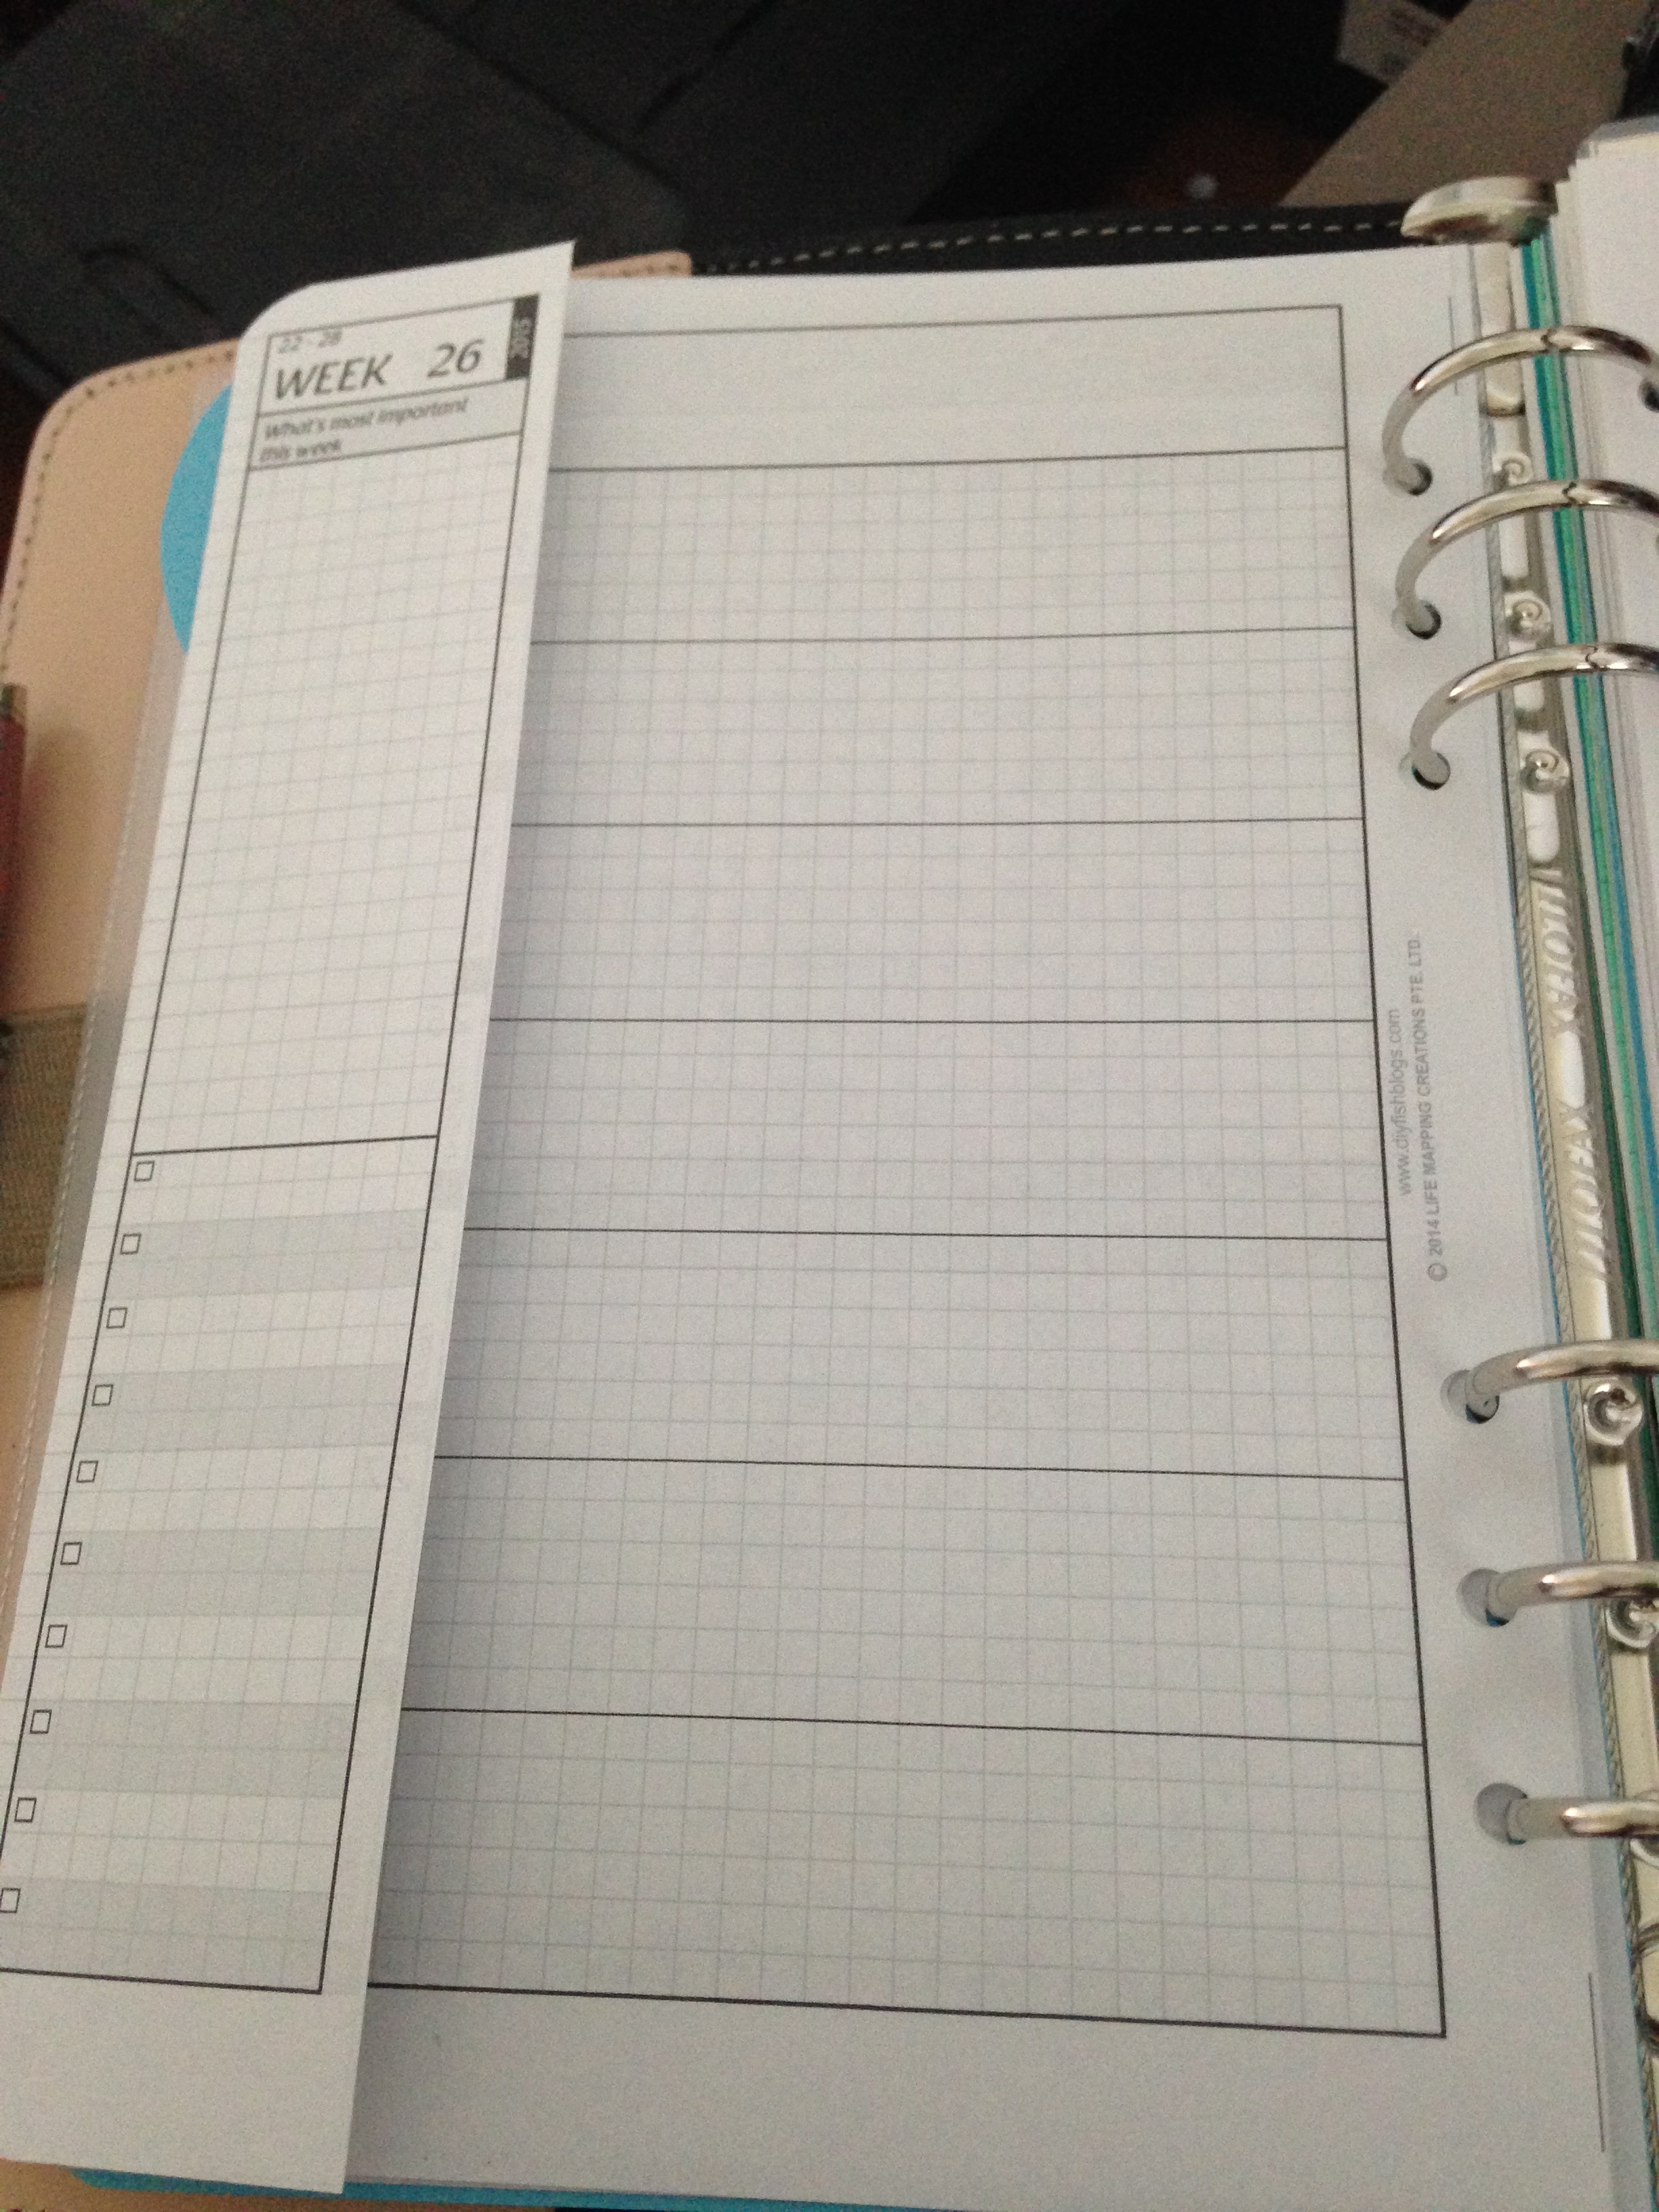
Next I printed my Weekly Fold Pages. These are really cool and I’ll show how I use them later but for now I’m just showing the files and printouts. I only printed the files for June, July, and August. Each file will contain several weeks.
They are located in a folder like this:
![]()
The files look like this:

Printed out they look like this. Only a thin edge gets folded.
Finally I printed the daily pages. This is the bulk of the printing, cutting, and punching. Two pages per day for X number of days and X number of months. You get the idea. Again, I only printed days for June, July, and August. I’m much faster now than I was when I first did this a week ago so when I do this again mid-August, it should really only take about half the time it did this time around.
The file folder looks like this:
![]()
The files look like this:

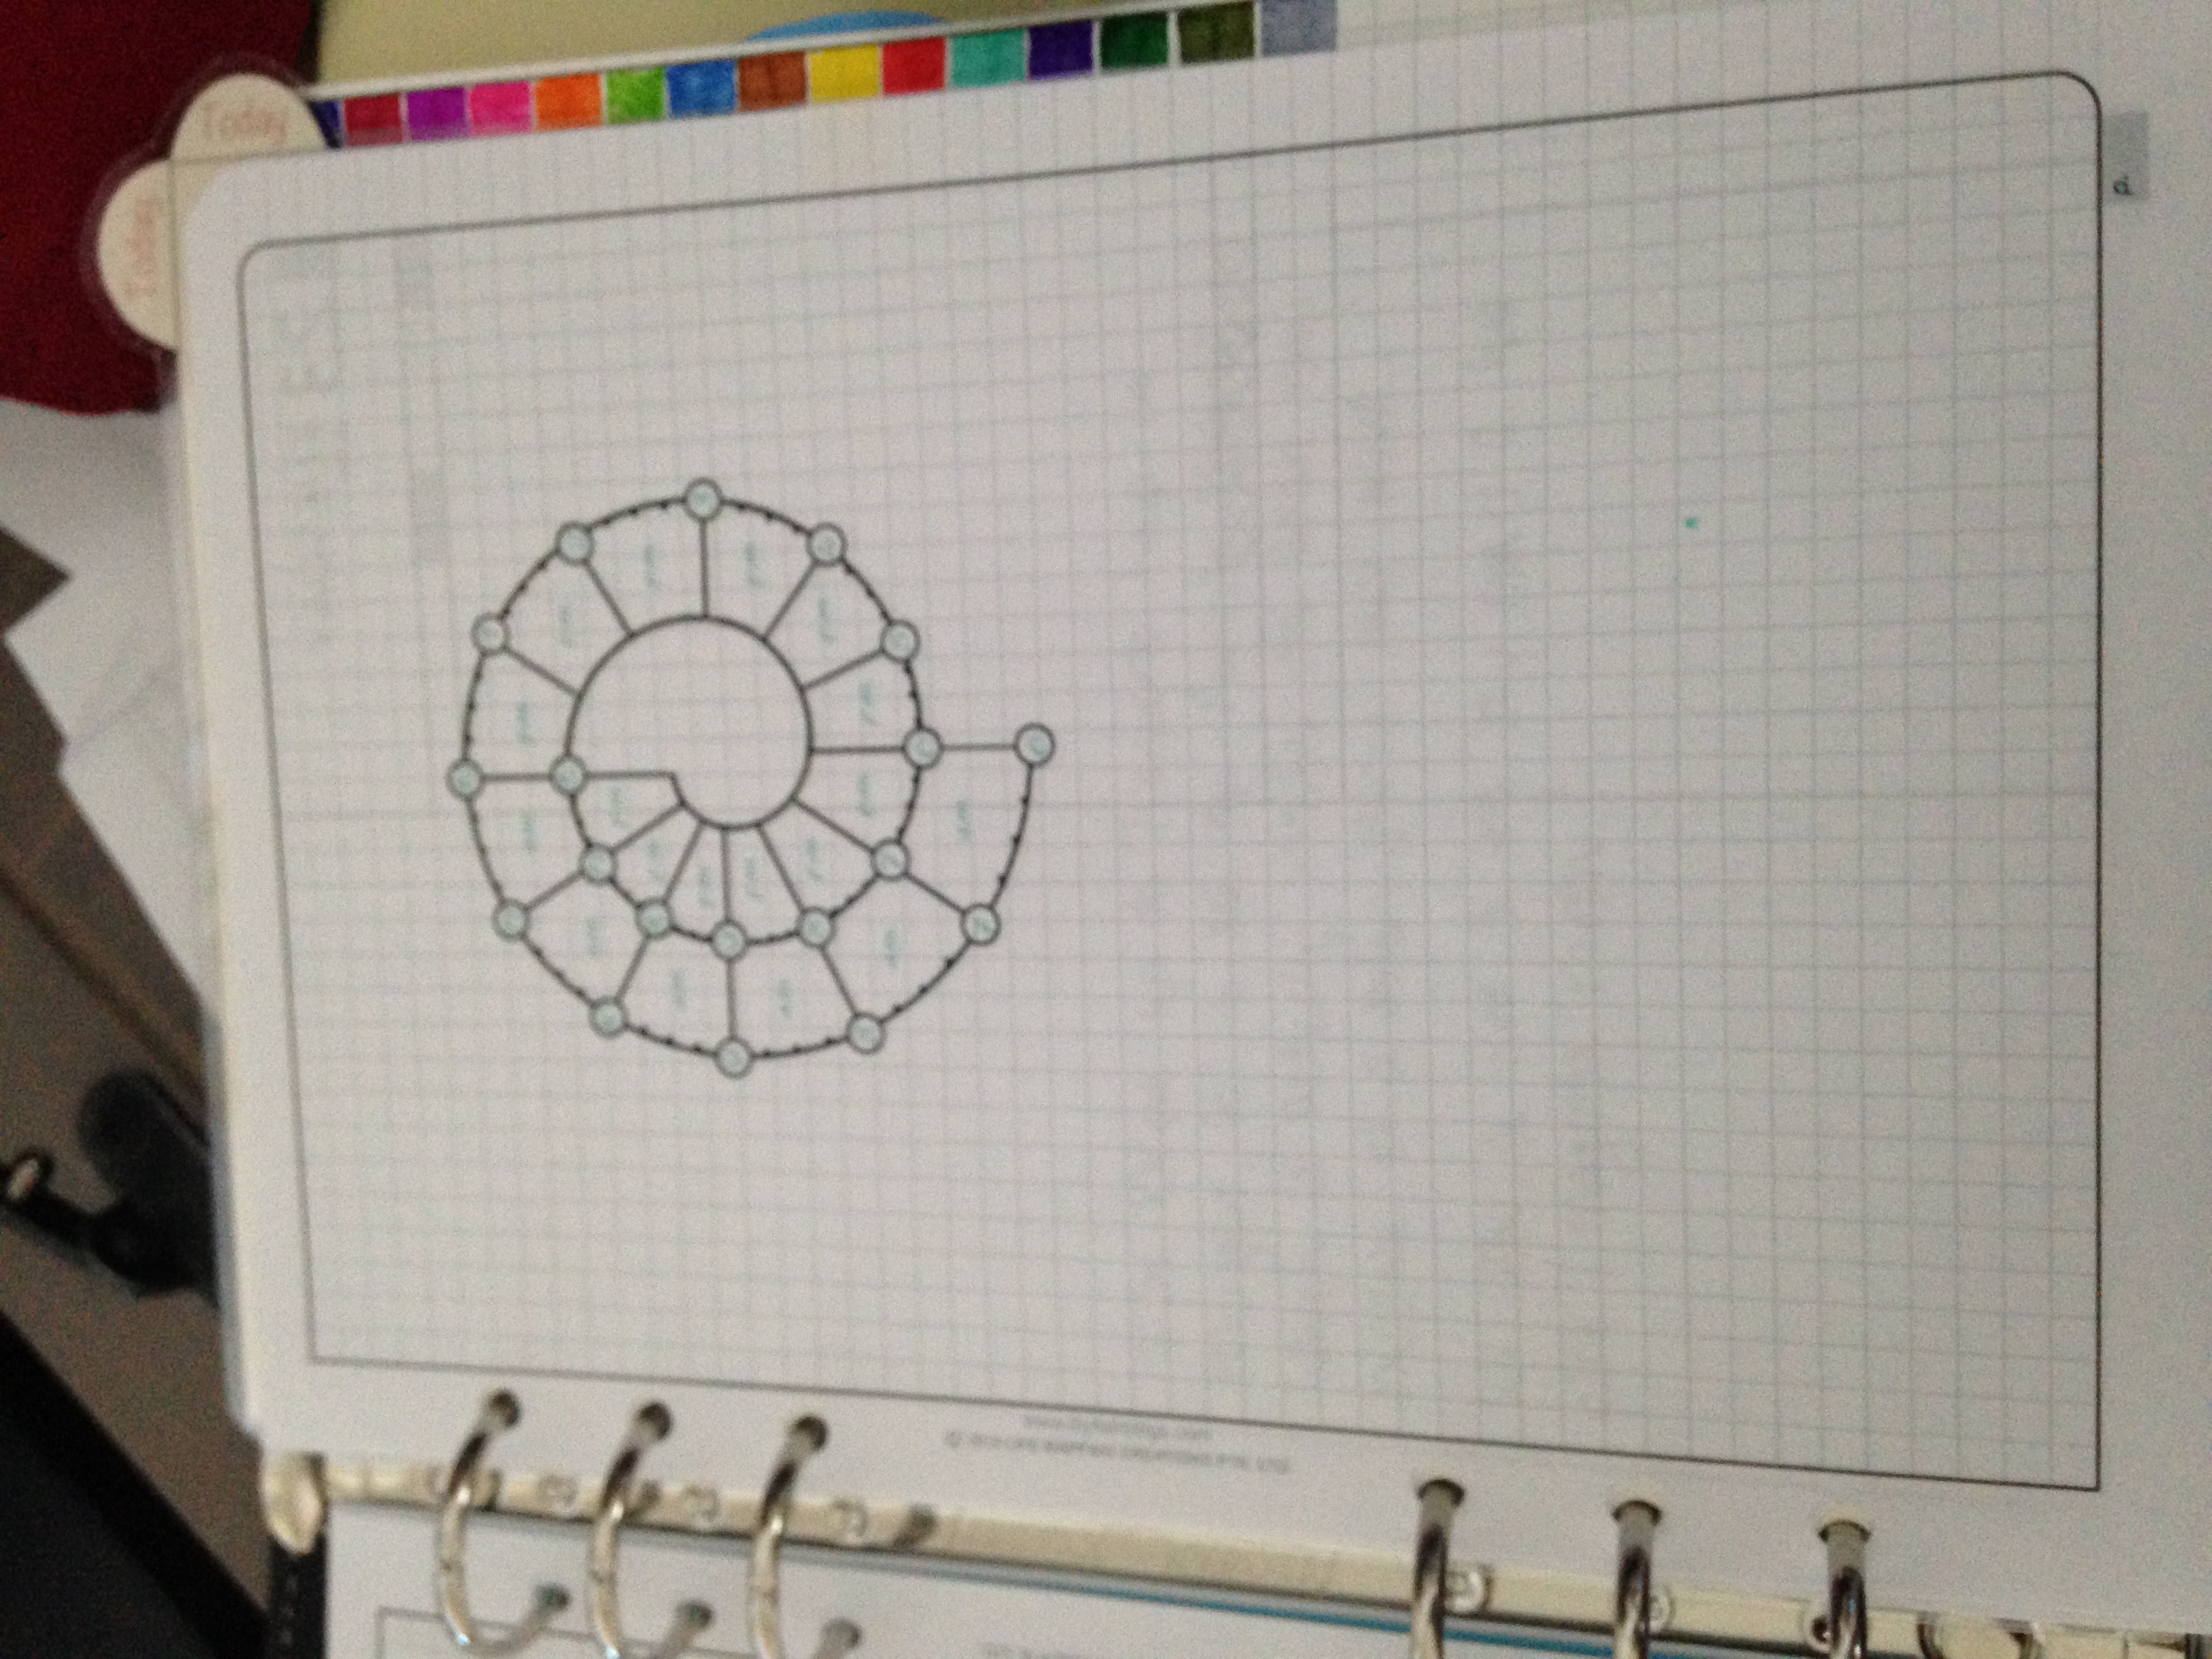
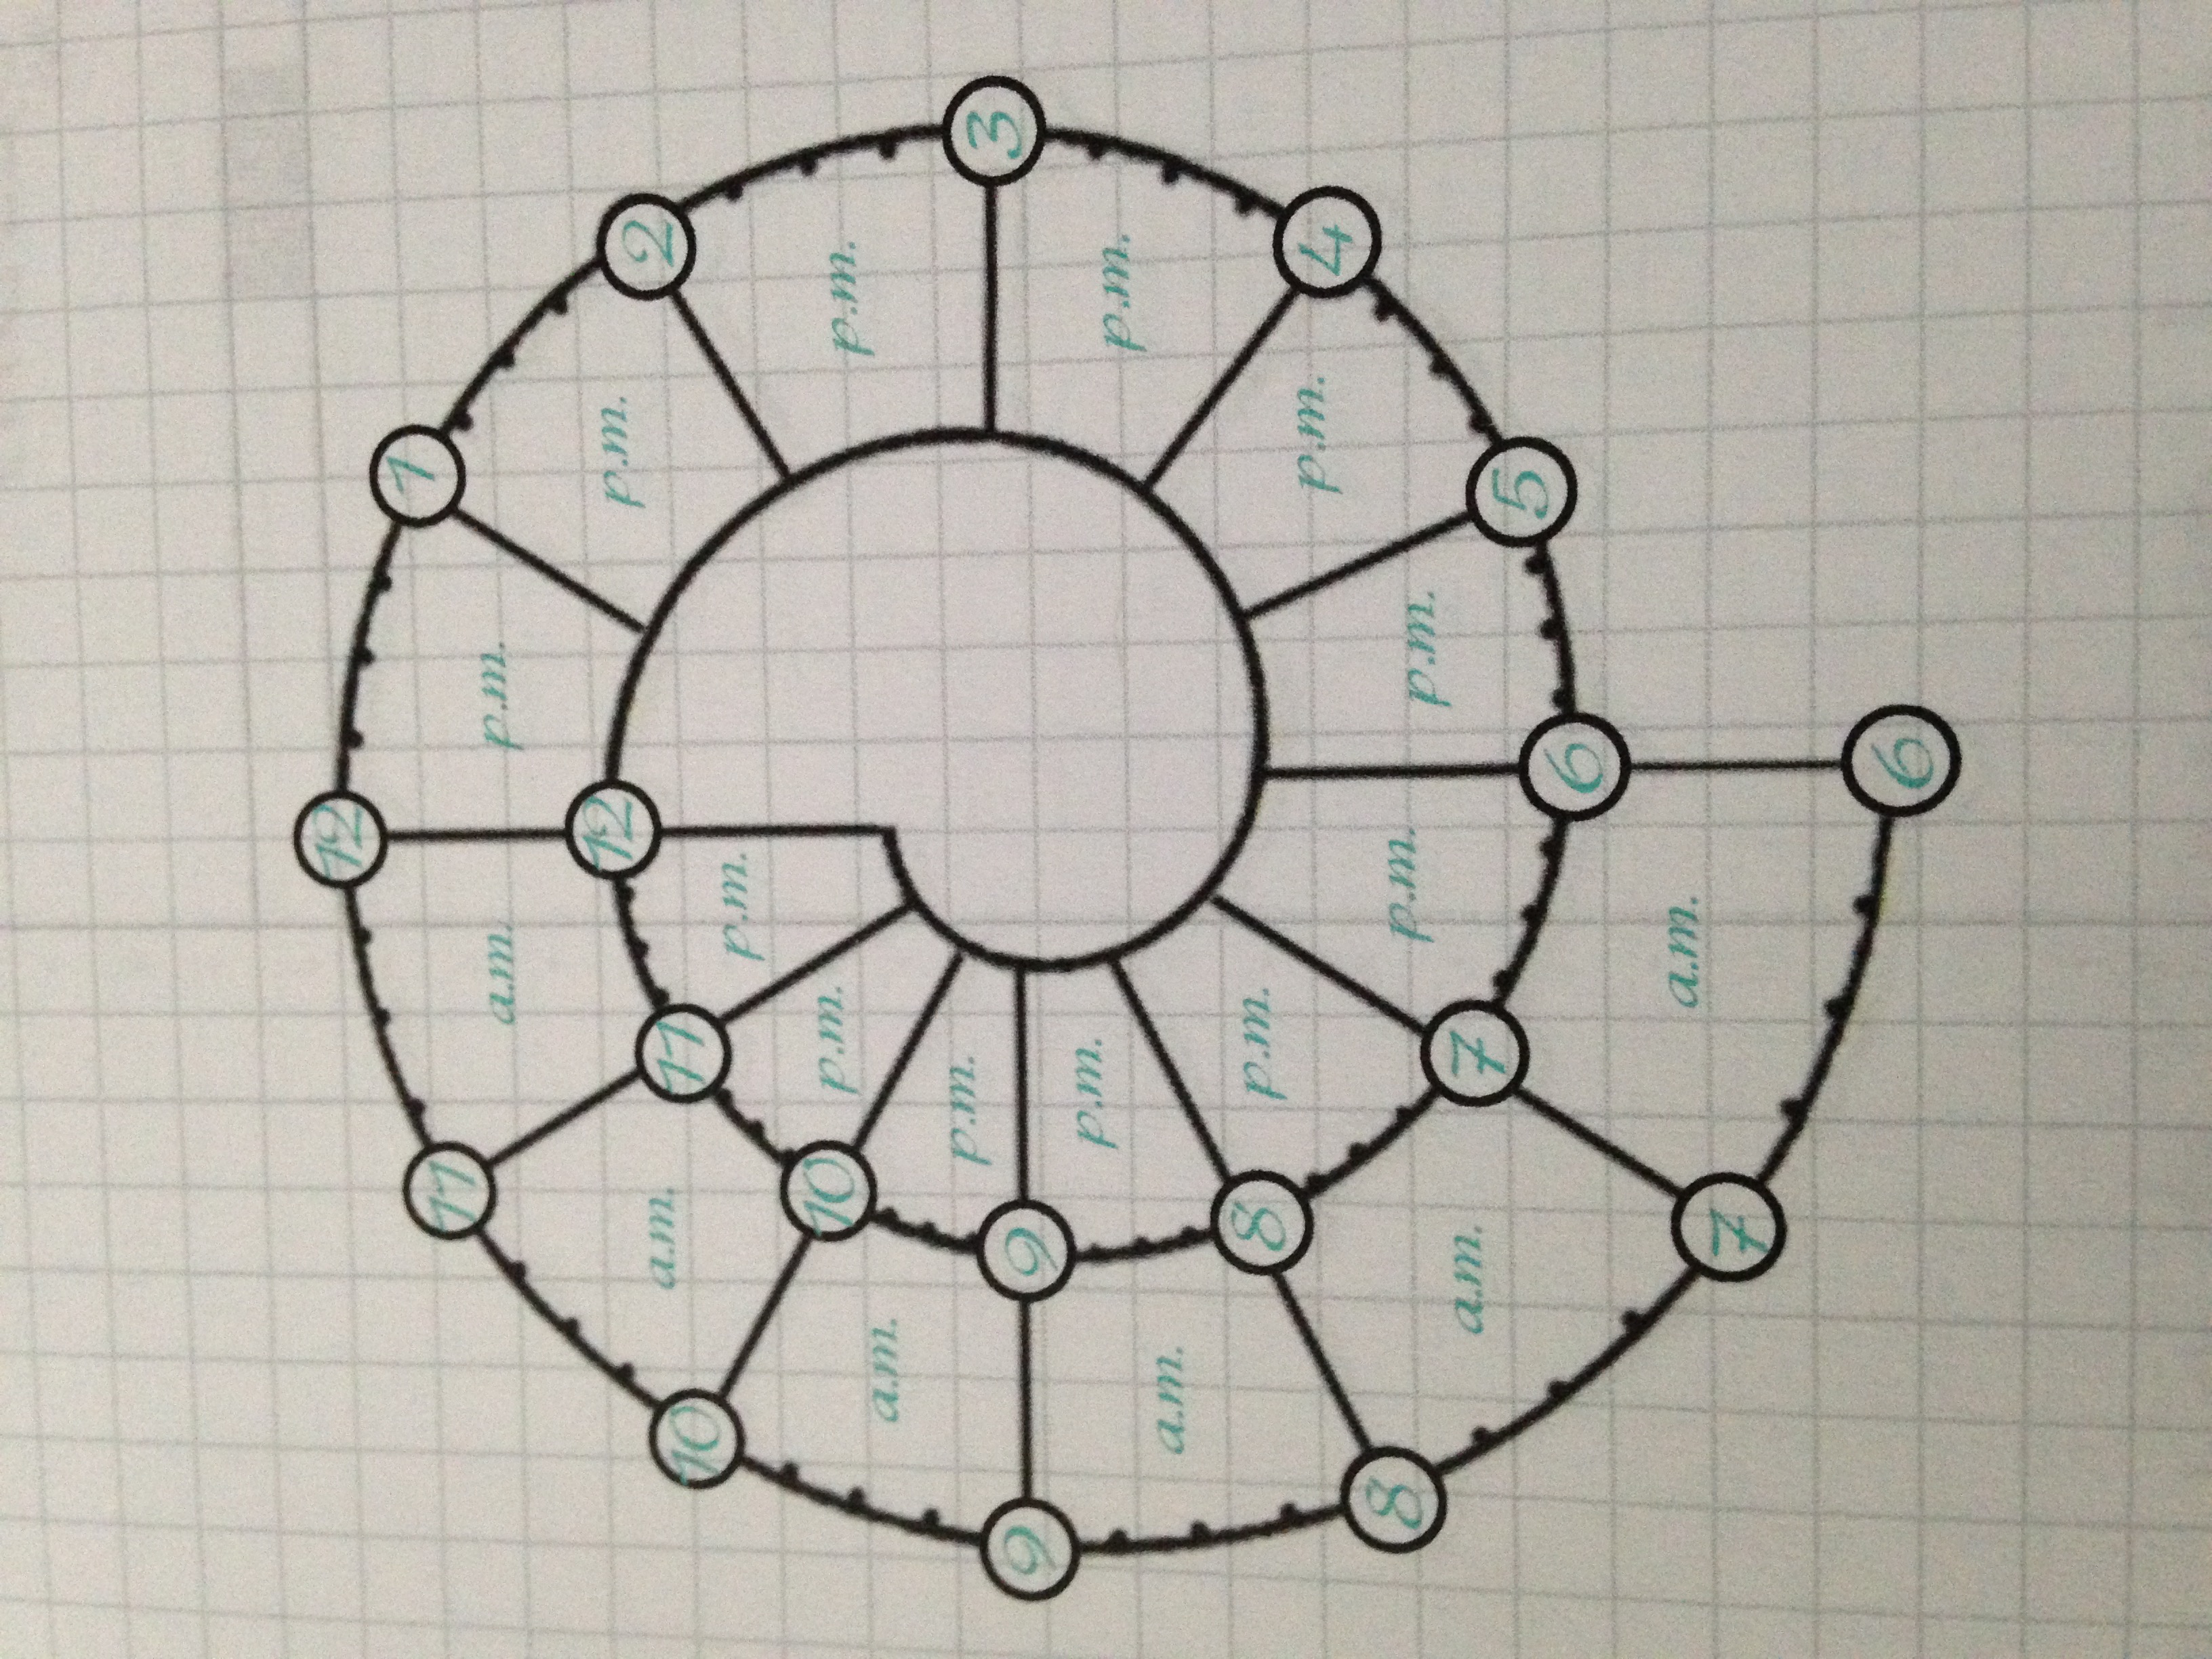
Printed, cut, and punched they look like this EXCEPT the Spiraldex. I created a Spiraldex based on several different ones that I researched and tweaked to fit my needs. I’ll do a separate post about the Spiraldex specifically later. For now, just know that I fed all my daily page 2s back through my printer and used a software product called The Print Shop 2 to create and print the Spiraldex.

I printed several more My Monthly Charts for use a project management sheets which meant that I just printed the front of the page and left the back blank for notes, doodling, etc. These I put in the back of my binder under “Projects.”
I also printed a blank second page of the daily page on heavy cardstock to use as a color coding sheet. I’ll go over that in another post as well.
Stay tuned for ASSEMBLY!
The next step was assembly, which I’ll cover in my next post!
